keithclark / 3d Model Element
Programming Languages
3D model custom element
This is a experimental custom element that allows 3D objects (currently, OBJ and gLTF format) to be loaded into a document and rendered inline, just like any other external resource. Additionally, any CSS transforms applied to the element will be passed on to the 3D model, allowing complex objects to be placed and maniplulated using just CSS.
Examples
- Hello World - A barebones example.
- Transform tests - A set of rendering test cases.
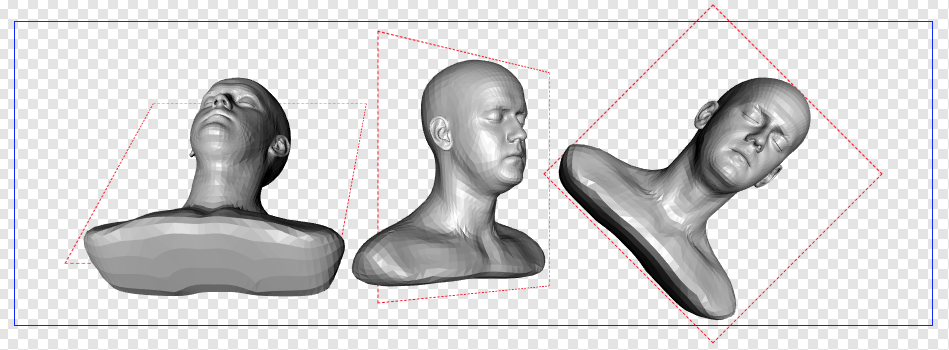
- 3D Scene - An example of mixing standard HTML elements and models to create a 3D scene.
Limitations
- Support for the gLTF and OBJ model formats - other formats will be added in the future.
- File format is currently determined by file extension (
.objfor OBJ and.gltf/.glbfor gLTF). - At the moment Safari doesn't scroll models because of a bug with
scrollTop. -
transform-style: flatisn't supported yet.
Getting started
To use this custom element you'll need to include the three.js library (r102+), its accompanying OBJ loader and/or gLTF loader along with the custom element script:
<script src="js/three.min.js"></script>
<script src="js/three-obj-loader.js"></script>
<script src="js/model-element.min.js"></script>
To bolster up browser support, you can also include a web components polyfill.
Using the <x-model> element
Adding a model to a page is as simple as adding the element and setting its src attribute:
<x-model src="/path/to/my-model.obj"></x-model>
Here's a cut-and-paste example:
<!DOCTYPE html>
<html>
<head>
  <style>
    .model {
      width: 400px;
      height: 400px;
    }
  </style>
</head>

<body>
  <x-model class="model" src="/path/to/my-model.obj"></x-model>

  <script src="js/three.min.js"></script>
  <script src="js/three-obj-loader.min.js"></script>
  <script src="js/model-element.min.js"></script>
</body>
</html>
Positioning models
Models can be positioned and rotated using CSS transforms. Any transforms applied to a model element will also be applied to the model.
.model {
  transform: translateZ(-200px) rotateY(45deg);
}
If a model element has an ancestor with a valid perspective / perspective-origin style property, the model will be renderered using perspective projection. Omitting perspective (or setting it to zero) will result in objects being rendered with orthographic projection.
How it works
The model-element script creates a camera, scene, light source and a WebGL renderer. The DOM node returned by the renderer (a <canvas> element) is added to the document and configured to fill the viewport and sit above all other content. Additionally, pointer-events: none is set, allowing elements below to be interacted with.
Adding <x-model> elements to the DOM results in the model being loaded and added to the underlying scene. Removing an element from the DOM will remove it from the scene.
The scene is re-rendered every frame. For each object in the scene, the renderer finds it's host node and walks up the DOM tree resolving any transforms, positions and scroll offsets. The resulting transform matrix is then applied to the object in the scene. Once all objects are updated the renderer repaints the scene to the layer. Objects now appear on-screen, synchronised with their host DOM node.
Contributing
Requirements
- Node / NPM
Setup
- Clone this repo.
- Install dependencies:
npm install - Build the project with the watch task:
npm run dev - Start editing...
Other build options
-
npm run dist- builds the both the unminified and minified distribution files to the/dist/folder.