Adding Storyblok to NextJS Like A Pro

The official website describes Storyblok in the following terms:
Storyblok is the only Headless Content Management System with a Visual Editor. It provides developers with all the flexibility they need to build reliable and fast websites, while giving content creators with no coding skills the ability to edit content independently of the developer.
A Headless CMS is a back-end only content management system that delivers content as data to any platform or device via API, rather than having it tightly coupled to a specific website or mobile app. In practice, this means that content creators are able to use a single content repository to deliver content from a single source to endless frontend platforms via API, such as websites, mobile apps, TVs, smart watches etc. In this tutorial we are going to use Storyblok as our preferred headless CMS for our examples.

Storyblok combines its straightforward developing environment for developers and ease of use for content editors to make content creation seamless and interesting.
Why use headless CMS?
Because a Headless CMS doesn't restrict you to a specific technology, like PHP and MySQL in the case of WordPress, you and your team are free to build projects with preferred options like having a CMS for React, Angular, Vue, and so on.
What is NextJS?
NextJS is a ReactJS frontend framework created by Vercel team that enables server side rendering and static site generation, it helps software engineers to create fast search engine optimised react apps with zero configuration, so we can view it as a wrapper around react framework that enables reactJS to run on the server.
Am not the gatekeeper but to understand NextJS you need to have the basic understanding of HTML, CSS, JavaScript and reactJS because it contains a lot of reactJS code and reactJS best practices.
In layman's language NextJS is a framework that enables developers to build reactJS apps but render the content in advance on the server so that the first thing rendered to the user is the fully rendered HTML and after rendering this initial page, client side takes over and works just like the traditional reactJS applications.
One of the greatest feature that i love in NextJS routers that makes the navigation seamless.
Use this article to read more about navigation and routing in NextJS.
Requirements
To follow this tutorial here is a list of requirements that you need to have:
-
Node, yarn (or npm) and npx installed.
-
An account on Storyblok to manage content, if you don't have one already sign up here sign up for a free account here
🚀 . -
A new Storyblok space, a space in storyblok is a content repository, a place to keep all the content related to one project.
Environment Setup
Let's start by creating a new NextJS application, you can use npx or yarn to create a new nextjs application as in the example below, in the following example i have created a new NextJS application called demoapp, note that this will create a new folder in your current directory call demoapp.
>>> npx create-next-app demoapp
/* or */
>>> yarn create next-app demoapp
Next, we need to install the following packages storyblok-js-client and @storyblok/storyblok-editable, note that you can use npm or yarn to install the packages:
>>> cd demoapp

>>> npm install storyblok-js-client @storyblok/storyblok-editable axios
/* or */
>>> yarn add storyblok-js-client @storyblok/storyblok-editable axios
Then, let's start the development server, again note that you can use npm or yarn which are node package managers to run your application:
>>> npm run dev
/* or */
>>> yarn dev
Now, you can open your browser in http://localhost:3000 and you should see the following output.
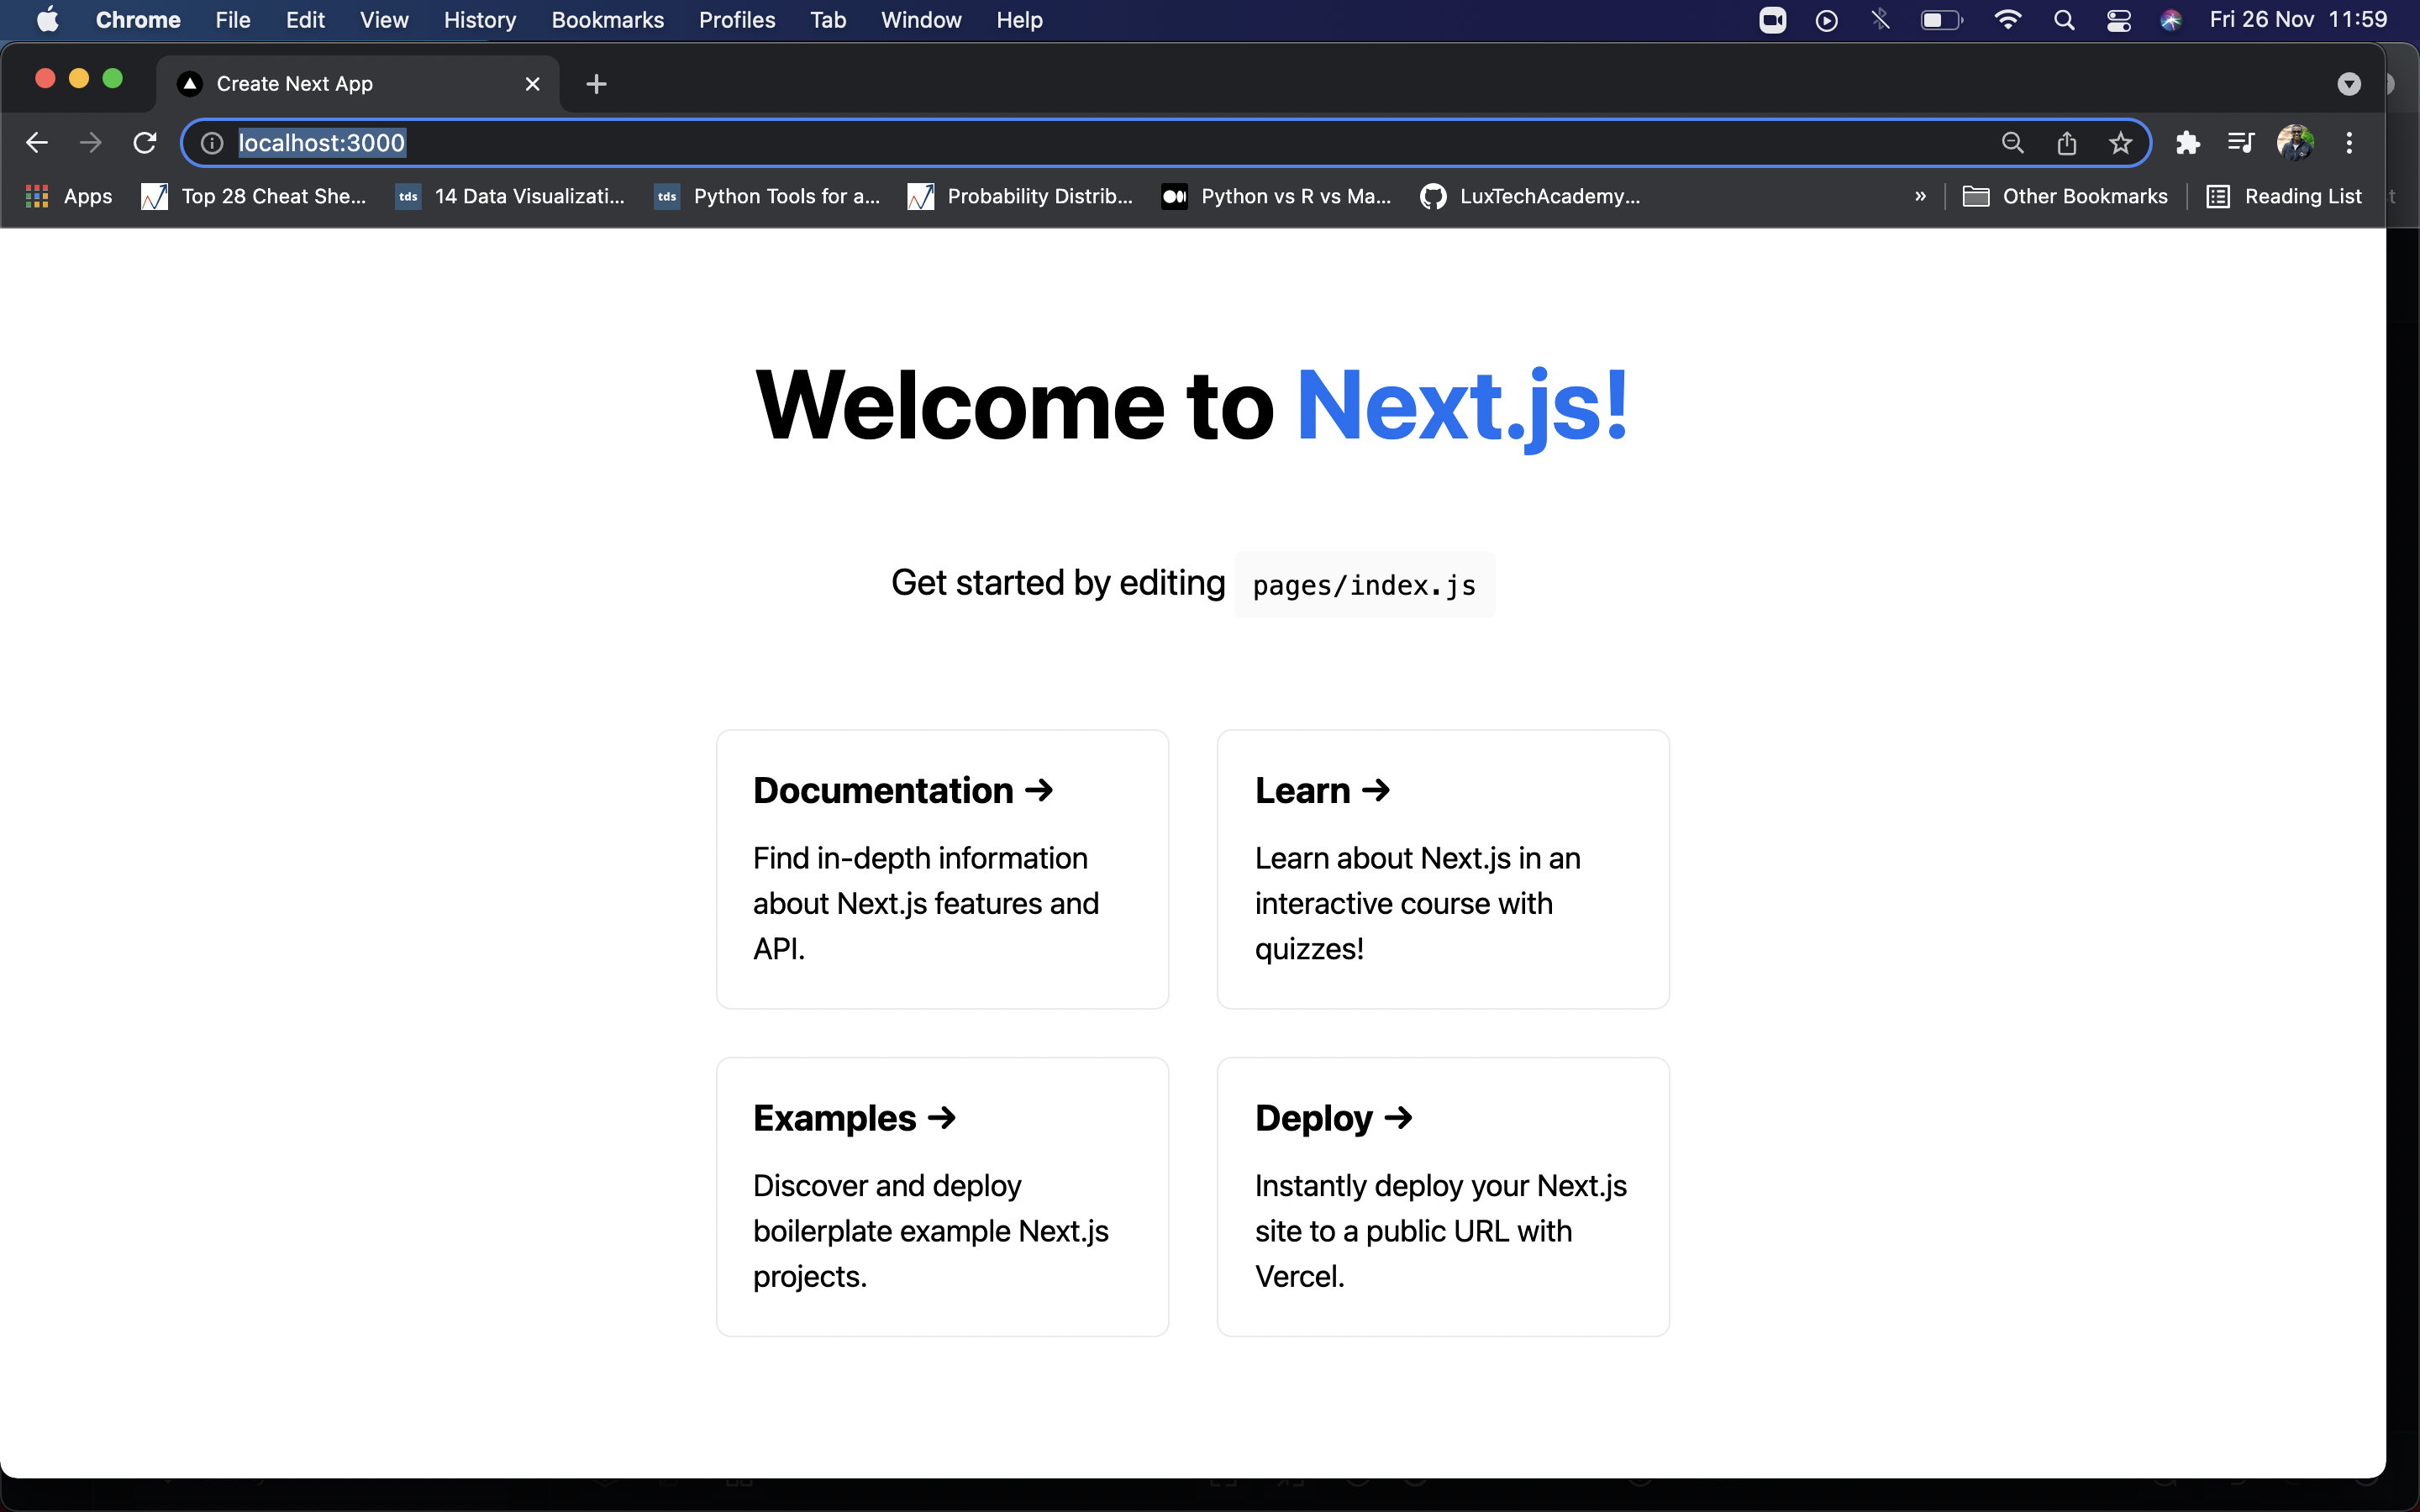
If you can see the following screen on your browser congratulations
Integrating NextJS with our headless CSM, Storyblok.
Next, we have to create a connection to the headless CMS, for our case Storyblok and to do this we have to connect our NextJS app to Storyblok and enable the Visual Editor, if time allows us. According to the official documentation, the Visual Editor enables your editors to edit their content with an in context preview, including the possibility to click on Components in their website.
To integrate with storyblok we need two file, the DynamicComponent.js and Storyblok.js files, the DynamicComponent file should be created inside components folder while Storyblok.js file should be created inside the lib folder and imported in the main file as shown below 👇🏻.
import DynamicComponent from 'src/components/DynamicComponent'
import Storyblok from 'src/lib/storyblok'
DynamicComponent is a wrapper for our components. We'll use it to load the correct components in our application, based on the ones created in Storyblok, and enable live editing inside Storyblok's Visual Editor when we click a component.
The storyblok.js file will contain a React hook to enable live updates in the Visual Editor and a Storyblok client to request content using Storyblok's REST API.
The above two paragraphs are adapted from the article [add a headless CMS to Next.js in 5 minutes (https://www.storyblok.com/tp/add-a-headless-cms-to-next-js-in-5-minutes) by Lisi Linhart.
Now let create the Storyblok Client
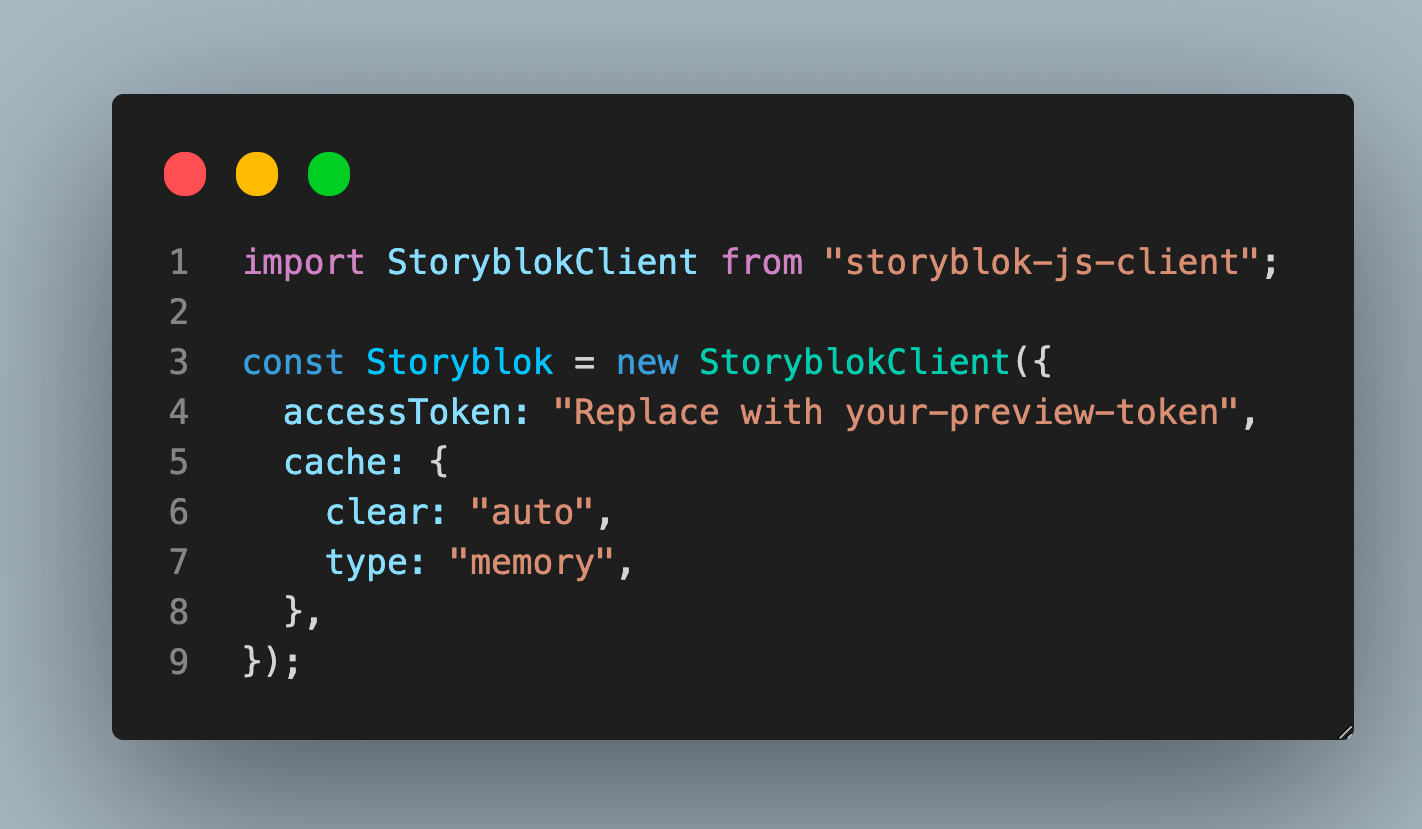
We will need to create a new client to access our Storyblok API. Create a file called storyblok.js inside a folder called lib, with the following code.
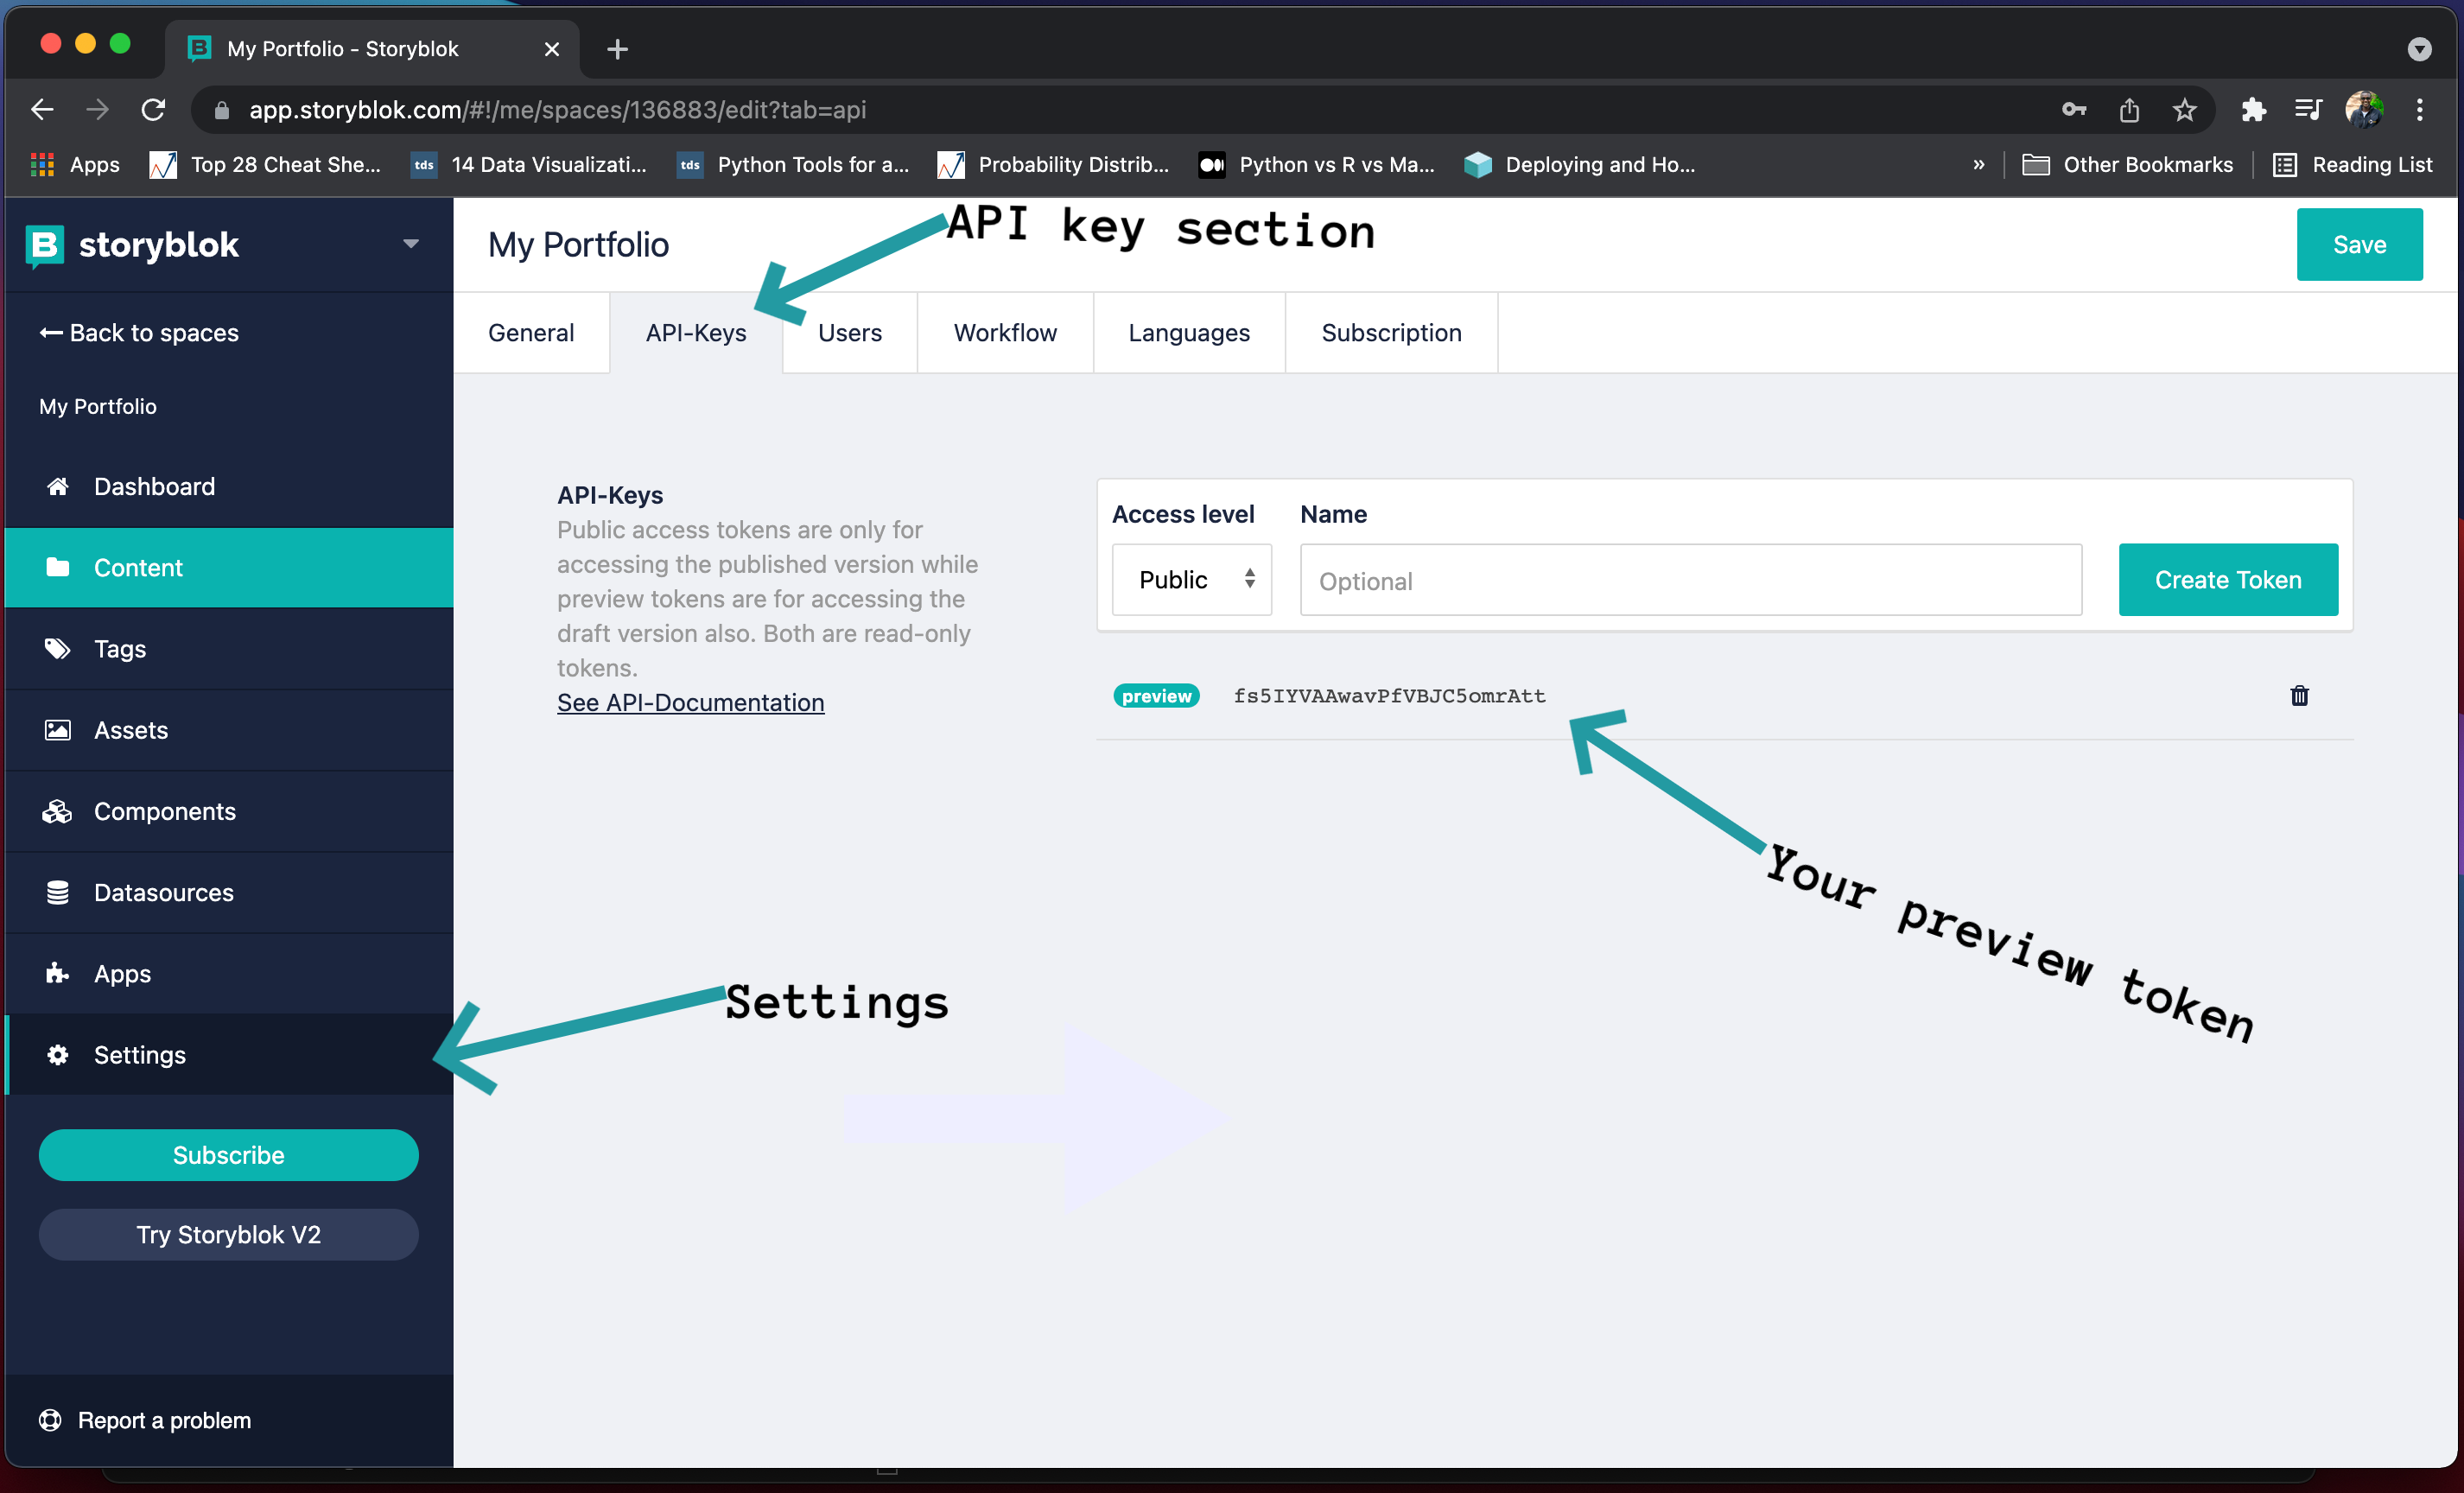
In Storyblok app, Create a new space and retrieve your preview token. You will get your preview token under under your Space Settings the API-Keys section as shown below.
Add the token to your Storyblok client in storyblok.js as the preview token key directly, or from an .env file.
Remember to add the correct preview token key, observer white spaces and letters casing.
Fetching Our Stories
To fetch data, we will make use of Next.js getStaticProps function. Add the following code to the pages/index.js file. This will load our home story using the client we just created and display the name of the story.
import Head from "next/head"
import styles from "../styles/Home.module.css"

// The Storyblok Client
import Storyblok from "../lib/storyblok"

export default function Home(props) {
  return (
    <div className={styles.container}>
      <Head>
        <title>Create Next App</title>
        <link rel="icon" href="/favicon.ico" />
      </Head>

      <header>
        <h1>
          { props.story ? props.story.name : 'My Site' }
        </h1>
      </header>

      <main>

      </main>
    </div>
  )
}

export async function getStaticProps({ preview = false }) {
  // home is the default slug for the homepage in Storyblok
  let slug = "home";
  // load the published content outside of the preview mode
  let sbParams = {
    version: "draft", // or 'published'
  };

  if (preview) {
    // load the draft version inside of the preview mode
    sbParams.version = "draft";
    sbParams.cv = Date.now();
  }

  let { data } = await Storyblok.get(`cdn/stories/${slug}`, sbParams);

  return {
    props: {
      story: data ? data.story : null,
      preview,
    },
    revalidate: 3600, // revalidate every hour
  };
}
Setting the Preview Url
In Storyblok app, go to Settings and set the preview URL to our development server http://localhost:3000/.
Let's open our Home Story now by clicking on Content and then the Home Story.
Setting the Real Path
We need to set the Real Path to because we want to display the story with the slug home under our base path / and not /home. Once you set the preview URL and the real path, you should be able to see your development server inside Storyblok showing the name of the story Home.
Creating the components
In the next step, we have to create the components that already exist in the Home story: Page, Teaser, Grid and Feature. Create a new folder components with the following files:
1). components/Page.js

2). components/Teaser.js

**3). components/Grid.js **

**4). components/Feature.js **

By using sbEditable with any component, we can make them loaded and clickable in Storyblok Visual Editor. To do it we should include the already installed @storyblok/storyblok-editable package.
Loading Components dynamically
To load the right components in Next.js, we will need a dynamic component, that can resolve the component names we get from Storyblok API to the actual components in our Next.js application. Let's create a file DynamicComponent.js inside our components folder with the following code:
Showing the dynamic components.
To display the components, we will need to load them in our return function in the pages/index.js file and once you loaded the components you should be able to see the available components in your Storyblok Live Preview. It should show the Grid component and the Teaser component. If you change their order in Storyblok and click Save, they should dynamically switch their order on the page.
Now what?
Stop procrastinating! Get out there and start creating amazing content leveraging Headless CMS and NextJS.

Wrapping up
In this article, we’ve loaded our content from Storyblok to NextJS, but we aren't able to directly select and edit the different components. There are very many tutorials out there that you can use to learn and master Storybloc, headless CMS and NextJS.
Also i would advice that you take your skills to the next step and learn how to take your stories to production using services like, Netlify, digital ocean's app platform, heroku, vercel, etc.
I have also written, an article guide version of this repository which you can access through this link! i hope you will enjoy reading it
Cheers