Calduino
EMS Bus - Arduino library.
Calduino provides functions to communicate through the EMS Bus with Buderus / Nefit / Worcester (or any other EMS Bus compatible) boilers. It includes commands for both getting status information (UBA Monitor, DHW Monitor, etc.) and setting new configurations (Set Day/Night Temperature, Set Working Mode, etc.).
To know more about how the EMS Bus works have a look at this post. A full working Arduino sketch integrating Calduino and WiFly libraries to connect wirelessly with the EMS Bus can be found in this tutorial.
Doxygen documentation is available here.
Requirements
To use this library you need two hardware components:
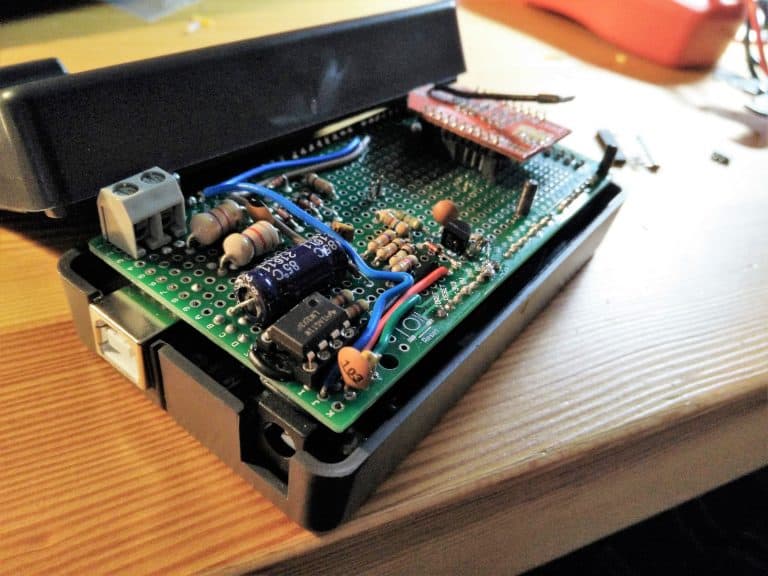
- An EMS Bus – UART interface circuit to convert the EMS Bus signals to UART TTL levels. Have a look at this section to build your own circuit.
- An Arduino Board with Atmel ATmega microcontroller such as Arduino One or Mega. Development and debugging will be easier with more than one serial port, so I recommend Arduino Mega 2560.
And of course you will need an EMS compatible boiler, as well as access to the EMS Bus.
Instalation
Install as any other Arduino library: unzip the distribution zip file to the libraries sub-folder of your sketchbook.
Examples
Configure Calduino in the Serial Port 3 of Arduino Mega (pin TX 14 and RX 15) do:
#include <Calduino.h>
#define DEBUG_UART_RATE 9600

EMSSerial3.begin(EMS_BUS_UART_RATE);
calduino.begin(&EMSSerial3);
Redirect the exit to Serial Port 0 (pin TX 1 / RX 0):
#include <Calduino.h>
#define DEBUG_UART_RATE 9600
#define DEBUG_UART_RATE 9600

EMSSerial3.begin(EMS_BUS_UART_RATE);
EMSSerial0.begin(DEBUG_UART_RATE);

if (calduino.begin(&EMSSerial3, &EMSSerial0))
{
	EMSSerial0.println(F("Calduino correctly started."));
}
else
{
	EMSSerial0.println(F("Calduino error starting."));
}
Print EMS Datagram RC Datetime:
calduino.printEMSDatagram(EMSDatagramID::RC_Datetime);
Print configured DHW temperature:
calduino.printEMSDatagram(EMSDatagramID::UBA_Parameter_DHW, DatagramDataIndex::selTempDHWIdx);
Get current impulse temperature:
float curImpTemp = calduino.getCalduinoFloatValue(FloatRequest::curImpTemp_f);
Set working mode in heating circuit 2 to night:
calduino.setWorkModeHC(2, 0);
Set night temperature in heating circuit 1 to 21.5℃:
calduino.setTemperatureHC(1, 0, 43);
Set DHW temperature to 50℃:
calduino.setTemperatureDHW(50);
License
This project is licensed under the MIT License - see the license file for details
Legal Notice
Legal Notices Bosch Group, Buderus, Nefit and Worcester are brands of Bosch Thermotechnology. All other trademarks are the property of their respective owners.
Acknowledgments
- EMS Wiki from thefisher.net. Without this source I would not have been able to decode the data packages sent through the EMS Bus.
- The first attemps to communicate with the EMS Bus where done thanks to Bbqkees, the NEFITSerial library and his UART Interface Circuit schematic.