Hallo

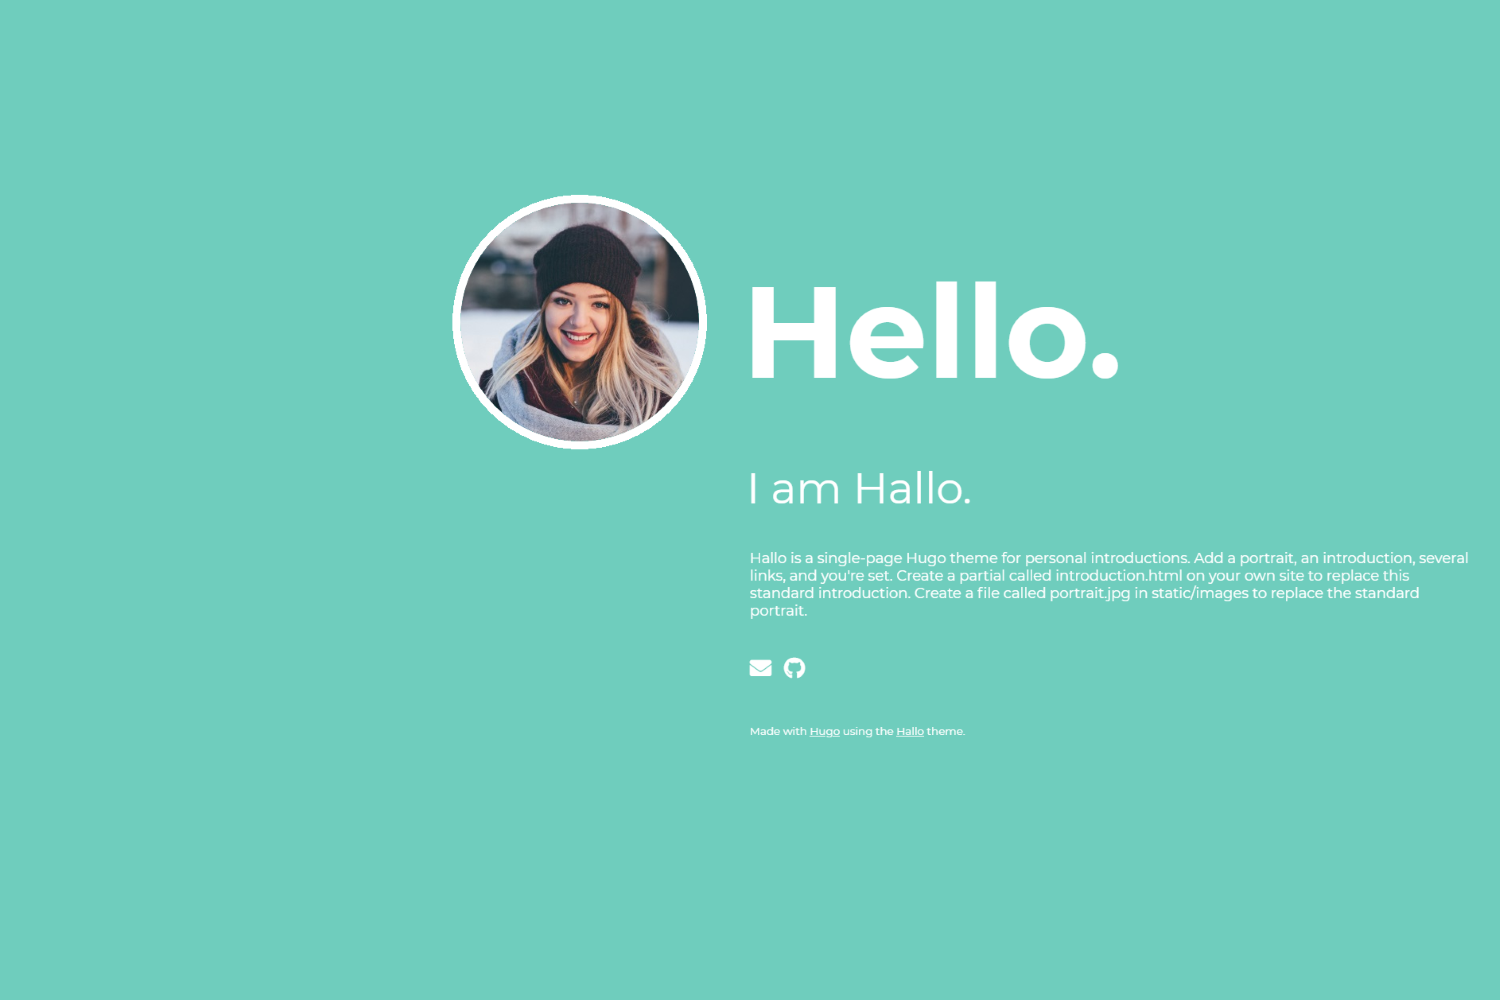
Hallo is a single-page Hugo theme to introduce yourself. Add a portrait, an introduction, several links, and you're set.
Installation
1. Install the theme
If your site is also under version control using git, the easiest way to install this theme is to add it as a submodule. If you have not created a git repo for your project yet, you need to run git init beforehand. Inside the folder of your Hugo site, run the following command.
git submodule add https://github.com/EmielH/hallo-hugo.git themes/hallo
Alternatively, you can clone the theme into your project.
git clone https://github.com/EmielH/hallo-hugo.git themes/hallo
2. Configure Hugo
Add the following line to config.toml to tell Hugo to use the theme.
theme = "hallo"
Alternatively, you can tell Hugo to use the theme with the server command.
hugo server -t hallo
Update the theme
If you have installed the theme as a git submodule, you can update the theme by issuing the following command inside your project folder.
git submodule update --remote --rebase
If you have cloned the theme, you can run git pull inside the theme folder.
Configuration
Portrait
Put your own portrait in /static/images/portrait.jpg of your own site and Hugo wil automatically use that portraid instead of the standard one. It's not necessary to alter the theme.
Introduction
Put your own introduction text in /layouts/partials/introduction.html of your own site and Hugo wil automatically use that introduction instead of the standard one. It's not necessary to alter the theme.
Name
Hallo will use the name of the author that has been configured in the Author section of your site's config.toml. Add the lines below to your config.toml to configure the name.
[Author]
    name = "Emiel"
Links
You can put your own links below the introduction text, for example to link to your social media accounts or to include your e-mail address. These links use icons from FontAwesome. The links can be configured in the params section of your site's config.toml. This is an example configuration for a link to Github:
[params]
    [[params.links]]
        icon = "github"
        title = "Github"
        url = "https://github.com/"
Hallo by default allows you to choose an icon from the brands set. Put the name of the icon in the icon parameter. This set is the default set because these links will mostly be used for links to social media.
It is possible to use an icon from the solid set. To do this, specify the icon set, like this:
    [[params.links]]
        iconset = "fas"
        icon = "envelope"
        title = "E-mail"
        url = "mailto:[email protected]"
It is also possible to use an icon from the Academicon set. To do this, specify the icon set and icon origin.
    [[params.links]]
        iconorigin = "ai"
        iconset = "ai"
        icon = "google-scholar"
        title = "Google Scholar"
        url = "https://scholar.google.com"
Additional content
It's possible to add additional content to your site, for example a contact form. You can add this in /layouts/partials/content.html. Additional content will always be added "below the fold", ie. your introduction will always fill 100% of the height of the screen.
To link to your additional information using one of the icon links, add an id to one of the tags in the content, like so:
<h3 id="info">Additional information</h3>

<p>Lorem ipsum</p>
You can then add a link to this additional information in your site config, like so:
[params]
    [[params.links]]
        iconset = "fas"
        icon = "info-circle"
        title = "Additional information"
        url = "#info"
Internationalisation (i18n)
Hallo supports using other languages than English. Language files for the texts Hallo uses are provided in the i18n directory. The default language is English. To switch languages, add the key defaultContentLanguage to your config.toml file. For example:
defaultContentLanguage = "nl"
To translate texts your site uses, add an i18n folder to your site.
Feel free to submit pull requests for other translations of Hallo's texts.
Hugo documentation for multilingual sites
Colors
You can alter the colors of your website using configuration options. Add the following to the [params] section of your config.toml for an alternate color scheme:
    [params.colors]
        background = "#81c6ff"
        foreground = "#edf7ff"
        hover = "#ffba82"
background: Used as background color of the site.foreground: Used for text and the border of the portrait.hover: Used for hover of links.
Warning: When using Hugo Basic, you need to perform additional steps to make custom colors work.
If you get the following error message while building your site, you're using Hugo Basic:
error: failed to transform resource: TOCSS: failed to transform "style.hallo.scss" (text/x-scss): this feature is not available in your current Hugo versionThe SCSS needs to be transpiled for your custom colors, which is something Hugo Basic cannot do. For the standard colors, the transpiled SCSS comes with the theme.
If you're stuck with Hugo Basic, e.g. because your Hugo site is generated on a server that only has Hugo Basic installed, you can get custom colors to work by performing the following steps.
- Install Hugo Extended on your local machine.
- Generate your site locally by running
hugoon your local machine.- Commit the generated
resourcesfolder to the root folder of your site. This folder can be found inside thepublicfolder after runninghugo.Hugo Basic will then use this
resourcesfolder to find the transpiled SCSS.
Greeting text
By default, the theme uses the translation of the word 'Hello' for the language of your site. You can also choose to alter this text completely. To do so, add the parameter greeting to your config.toml, like so:
[params]
    greeting = "Greetings!"
Google Analytics
The theme supports Google Analytics. To use Google Analytics, specify the parameter googleAnalytics in your config.toml. This will add the code for Google Analytics when you generate your site for production. It will not be included for any environment other than production (e.g. when using hugo serve).
Acknowledgments
Stock portrait photo obtained here.
License
See LICENSE.