brutella / Hkcam
Programming Languages
Labels
Projects that are alternatives of or similar to Hkcam
hkcam
hkcam is an open-source implementation of an HomeKit IP camera.
It uses ffmpeg to access the camera stream and publishes the stream to HomeKit using hc.
The camera stream can be viewed in a HomeKit app. For example my Home app works perfectly with hkcam.
Features
- Live streaming via HomeKit
- Works with any HomeKit app
- 3D-Printed Enclosure
- Persistent Snapshots
- Completely written in Go
- Runs on multiple platforms (Linux, macOS)
Get Started
hkcam uses Go modules and therefore requires Go 1.11 or higher.
Mac
The fastest way to get started is to
- download the project on a Mac with a built-in iSight camera
git clone https://github.com/brutella/hkcam && cd hkcam
- build and run
cmd/hkcam/main.goby runningmake runin Terminal - open any HomeKit app and add the camera to HomeKit (pin for initial setup is
001 02 003)
These steps require git, go and ffmpeg to be installed. On macOS you can install them via Homebrew.
brew install git
brew install go
brew install ffmpeg
Raspberry Pi
If you want to create your own surveillance camera, you can run hkcam on a Raspberry Pi with attached camera module.
Pre-configured Raspbian Image
You can use a pre-configured Raspbian Stretch Lite image, where everything is already configured.
You only need to
- download the pre-configured Raspbian image and copy onto an sd card; download
- Note: This image only works on a Raspberry Pi Zero
- install Etcher.app and flash the downloaded image onto your sd card.
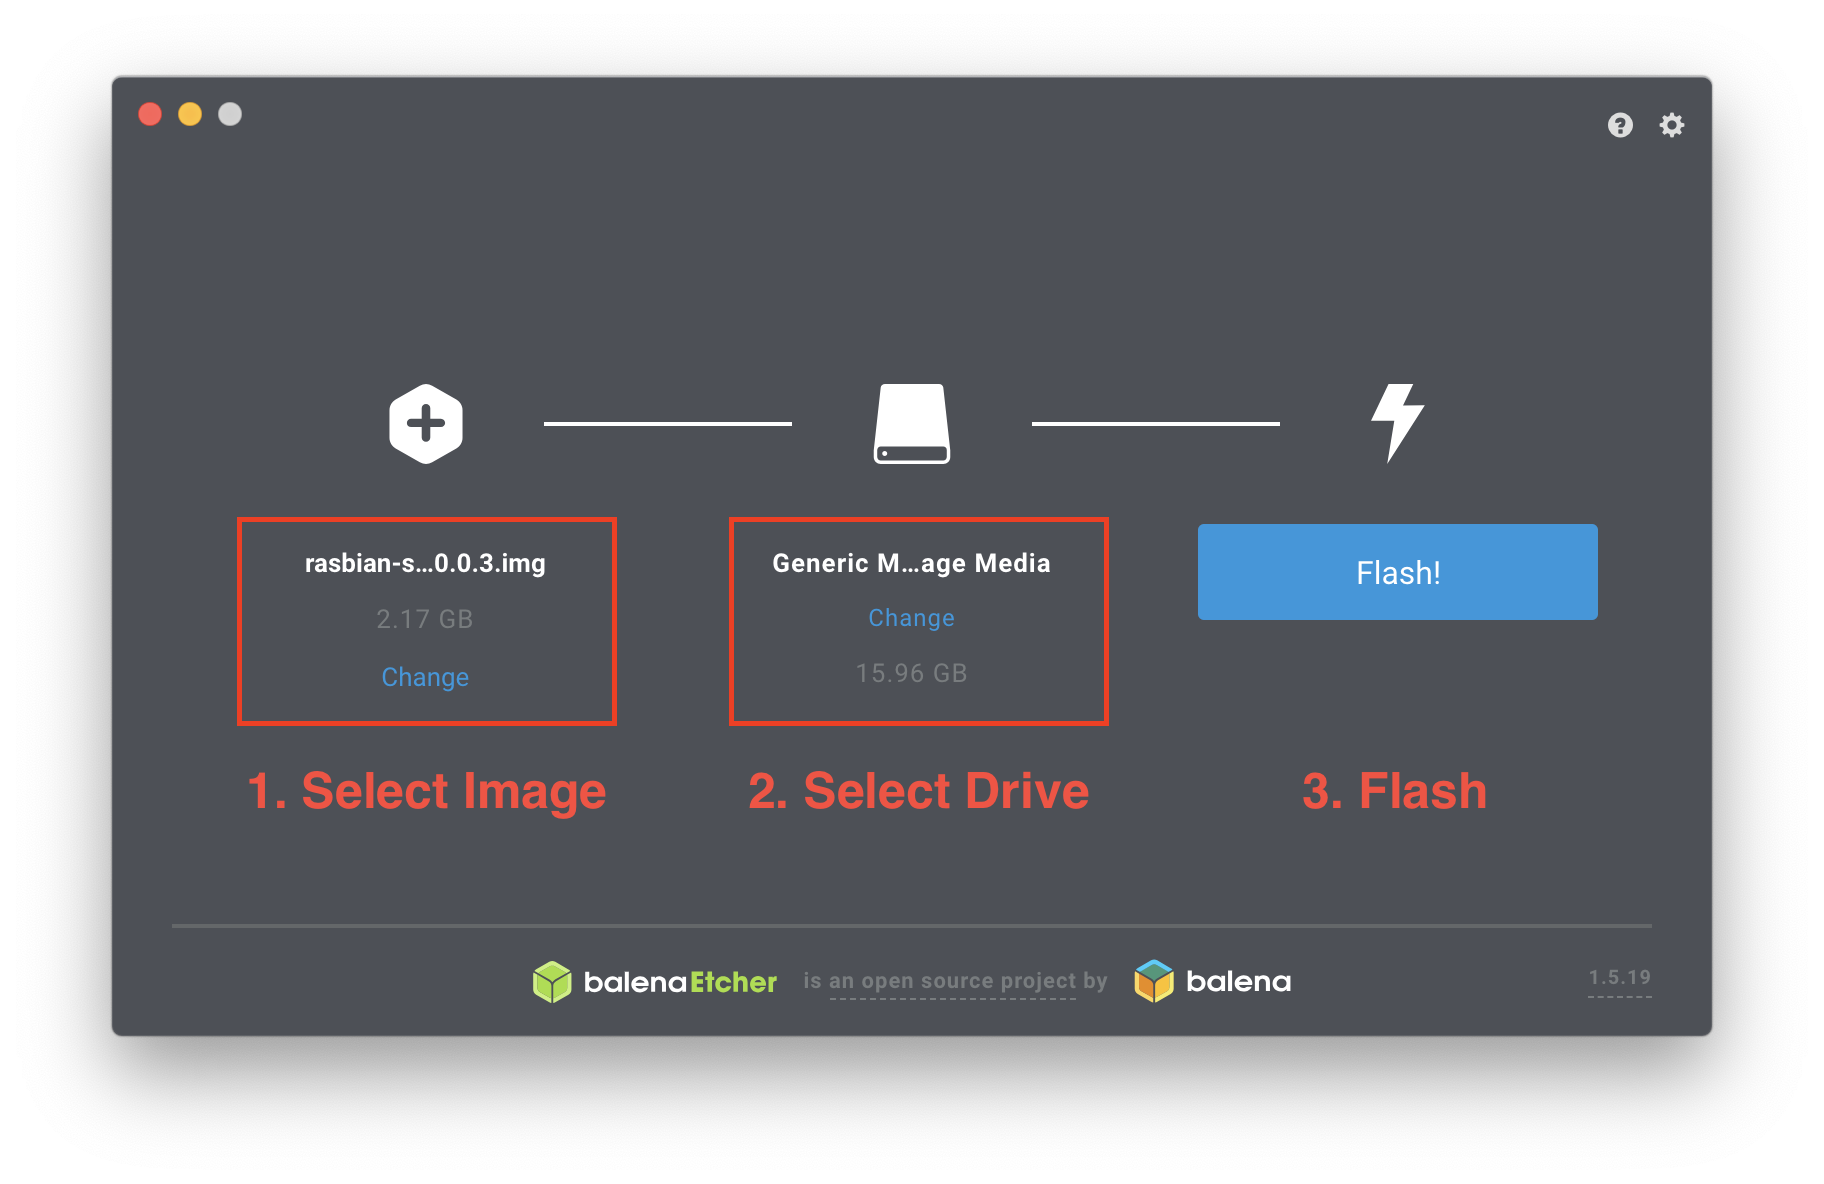
You can do the same on the command line as well.
On macOS you have to find the disk number for your sd card
# find disk
diskutil list
You will see entries for
/dev/disk0,/dev/disk1…, your sd card may have the disk number 3 and will be mounted at/dev/disk3# unmount disk (eg disk3) diskutil unmountDisk /dev/rdisk3 # copy image on disk3 sudo dd bs=1m if=~/Downloads/raspbian-stretch-lite-2019-04-08-hkcam-v0.0.9-armv6.img of=/dev/rdisk3 conv=sync
- add your WiFi credentials so that the Raspberry Pi can connect to your WiFi
- create a new text file at
/Volumes/boot/wpa_supplicant.confwith the following content
ctrl_interface=DIR=/var/run/wpa_supplicant GROUP=netdev
update_config=1

network={
ssid="<ssid>"
psk="<password>"
}
- replace
<ssid>with the name of your WiFi, and<password>with the WiFi password.
-
insert the sd card into your Raspberry Pi and power it up. (After a reboot it may take up to several minutes until the camera is accessible via HomeKit – see issue #136.)
-
open any HomeKit app and add the camera to HomeKit (pin for initial setup is
001 02 003)
Manual Configuration
If you want, you can configure your Raspberry Pi manually. This setup requires more configuration. I've made an Ansible playbook to configure your RPi with just one command.
The easiest way to get started is to
- configure your Raspberry Pi
- install Raspbian
- enable ssh (and WiFi if needed)
- connect a camera module
- create ssh key and copy them to the Raspberry Pi
ssh-keygen
ssh-copy-id [email protected]
3 run the rpi playbook
cd ansible && ansible-playbook rpi.yml -i hosts --ask-pass
- open any HomeKit app and add the camera to HomeKit (pin for initial setup is
001 02 003)
These steps require ansible to be installed. On macOS you can install it via Homebrew.
brew install ansible
What does the playbook do?
The ansible playbook configures the Raspberry Pi in a way that is required by hkcam.
It does that by connecting to the RPi via ssh and running commands on it.
You can do the same thing manually on the shell but ansible is more convenient.
Here are the things that the ansible playbook does.
- Installs the required packages
- ffmpeg – to stream video from the camera via RTSP to HomeKit
- v4l2loopback - to create a virtual video device to access the video stream by multiple ffmpeg processes
-
runit – to run
hkcamas a service
- Downloads and installs the latest
hkcamrelease - Edits
/boot/config.txtto enable access to the camera - Edits
/etc/modulesto enable the bcm2835-v4l2 and v4l2loopback kernel modules - Restarts the RPi
After the playbook finishes, the RPi is ready to be used as a HomeKit camera.
Additional Steps
- I recommend to change the password of the
piuser, once you have configured your Raspberry Pi. - If you want to have multiple cameras on your network, you have to make sure that the hostnames are unqiue. By default the hostname of the Raspberry Pi is
raspberrypi.local. - SSH is enabled in the hkcam image. You may want to disable it.
Debugging
If experience issues with the hkcam daemon, you can find log outputs at /var/log/hkcam/current.
Enclosure

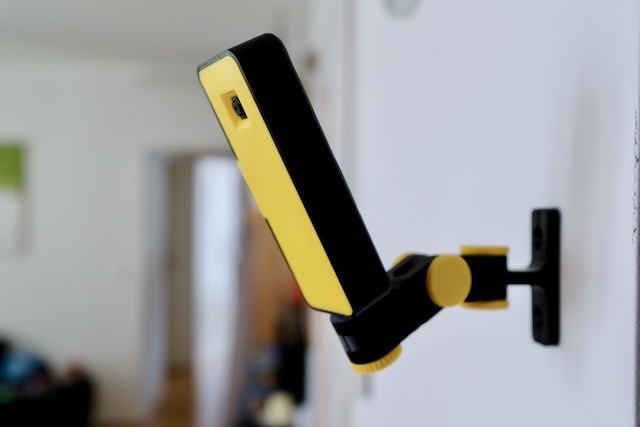
The 3D-printed enclosure is designed for a Raspberry Pi Zero W and standard camera module. You can use a stand to put the camera on a desk, or combine it with brackets of the Articulating Raspberry Pi Camera Mount to mount it on a wall.
The 3D-printed parts are available as STL files here.
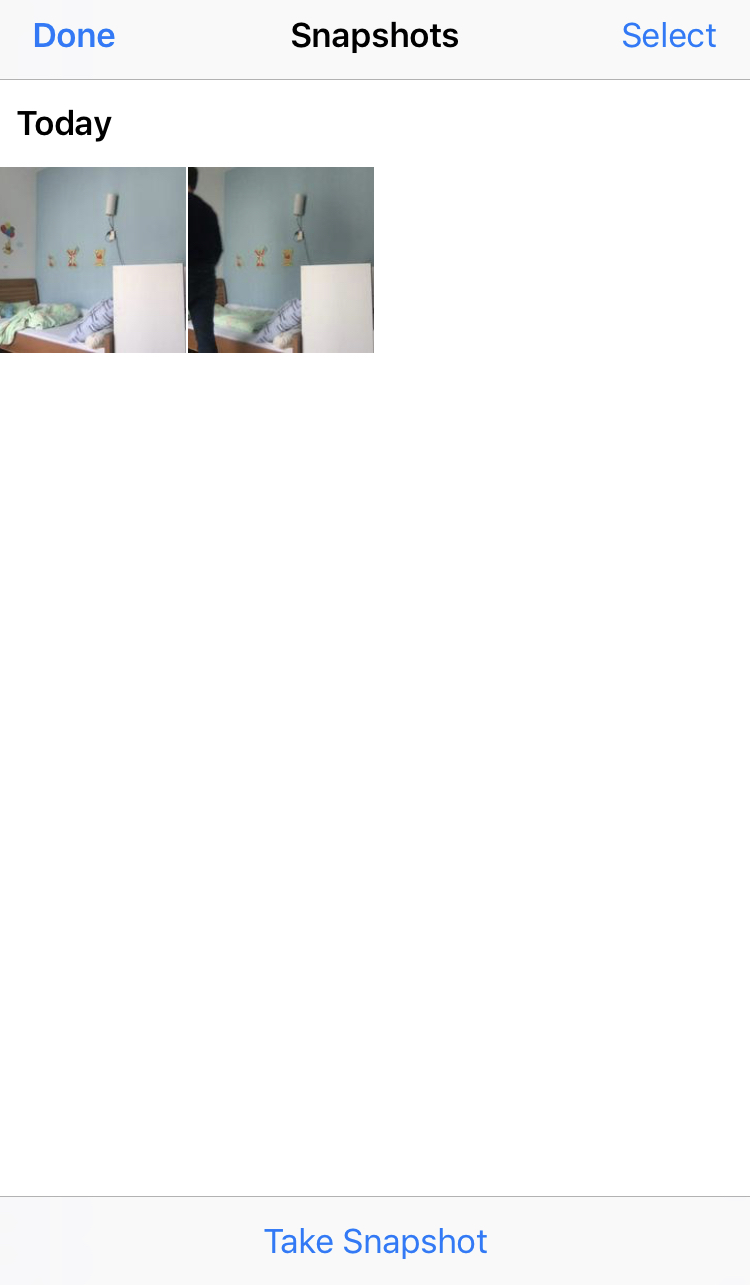
Persistent Snapshots
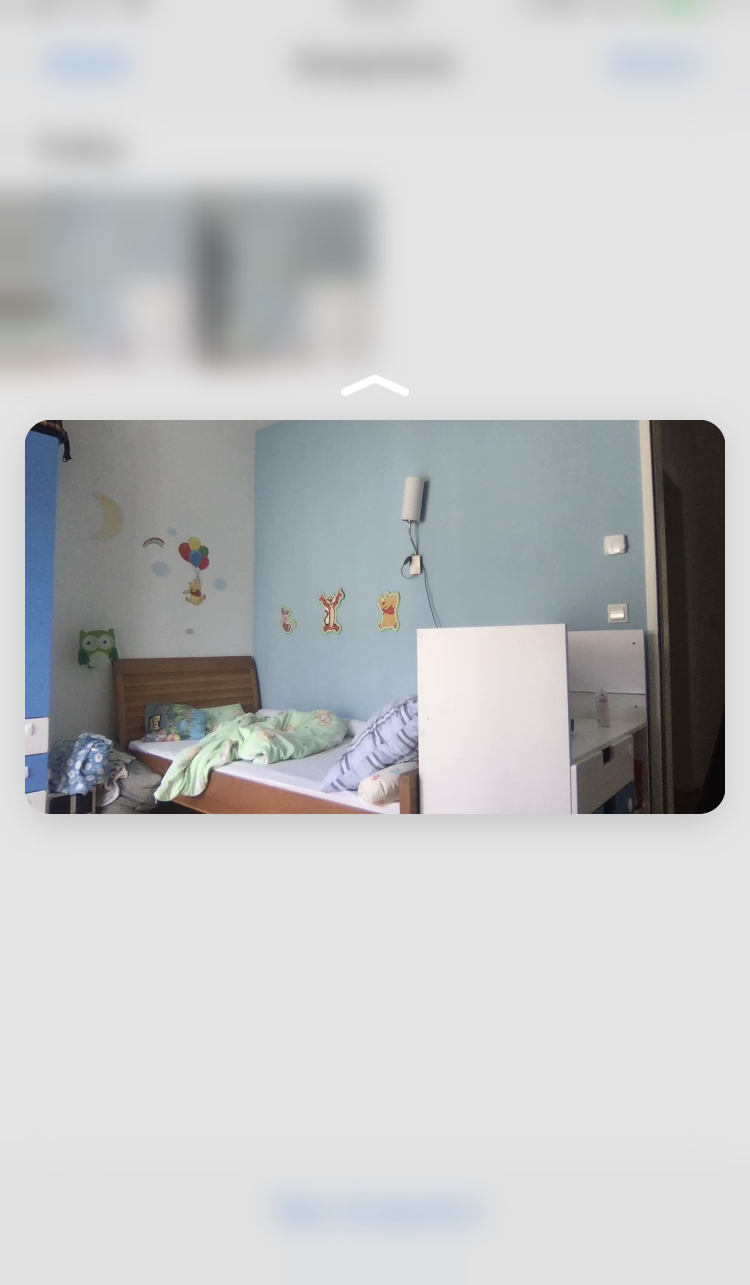
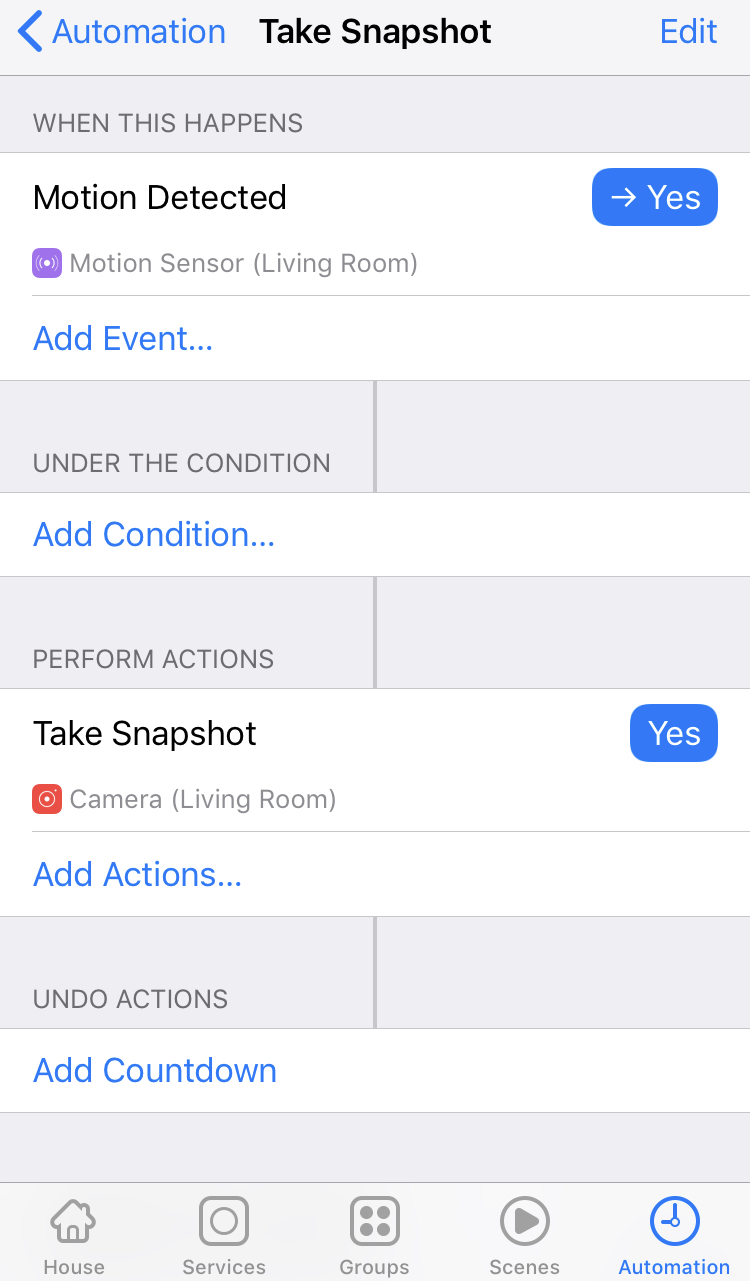
In addition to video streaming, hkcam supports Persistent Snapshots.
Persistent Snapshots is a way to take snapshots of the camera and store them on disk.
You can then access them via HomeKit.
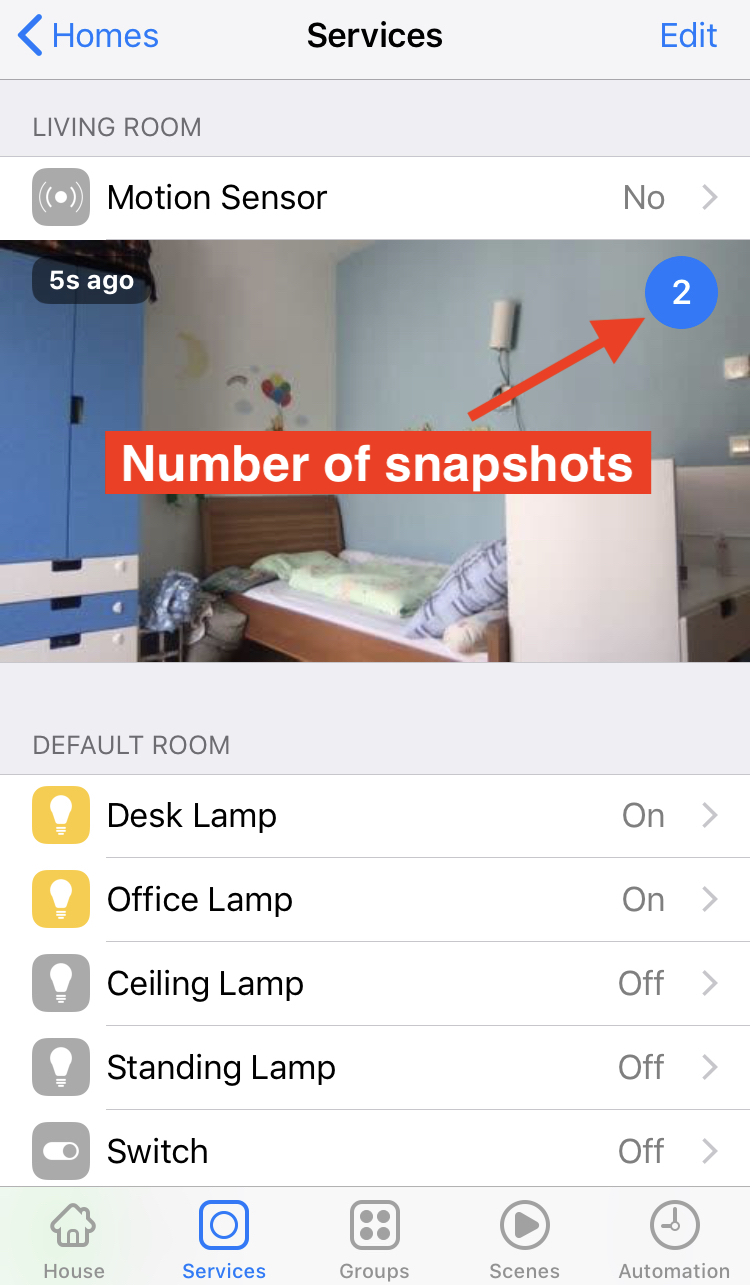
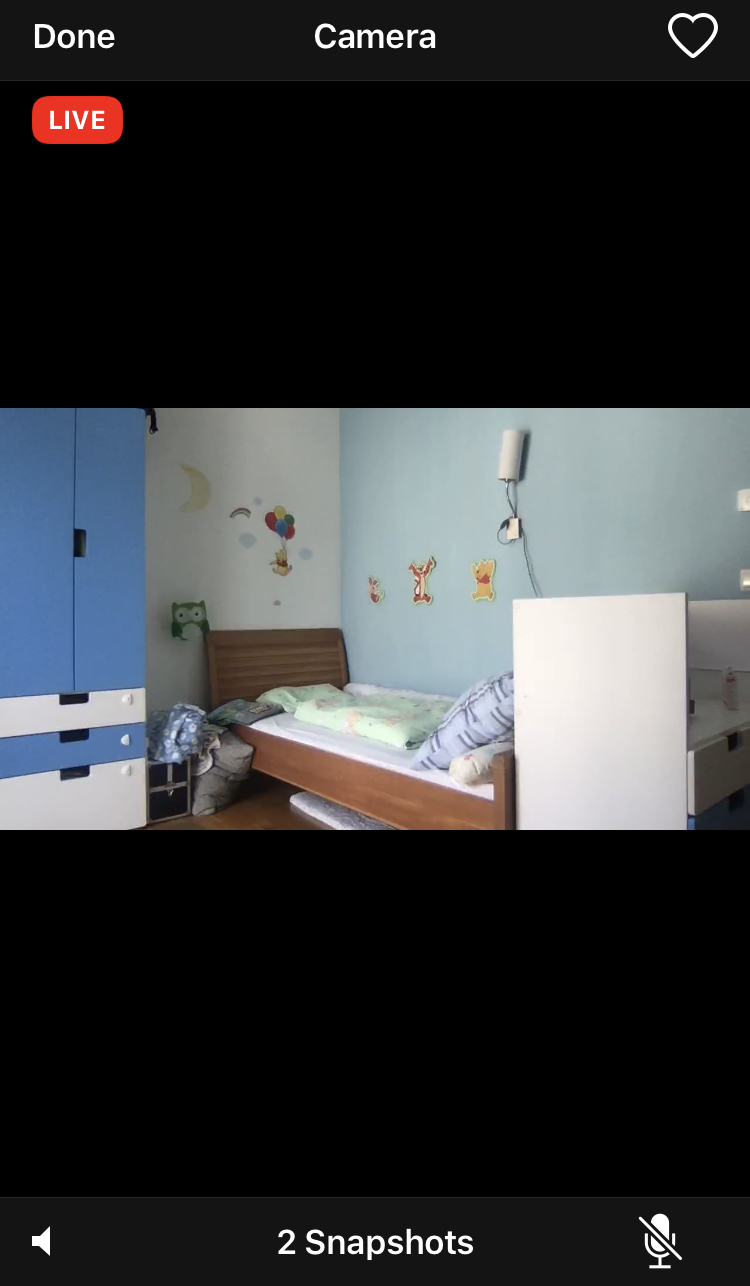
Persistent Snapshots are currently supported by Home 3, as you can see from the following screenshots.
| Services | Live Streaming | List of Snapshots |
|---|---|---|
 |
 |
 |
| Snapshot | Automation |
|---|---|
 |
 |
Advanced Configuration
The application can be further configured using flags in the startup script. These can lead to a misconfigured system and shoud be used at your own caution.
These settings can be changed in the startup script /etc/sv/hkcam/run.
#!/bin/sh -e
exec 2>&1
v4l2-ctl --set-fmt-video=width=1280,height=720,pixelformat=YU12
exec hkcam --data_dir=/var/lib/hkcam/data --verbose=true
| Flag | Default value | Description |
|---|---|---|
| min_video_bitrate | 0 |
minimum video bit rate in kbps |
| multi_stream | false |
"Allow mutliple clients to view the stream simultaneously |
| data_dir | "Camera" |
Path to data directory |
| verbose | true |
Verbose logging |
| pin | "00102003" |
PIN for HomeKit pairing |
| port | "" |
Port on which transport is reachable, random portif empty |
Network
hkcam uses bonjour for service discovery. The port used for this 5353.
The transport port is random. It is assigned by the OS. You can set a port using the port flag.
Contact
Matthias Hochgatterer
Website: http://hochgatterer.me
Github: https://github.com/brutella
Twitter: https://twitter.com/brutella
License
hkcam is available under the Apache License 2.0 license. See the LICENSE file for more info.
