MailChimp PL/SQL API
Interact with the MailChimp API using PL/SQL.
Benefits of using MailChimp
Using MailChimp has many advantages:
- Deliverabity & Reputation : MailChimp makes it easy for you to craft mail that complies will all the highest standards of the CAN-SPAM act and signals to email providers that your mail is legitimate.
- Free (for my purposes): At the time of this writing, if you have fewer than 2,000 subscribers and send fewer than 12,000 emails / month, there's no expiring trial, contract or credit card required. Your emails will have a small amount of MailChimp branding at the bottom (see screenshot at the end of this post) but nothing that offends me. Getting rid of this branding would cost me around $10/month.
- Easily craft handsome & robust email templates: Worrying about how your email will render across different email clients is a drag. MailChimp defaults are certainly better than anything I'm going to design myself.
- Sophisticated reporting: Access in-depth stats on open-rate, unsubscribe-rate, etc to better understand and serve your intended audience.
- Easy set-up and maintenance: Obviously this path obviates the need to setup and maintain your own email server.
Prerequisites
Enable your database to talk to MailChimp
Import the necessary certificates
You'll need to import the certificate chain (not the end certificate) to your Oracle Wallet for the website us[XX].api.mailchimp.com (e.g. us18.api.mailchimp.com).
Proof that you've successfully configured your database to talk to the MailChimp API is to be able to run the following without error:
select apex_web_service.make_rest_request(
      p_url         => 'https://us18.api.mailchimp.com'
    , p_http_method => 'GET'
    , p_wallet_path => 'file:[path to your oracle wallet]'
    ) from dual;
If you get the error 'ORA-29024: Certificate validation failure', it must be because you have not imported the certificate chain referenced above to your linked oracle wallet. See my notes on how I configured my Oracle Wallet.
If you get the error 'ORA-24263: Certificate of the remote server does not match the target address.', it must mean that you are on a 12.2 database (or higher) and you need to add a parameter to your request:
select apex_web_service.make_rest_request(
      p_url         => 'https://us18.api.mailchimp.com'
    , p_http_method => 'GET'
    , p_wallet_path => 'file:[path to your oracle wallet]'
    , p_https_host  => 'wildcardsan2.mailchimp.com'
    ) from dual;
The 'HTTPS Host' refers to the 'Common Name' of the URL you are trying to reach and must now be specified when your API is employing a 'multiple domain certificate'. See my notes on solving the ORA-24263 error.
Compatibility
The json functions I leverage require at least a 12.2 database and APEX 5.1.4. It should, nonetheless, be simple to adapt them for a lower environment.
For example:
l_list_id := json_value(l_response, '$.id');
The above syntax requires a 12.2 database. It could however be replaced with the following in a 12.1 database:
select json_value(l_response, '$.id')
into l_list_id
from dual;
Logger
It would, of course, be perfectly possible to write this PL/SQL package without using Logger. Nonetheless, I am unashamedly dependent on it and would encourage anyone to give it a try before removing all the logger code that I've written. Installation is simple and the documentation is thorough.
Using the MailChimp API through PL/SQL
Installation
There is not much to be installed just 1 package, 6 types and 3 tables.
Create a MailChimp account
Your 1st step should be to create a free account on Mailchimp.
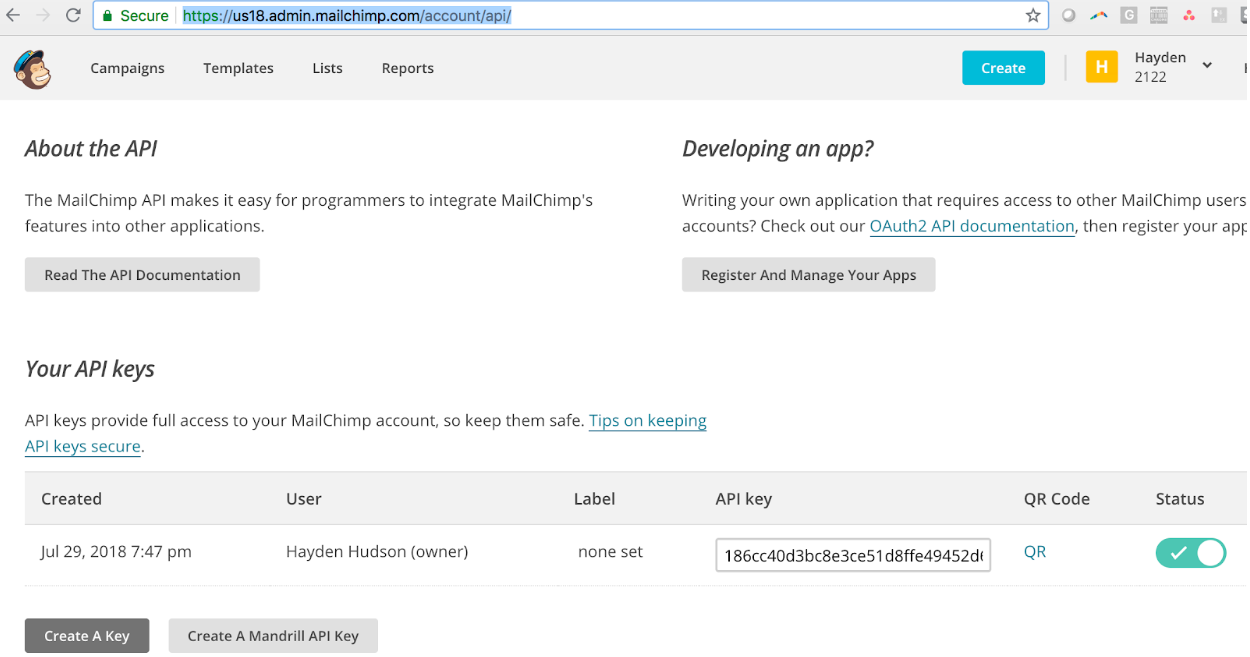
Get your API Key
You can create and manage your API keys in the account section of MailChimp:
Determine your URL Prefix
You'll need to determine your 'URL prefix', as I'm calling it, to use the MailChimp API. You are assigned one when you create an account. I know that I'm 'us18' looking at the URL of MailChimp as a logged-in user. There are probably many ways to determine this.
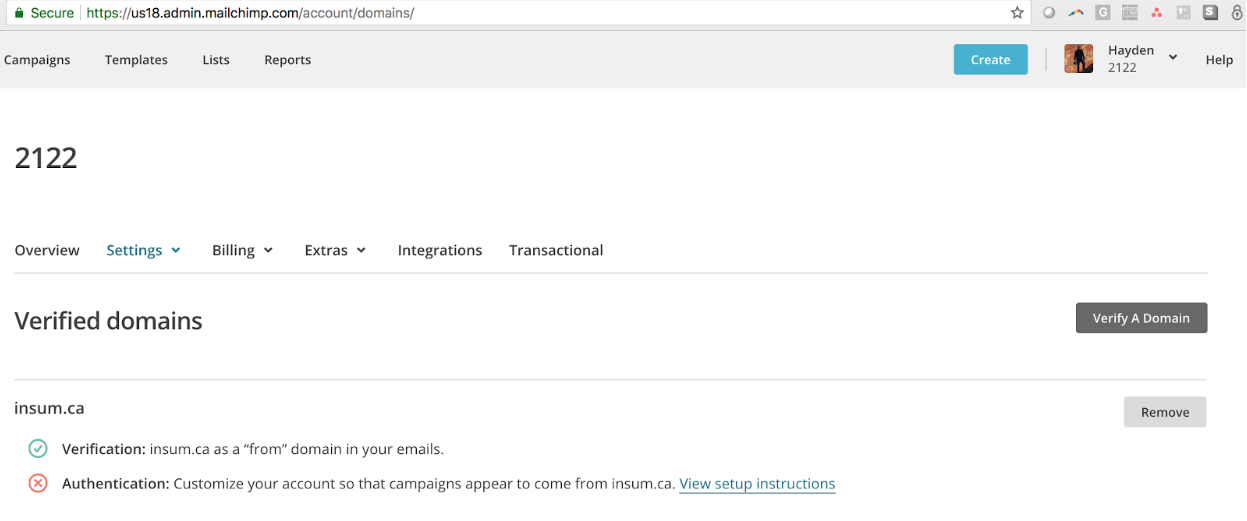
Authenticate your email with MailChimp
While you're there, be sure to authenticate the email you intend to have as your 'From' email with MailChimp:
Populate values in package
With your URL prefix and API key, you can now begin populating the global variables listed at the top of the mailchimp_pkg body.
g_url_prefix    constant varchar2(100):= 'https://usXX.api.mailchimp.com/3.0/';
g_password      constant varchar2(50) := '[your MailChimp API Key]';
g_wallet_path   constant varchar2(100):= 'file:[path to your Oracle Wallet]';
g_https_host    constant varchar2(100):= 'wildcardsan2.mailchimp.com';
g_company_name  constant varchar2(100):= '[Your organization]';
g_reply_to      constant varchar2(100):= '[The email you athenticated with MailChimp]';
g_from_name     constant varchar2(100):= '[Your name]';
...
Create an email list
You're now ready to start using the API. The 1st step is to create a 'list', where you'll store all the recipients of the email you're trying to send. The only 2 inputs are the name you'll give the list and a short statement that will be included in the email that will explain to recipients how they got on this email list. For illustrative purposes, I'll use as my example: Composing an email to people who have elected to stay up-to-date on the comments of a blog posting.
declare
l_list_id varchar2(100);
begin
  mailchimp_pkg.create_list( p_list_name           => 'Blog commenters',
                             p_permission_reminder => 'You signed up to be updated when new comments are posted.',
                             p_list_id             => l_list_id);

  dbms_output.put_line('Your newly generated list_id is  :'||l_list_id);
end;
Add subscribers
Your list generated, you can now add however many recipients you choose. Below, I illustrate adding myself to my recipient list:
declare
l_success boolean;
begin
  mailchimp_pkg.add_subscriber ( p_list_id => '[you list_id]',
                                 p_email   => '[email protected]',
                                 p_fname   => 'Hayden',
                                 p_lname   => 'Hudson',
                                 p_success => l_success);
  if l_success then
    dbms_output.put_line('The operation was successful.');
  else
     dbms_output.put_line('Something went wrong. Check the logs.');
  end if;
end;
View your subscribers
If at any point you lose track of who you've added to your list, you can query it as follows:
SELECT *
FROM TABLE(blog_mailchimp_pkg.get_list_of_subscribers ( p_list_id => '[you list_id]'));
Prepare your email
Create an email template
Beautiful templates is one of the main reasons why people use MailChimp. Below, I explain 2 options for creating templates. I have a preference for the 2nd one.
Option 1: Create template with API
If you're not afraid of HTML and CSS, you can craft your own email template and pass it to MailChimp using their API:
declare
l_template_id integer;
begin
   mailchimp_pkg.create_template (p_template_name => 'Your template name',
                                  p_html          => '<html><body>This is a really basic email.</body></html>',
                                  p_template_id   => l_template_id);
   dbms_output.put_line('Your newly generated template_id is  :'||l_template_id);
end;
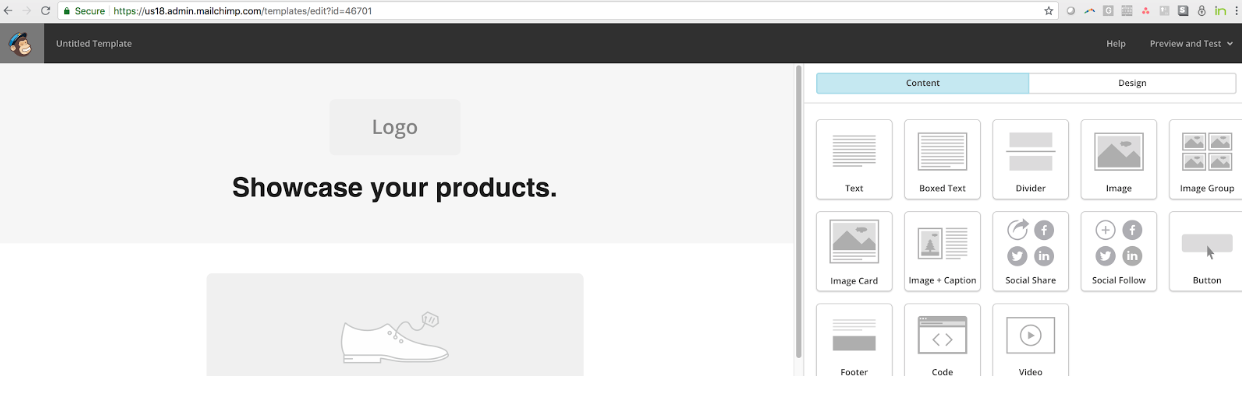
Option 2: Create template with MailChimp GUI
Spare yourself the trouble of having to worry about your email's HTML and CSS. Use MailChimp's easy GUI to assemble a handsome and performant template. Simply log in and visit the 'Templates' tab to get started. Take not of the 'template_id' in the URL - for eg '46701' in the screenshot below.
Pass data into your template with API
As a best practice, I recommend keep your templates fairly generic to maximize for general use. The real content of your emails can be passed in by one of the 2 methods (and there may be more) described below:
Option 1: Update entire template html
If you favored Option 1 above, you may also like the option to update the entire template's HTML:
declare
l_success boolean;
begin
   mailchimp_pkg.update_template (p_template_id => '[you template_id]',
                                  p_html        => '<html><body>This is nothing fancy.</body></html>',
                                  p_success     => l_success);
   if l_success then
     dbms_output.put_line('The operation was successful.');
   else
     dbms_output.put_line('Something went wrong. Check the logs.');
   end if;
end;
Option 2: Use Merge Fields
I favor using 'Merge Fields', myself.
Add Merge Field(s) to your template
Step 1 is to create your own custom Merge Fields. Start by simply design your own 'tags', using the correct |SYNTAX| directly into your MailChimp template (they must be under 10 characters in length):
Add Merge Field(s) to your list
Step 2 is to then formally add those same 'tags' to your previously-created 'list'
declare
l_merge_id integer;
l_tag      varchar2(100);
begin
   mailchimp_pkg.create_merge_field( p_list_id          => '[you list_id]',
                                     p_merge_field_tag  => '[a tag for your merge field]',
                                     p_merge_field_name => '[a more descriptive name]'
                                     p_merge_id         => l_merge_id,
                                     p_tag              => l_tag);
   dbms_output.put_line('Your newly generated merge_id :'||l_merge_id);
   dbms_output.put_line('The associated tag is :'||l_tag);
end;
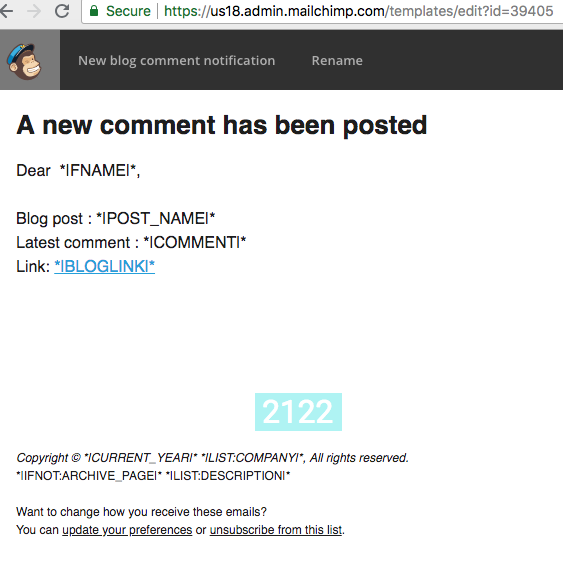
Note: Tags cannot be more than 10 characters. For the purposes of my example, the values that I’d pass into p_merge_field_tag are POST_NAME, COMMENT AND BLOGLINK (see template picture, above).
Assign value(s) to your Merge Field(s)
Finally, you assign the values you wish to pass into your email with the following:
declare
l_success boolean;
begin
   mailchimp_pkg.update_merge_field (p_list_id         => '[you list_id]',
                                     p_merge_field_tag => '[the tag for your merge field]',
                                     p_merge_value     => 'Nice post!',
                                     p_success         => l_success);
   if l_success then
     dbms_output.put_line('The operation was successful.');
   else
     dbms_output.put_line('Something went wrong. Check the logs.');
   end if;
end;
Review Merge Fields
If ever you lose track of which tags are already assigned to your 'list', you can query them with the following:
SELECT *
FROM TABLE(mailchimp_pkg.get_list_of_merge_fields(p_list_id => '[you list_id]'));
Send your email
Generate your 'campaign' url
Almost there! MailChimp refers to all emails as 'campaigns'. Generate the URL for your intended email with the following API:
declare
l_send_url varchar2(100);
begin
   mailchimp_pkg.create_campaign ( p_list_id      =>'[you list_id]',
                                   p_subject_line => 'New blog comment',
                                   p_title        => 'Blog comment email',
                                   p_template_id  => '[you template_id]',
                                   p_send_url     => l_send_url);
   dbms_output.put_line('Your email is ready to send with the following url :'l_send_url);
end;
Send your campaign
Take that URL and simply plug it into the following:
declare
l_success boolean;
begin
   mailchimp_pkg.send_campaign (p_send_url => '[your campaign send_url]',
                                p_success  => l_success);
   if l_success then
     dbms_output.put_line('The operation was successful.');
   else
     dbms_output.put_line('Something went wrong. Check the logs.');
   end if;
end;
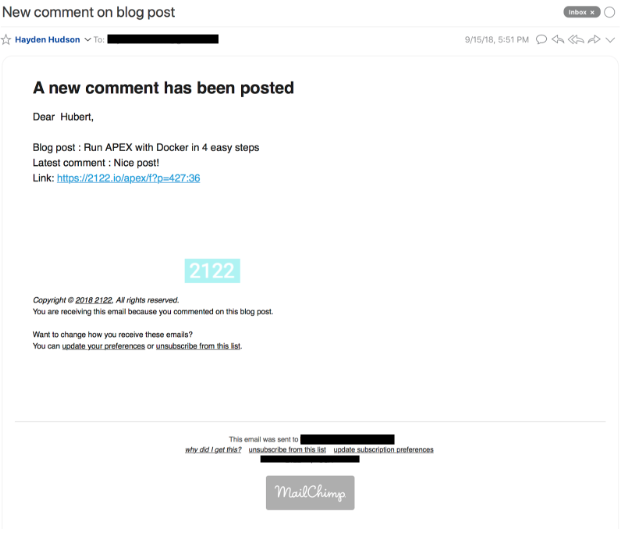
By way of illustration, below is an example email that was sent using the above-described steps:
Review historical campaigns
MailChimp's reporting capabilities are an important driving factor for its adoption. I have pulled in several (but by no means all) of MailChimp's reporting stats in the following query:
SELECT *
FROM TABLE(blog_mailchimp_pkg.get_campaign_history)
WHERE CAMPAIGN_ID IS NOT NULL
ORDER BY SEND_TIME