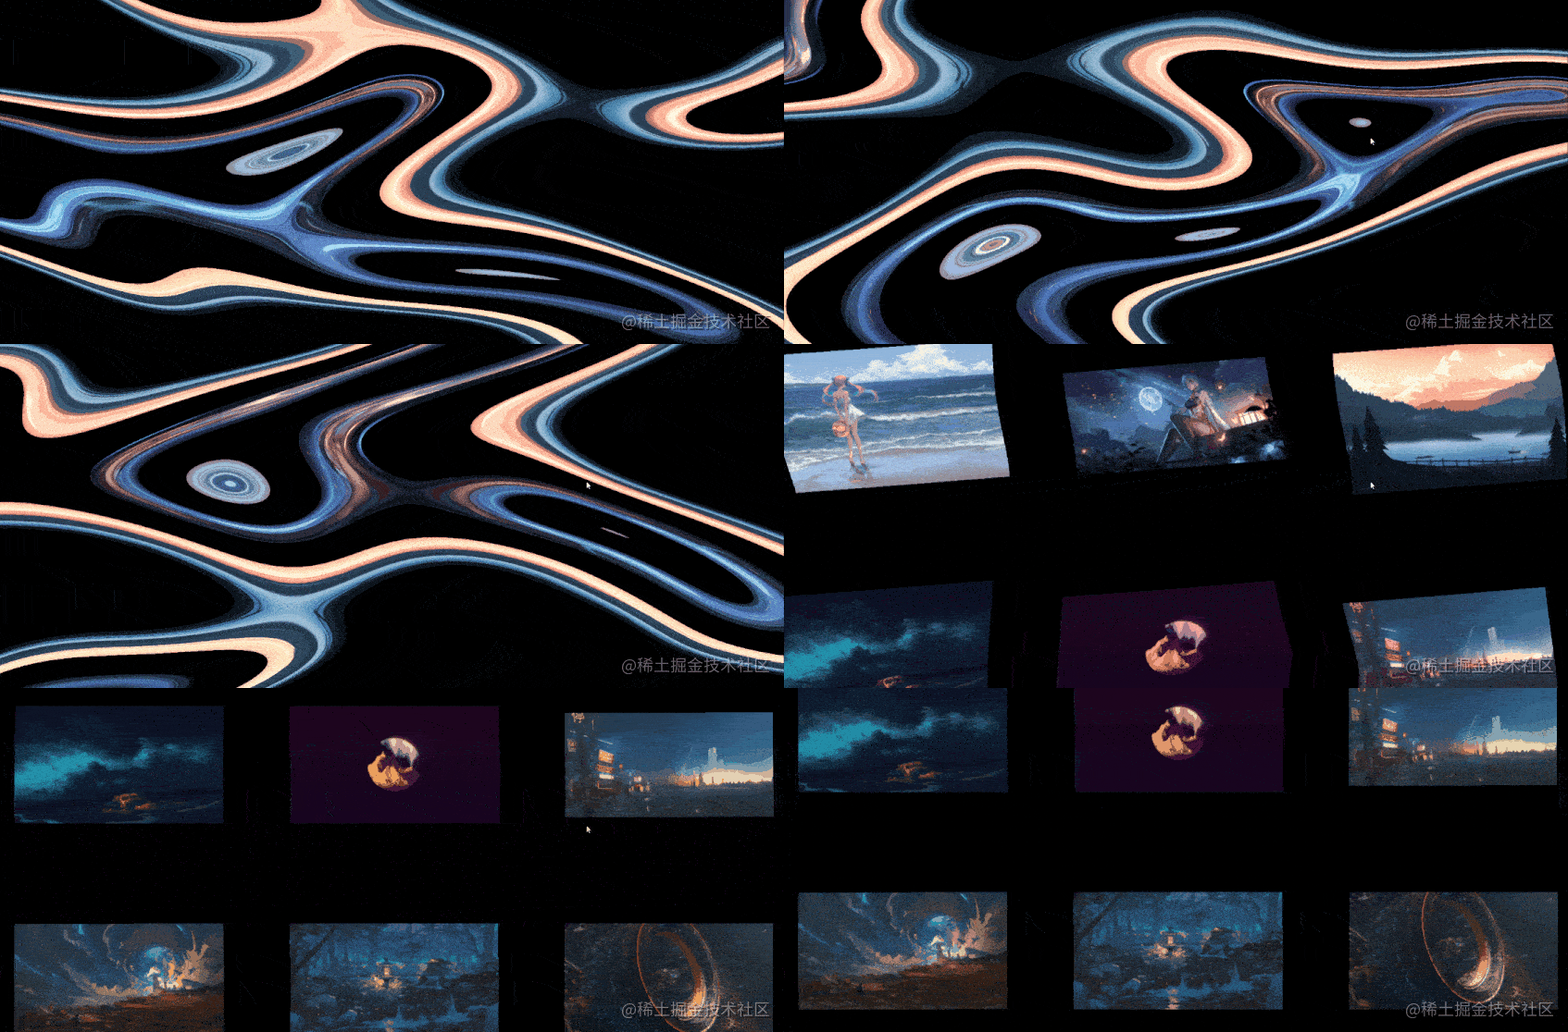
Welcome to maku.js 👋
A bridge between HTML and WebGL(three.js).
Install
npm i maku.jsUsage
- Define some images in your HTML, and make them transparent
<div class="image-plane fixed z-0 w-screen h-screen pointer-events-none"></div>
<div class="bg-black">
  <div class="h-20"></div>
  <div class="gallery">
    <img
      class="gallery-item"
      src="https://i.loli.net/2021/10/09/UwaE61hgctofAFL.jpg"
      crossorigin="anonymous"
      alt=""
    />
    ...
  </div>
  <div class="h-20"></div>
</div>
img {
opacity: 0;
}- Use
MakuClass to sync HTML with WebGL
import * as THREE from "three";
import { Maku, MakuGroup, Scroller, getScreenFov } from "maku.js";

// Select a container
const container = document.querySelector(".image-plane");

// Create scene
const scene = new THREE.Scene();

// Create camera
// The fov of camera can be calculated by the function below to sync the unit
const cameraPosition = new THREE.Vector3(0, 0, 600);
const fov = getScreenFov(cameraPosition.z);
const aspect = container.clientWidth / container.clientHeight;
const camera = new THREE.PerspectiveCamera(fov, aspect, 100, 2000);
camera.position.copy(cameraPosition);

// Create Renderer
const renderer = new THREE.WebGLRenderer({
  alpha: true,
  antialias: true,
});
renderer.setSize(container.clientWidth, container.clientHeight);
renderer.setClearColor(0x000000, 0);
container.appendChild(renderer.domElement);

// Select all the images you want to render in WebGL
const images = [...document.querySelectorAll("img")];

// Your own vertex shader
const imagePlaneMainVertexShader = `
varying vec2 vUv;

void main(){
    vec4 modelPosition=modelMatrix*vec4(position,1.);
    vec4 viewPosition=viewMatrix*modelPosition;
    vec4 projectedPosition=projectionMatrix*viewPosition;
    gl_Position=projectedPosition;

    vUv=uv;
}
`;

// Your own fragment shader
const imagePlaneMainFragmentShader = `
uniform sampler2D uTexture;

varying vec2 vUv;

void main(){
    vec4 texture=texture2D(uTexture,vUv);
    vec3 color=texture.rgb;
    gl_FragColor=vec4(color,1.);
}
`;

// Create a ShaderMaterial
const imagePlaneMaterial = new THREE.ShaderMaterial({
  vertexShader: imagePlaneMainVertexShader,
  fragmentShader: imagePlaneMainFragmentShader,
  side: THREE.DoubleSide,
  uniforms: {
    uTexture: {
      value: null,
    },
  },
});

// Make a MakuGroup that contains all the makus!
const makuGroup = new MakuGroup();
const makus = images.map((image) => new Maku(image, imagePlaneMaterial, scene));
makuGroup.addMultiple(makus);

// Sync images positions
makuGroup.setPositions();

// Make a scroller
const scroller = new Scroller();
scroller.listenForScroll();

// Sync scroll
const update = () => {
  scroller.syncScroll();
  const currentScrollY = scroller.scroll.current;
  makuGroup.setPositions(currentScrollY);
};

// Render the scene
renderer.setAnimationLoop(() => {
  update();
  renderer.render(scene, camera);
});

// And the basic setup is done!
// For more, you should visit demos below.
// https://codepen.io/collection/xKGjro
Link for this setup: Click Me
Demos
Author
- Website: https://alphardex.netlify.app/#/
- Twitter: @alphardex007
- Github: @alphardex
Show your support
Give a
This README was generated with


