IndigoSoft / Ngxd
Programming Languages
✨🦊 NGX Dynamic for Angular Ivy and Angular 7, 8, 9+
🥳 Best way to quickly use Dynamic Components with Angular
Use like NgComponentOutlet but with @Input/@Output auto bindings:
<ng-container *ngxComponentOutlet="component"></ng-container>
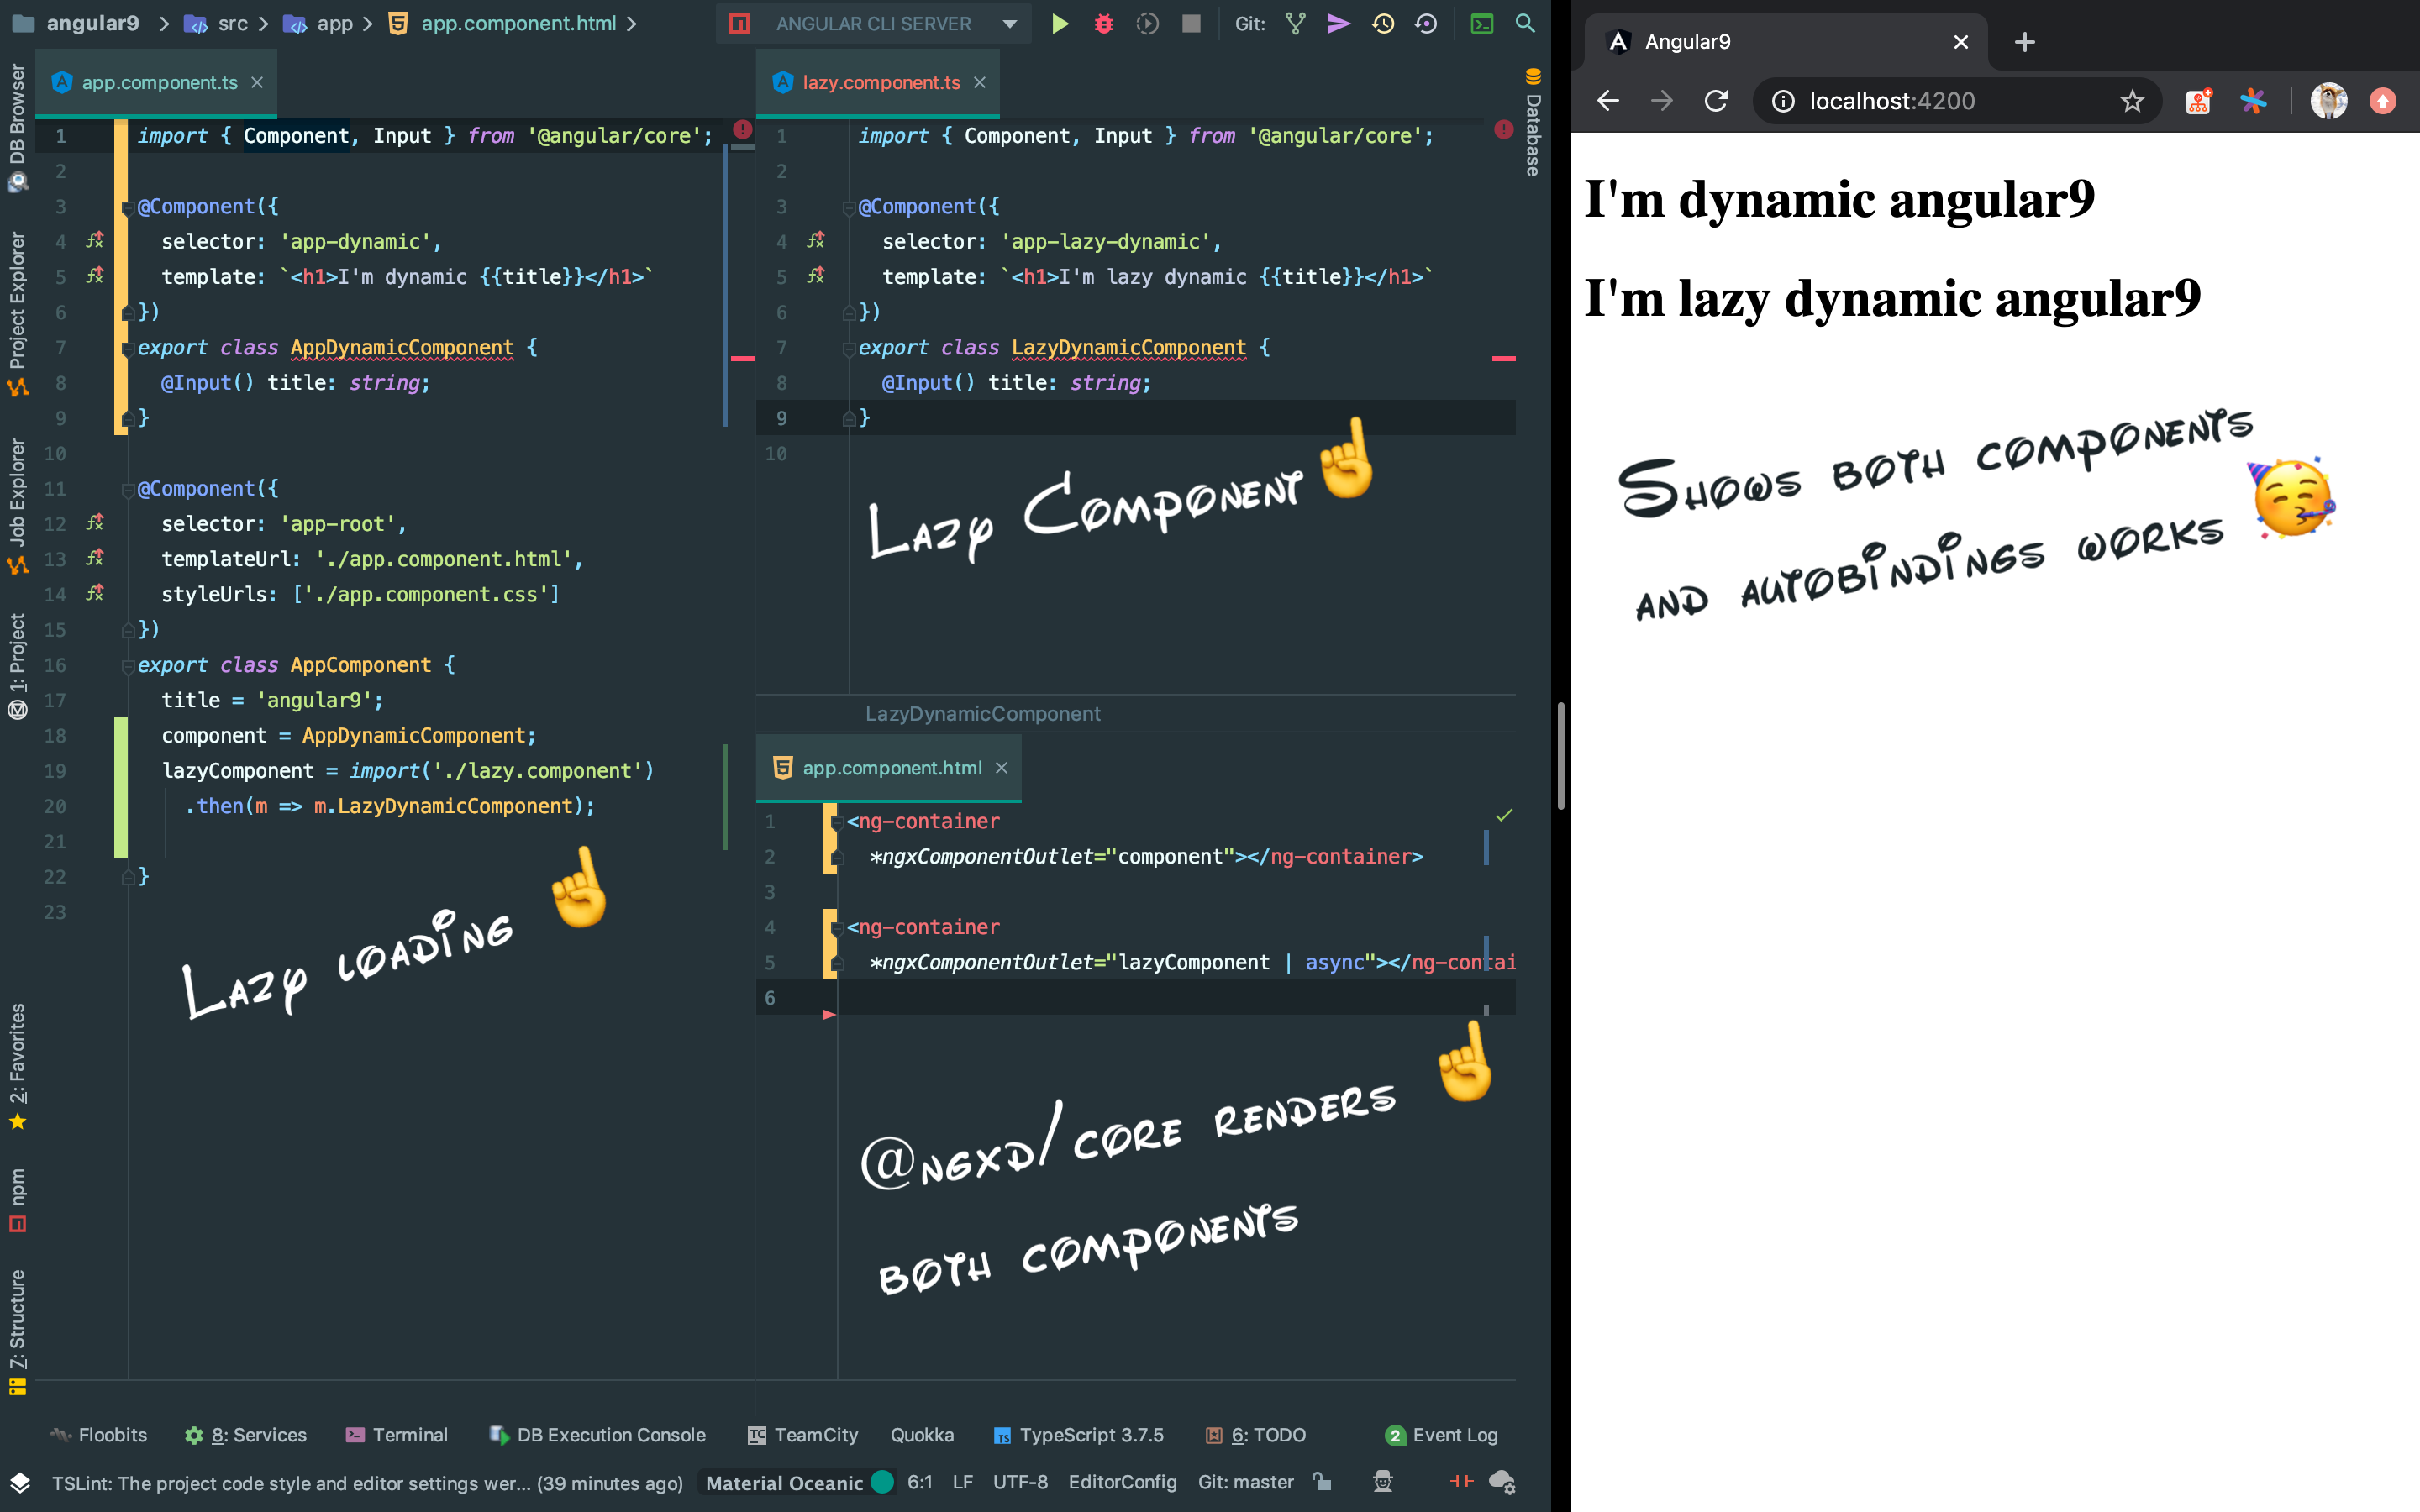
Here is a demo example showing NGX Dynamic and Angular in action.
Getting started
Step 1: Install @ngxd/core:
npm install --save @ngxd/core
# or
yarn add @ngxd/core
Note: If you want to use @ngxd/core with specific angular version, please install @ngxd/core which version you need:
- @angular/[email protected] => npm install @ngxd/[email protected]
- @angular/[email protected] => npm install @ngxd/[email protected]
- @angular/[email protected] => npm install @ngxd/[email protected]
- @angular/[email protected] => npm install @ngxd/[email protected]
Step 2: Import the NgxdModule:
import { NgxdModule } from '@ngxd/core';

@NgModule({
  declarations: [ AppComponent ],
  // have import NgxdModule here 👇
  imports: [ BrowserModule, NgxdModule ],
  bootstrap: [ AppComponent ]
})
export class AppModule {}
Step 3: Use NgxComponentOutlet directly:
@Component({
  template: `
    <ng-container
      *ngxComponentOutlet="component"></ng-container>`
      // using @ngxd/core 👆
})
class MyComponent {
  // 🥳 inputs and outputs will binding automatically
  @Input() entity;
  @Output() action;

  // your dynamic component 👇
  component = DynamicComponent;
}
Dynamic Components In 5 minutes
There are several modes of operation of the directive.
Through The Parent Component
A simple variant of binding through the parent component.
@Component({
  template: `
    <ng-container
      *ngxComponentOutlet="component"></ng-container>`
      // using @ngxd/core 👆
})
class MyComponent {
  // 🥳 inputs and outputs will binding automatically
  @Input() entity;
  @Output() action;

  // your dynamic component 👇
  component = DynamicComponent;
}
Through The Context (please, use auto-binding like above)
Additionally there is autobinding through the context. This is useful when you need to display something through *ngFor. Context has a higher priority than the inputs in the component.
<ng-container *ngFor="let color of colors"
  <ng-container
    *ngxComponentOutlet="
      component;
      context: { color: color }"></ng-container>
</ng-container>
Pipe For Selecting The Component
For ease of selecting the required component, there is ResolvePipe, which expects NgxdResolver to enter, and returns the required component.
<ng-container
  *ngxComponentOutlet="
    resolver | resolve: entity"></ng-container>
Through The Host Component (deprecated, please, use auto-binding like above)
Through the host component, when the inputs and outputs are initialized explicitly. This option is difficult to use and deprecated.
<!-- host component -->
<app-dynamic
    <!-- dynamic component -->
    [ngxComponentOutlet]="component"
    <!-- regular input -->
    [entity]="entity"
    <!-- regular output -->
    (action)="onAction($event)">
</app-dynamic>
Comparison
| Feature | NgxComponentOutlet | ComponentFactoryResolver | NgComponentOutlet |
|---|---|---|---|
| Friendliness | ⭐⭐⭐ | ⭐ | ⭐⭐ |
| Dynamic Components | ✅ | ✅ | ✅ |
| AOT support | ✅ | ✅ | ✅ |
| Reactivity | ✅ | ✅ | ✅ |
| Injector | ✅ | ✅ | ✅ |
| NgModule | ✅ | ✅ | ✅ |
| projectionNodes | ✅ | ✅ | ✅ |
| Component Access | ✅ | ✅ | ❌ |
| Lifecycle OnChanges | ✅ | ⭕️ manually | ❌ |
Binding @Input()
|
✅ | ⭕️ manually | ❌ |
Binding @Output()
|
✅ | ⭕️ manually | ❌ |
| Activate Event | ✅ | ⭕️ manually | ❌ |
| Deactivate Event | ✅ | ⭕️ manually | ❌ |
API
| Input | Type | Default | Required | Description |
|---|---|---|---|---|
[ngxComponentOutlet] |
Type<any> |
n/a | yes | |
[ngxComponentOutletContext] |
any |
n/a | no | |
[ngxComponentOutletInjector] |
Injector |
n/a | no | |
[ngxComponentOutletContent] |
any[][] |
n/a | no | |
[ngxComponentOutletNgModuleFactory] |
NgModuleFactory<any> |
n/a | no |
| Output | Type | Description |
|---|---|---|
(ngxComponentOutletActivate) |
any |
|
(ngxComponentOutletDeactivate) |
any |


