spacehuhn / Packetmonitor
PacketMonitor
ESP8266 + OLED = WiFi Packet Monitor
Support me and my projects on Patreon!

Introduction
Did you ever wonder how many data packets are flying around you right now?! This little project tells you how many normal Wi-Fi and Deauth packets are sent every second and on which channel.
It's not limited to one network, it scans all traffic on one channel.
You can see peaks whenever a device starts surfing the web and it will also warn you when a deauthentication attack is going on the selected channel! (For more info please see my DeauthDetector project.)
Preflashed Boards
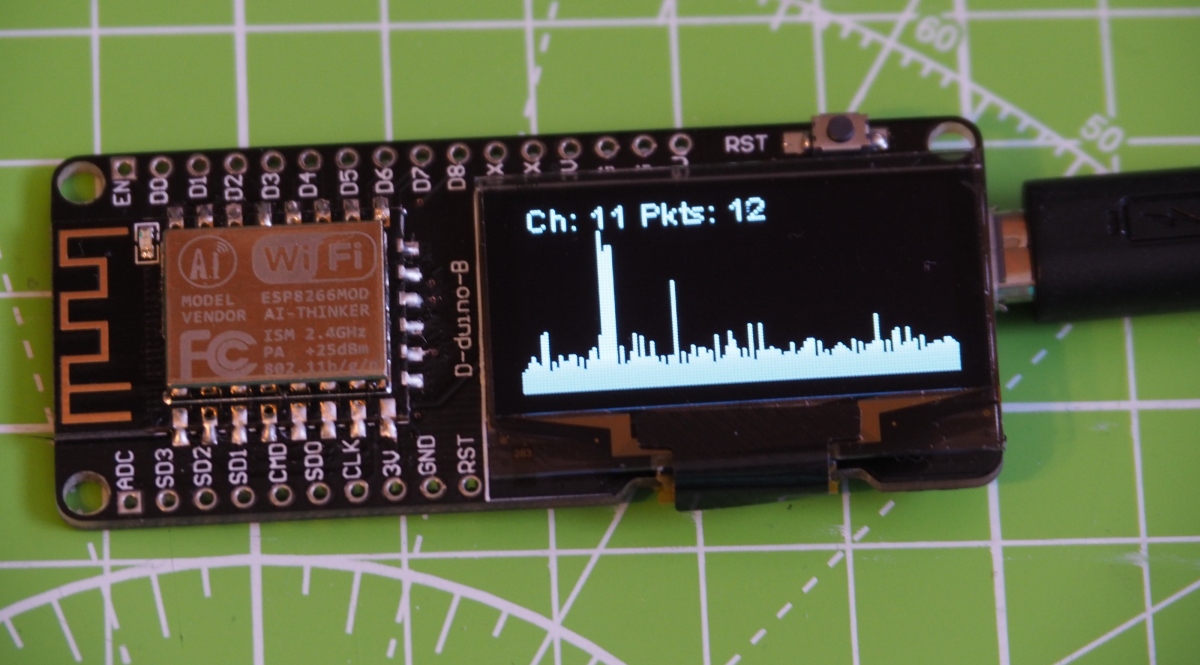
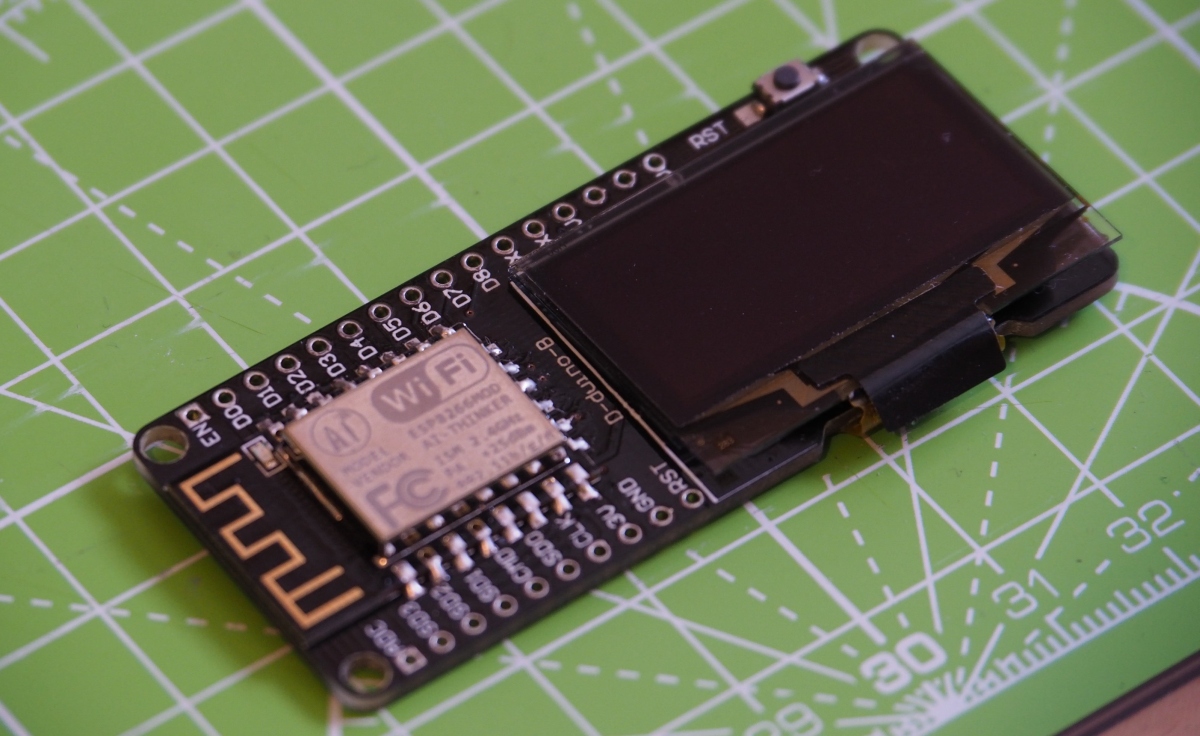
The D-Duino boards by DSTIKE are a great choice for this project.
This version here will come preflashed with this project:
(By your purchase you also support me and my projects!)
Plese be aware that there are fake D-Duino boards out there, labeled with "Wemos" instead of DSTIKE. They are not made by Wemos, these boards are just cheap fakes - they can work, but I would recomment to step away from them.
Building it yourself
The shopping list:
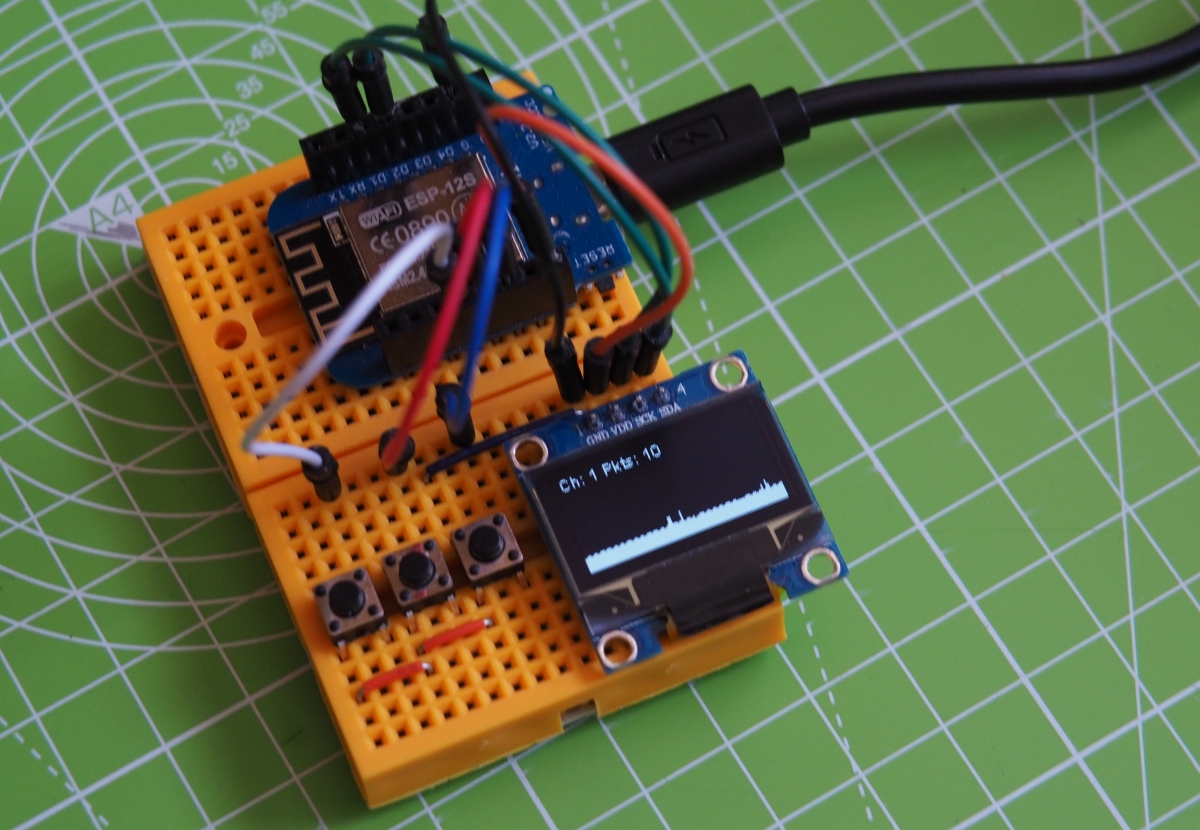
- an ESP8266 (doesn't matter which module or board)
- SSD1306 or SH1106 I2C OLED Display 128x64 pixel
- [Optional] a button (if you use a dev. board with a flash button on it, you can use that instead)
- wires to connect everything
Connecting the Display:
| Display | ESP8266 |
|---|---|
| GND | GND |
| VCC | 3.3V |
| SDA | GPIO 5 (D1) |
| SCL | GPIO 4 (D2) |
If necessary you can modify the I2C pins in the code of course:
//create display(Adr, SDA-pin, SCL-pin)
SSD1306 display(0x3c, 5, 4); //GPIO 5 = D1, GPIO 4 = D2
//SH1106 display(0x3c, 5, 4);
Connecting the button:
If you have a NodeMCU or any other development board you can use its flash button and don't have to connect a button yourself!
Modify the button pin in the code to whatever pin you like to use:
#define btn 0 //GPIO 0 = FLASH BUTTON
Then connect the button between GND and the button PIN from the code.
That's all :)
How to install it
You will only need to follow one of the installation methods!
Uploading the .bin file
Go to releases and download the latest .bin file.
Upload the PacketMonitor.bin using the esptool-gui, nodemcu-flasher or the esptool from Espressif.
Using Arduino
1 Install Arduino
2 Install the ESP8266 SDK
2 Install the esp8266-oled-ssd1306 library
3 Download this project and open it with Arduino
4 Maybe customize the code:
//===== SETTINGS =====//
//create display(Adr, SDA-pin, SCL-pin)
SSD1306 display(0x3c, 5, 4); //GPIO 5 = D1, GPIO 4 = D2
//SH1106 display(0x3c, 5, 4);

#define btn 0 //GPIO 0 = FLASH BUTTON

#define maxCh 13 //max Channel -> US = 11, EU = 13, Japan = 14
#define ledPin 2 //led pin ( 2 = built-in LED)
#define packetRate 5 //min. packets before it gets recognized as an attack

#define flipDisplay true
5 Upload the code to your ESP8266 (don't forget to set it to the right upload settings!)
6 Disconnect and reconnect your ESP8266 to restart it properly.
DONE :)
Using it
Plug it in and see the WiFi traffic around you!
You can change the channel by clicking on the button, it will remember your channel selection even when you unplug it.
If the LED lights up, that means that it recognized a lot of deauthentication or disassociation frames on that channel which could indicate a deauthentication attack. More on that on my other project esp8266_deauther.
License
This project is licensed under the MIT License - see the license file for details.