DockerCon 2016 Hack
Live IoT cluster demonstration
Load-balanced Python flask service with LED lights to show when an upstream server is being utilized. This is designed to be both educational and to serve as an example of what can be done when combining Docker with the Raspberry PI.
- Hardware: Raspberry PI Zero Find stock here
- Software: Arch Linux ARM, Docker, Swarm, pre-built ARM images.
Honoured to have had this retweeted by Solomon Hykes, the creator of Docker
Technical Deep Dive
Please read the technical Deep Dive here on my blog for all the details and conceptual diagrams.
Watch me on Pimoroni's live YouTube TV show
In Bilge Tank 039 - Clusters, Docker, Brambles & Raspberry Pi Supercomputers! I talk Docker, what it means to be a Docker Captain and all about Docker Swarm. I also demo the full Hack with an additional Raspberry Pi board making 5 nodes in total.
Watch the demo
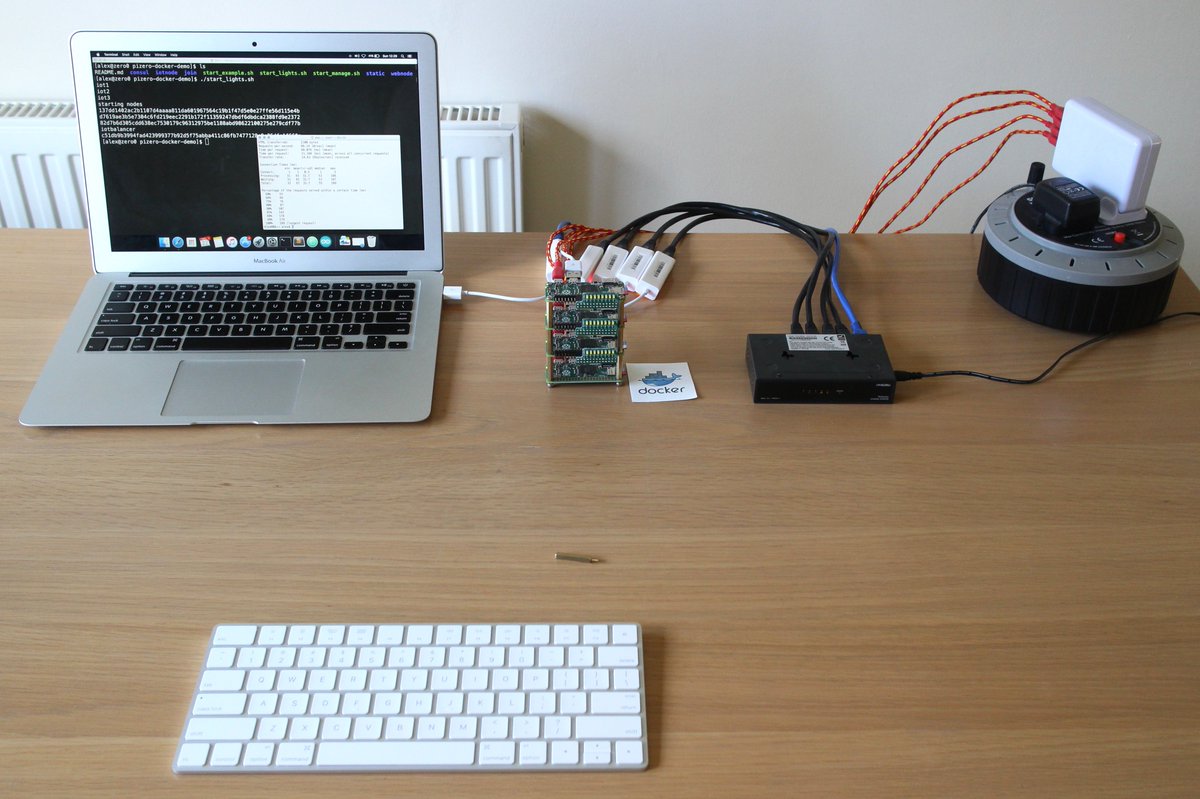
In the video I give a quick explanation of the setup then use curl and Apache Bench ab to simulate a real-world load on the cluster.
Installation / configuration
Step 1
Start the Swarm manager
$ git clone https://github.com/alexellis/pizero-docker-demo.git
$ cd pizero-docker-demo
$ cd consul
$ ./start_consul.sh
$ ./manage.sh
Step 2 Start Swarm agents
Perform this step on each Raspberry PI. It must have Arch Linux ARM (ALARM) installed and Docker before going any further.
$ git clone https://github.com/alexellis/pizero-docker-demo.git
$ cd pizero-docker-demo
$ cd join
$ ./auto_join.sh
I use a shell script called run.sh for this to make running multiple commands easier.
./consul_/agent_run "cd pizero-docker-demo/join && ./auto_join.sh"
To enable all the clustering features we have to specify a KVP store for each of our agents. This will be the consul instance we started on the manager.
Edit /usr/lib/systemd/system/docker.service and update the ExecStart line:
ExecStart=/usr/bin/docker daemon -H fd:// -H tcp://0.0.0.0:2375 --cluster-advertise eth0:2375 --cluster-store consul://192.168.0.100:8500
Important note:
tcp://0.0.0.0:2375is insecure and should only be used with an air-gap or in an isolated dev environment. It means anyone with access could potentially run any code on your machine.
Step 2b Assign static IP addresses to your nodes (optional)
Edit /etc/systemd/network/eth0.network and replace it with the following (change the IP address):
[Match]
Name=eth0

[Network]
Address=192.168.0.101/24
Gateway=192.168.0.1
DNS=8.8.8.8
IPForward=ipv4
Step 3 Start the IoTNode containers and Nginx
$ ./start_lights.sh
Use curl to access the Nginx instance or ab to add some load such as:
ab -c 1 -n 100 http://192.168.0.100/
Feedback or questions?
Send me a tweet at @alexellisuk