All Projects → miztiik → server-migration-onprem-to-aws

miztiik / server-migration-onprem-to-aws

Licence: other
Simple demonstration on how to Lift & Shift OnPremise workload to AWS 🎓

Projects that are alternatives of or similar to server-migration-onprem-to-aws

ocp-flyway-db-migration
Database Migration Sample with Flyway, Docker and Kubernetes in Openshift Container Platform
Stars: ✭ 17 (-29.17%)
Mutual labels:  migration
carry
Python ETL(Extract-Transform-Load) tool / Data migration tool
Stars: ✭ 115 (+379.17%)
Mutual labels:  migration
SampleOAuth2 UsingPythonClient
Django Sample app using Python OAuth client
Stars: ✭ 23 (-4.17%)
Mutual labels:  migration
loopback-component-migrate
Migration framework for loopback
Stars: ✭ 43 (+79.17%)
Mutual labels:  migration
esm
An Elasticsearch Migration Tool.
Stars: ✭ 669 (+2687.5%)
Mutual labels:  migration
mongration
MongoDB data migration tool for Spring Boot projects
Stars: ✭ 21 (-12.5%)
Mutual labels:  migration
trona
Write DB migrations with SQL and run them with a CLI
Stars: ✭ 31 (+29.17%)
Mutual labels:  migration
medium-to-wordpress-migration
Script to export medium blogs to wordpress rss xml format
Stars: ✭ 15 (-37.5%)
Mutual labels:  migration
carpenter
Carpenter is a tool to manage DB schema and data
Stars: ✭ 41 (+70.83%)
Mutual labels:  migration
roda
RODA - Repository of Authentic Digital Objects
Stars: ✭ 54 (+125%)
Mutual labels:  migration
OpenWrts
OPENWRT 固件(Raspberry Pi4B/3B+,NanoPi R4S,Orange Pi R1Plus,x86) 依源码更新自动编译
Stars: ✭ 100 (+316.67%)
Mutual labels:  vmdk
laravel-online-migrator
Apply Laravel's database migrations with minimal disruptions using tools like Percona Online Schema Change
Stars: ✭ 43 (+79.17%)
Mutual labels:  migration
web-haskell-graphql-postgres-boilerplate
Modern webserver in Haskell: Graphql + Postgresql + Authentication + DB migration + Dotenv and more
Stars: ✭ 114 (+375%)
Mutual labels:  migration
illuminate
Yii2 to Laravel Migration Package
Stars: ✭ 71 (+195.83%)
Mutual labels:  migration
nomad
simple sql migration tool to save you from going mad
Stars: ✭ 72 (+200%)
Mutual labels:  migration
fastfreeze
Turn-key solution to checkpoint/restore applications running in Linux containers
Stars: ✭ 68 (+183.33%)
Mutual labels:  migration
hasura-metadata-patcher
CLI tool to patch Hasura metadata json file. Helps to organize complex CI/CD flows through different environments.
Stars: ✭ 14 (-41.67%)
Mutual labels:  migration
illustrated-python-3-course
Course materials and handouts for Python 3, an illustrated tour course
Stars: ✭ 60 (+150%)
Mutual labels:  migration
code2pg
Tool to help migrate application code from Oracle to PostgreSQL
Stars: ✭ 18 (-25%)
Mutual labels:  migration
cloud-services-to-service-fabric
Migrate a Cloud Services application to Service Fabric
Stars: ✭ 27 (+12.5%)
Mutual labels:  migration

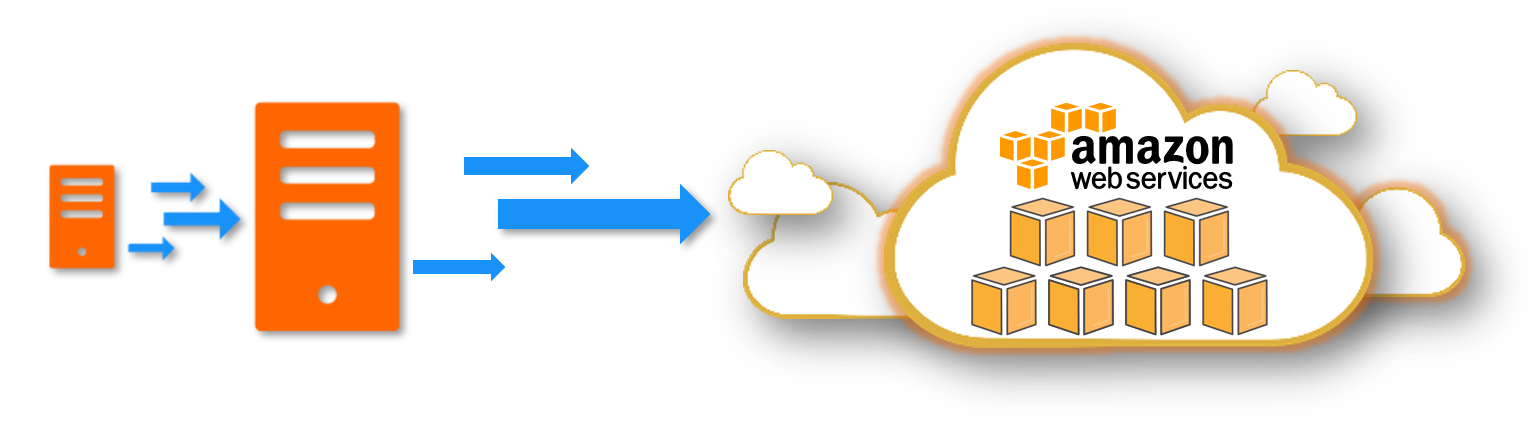
Migrate Your Existing OnPremise Workloads to Amazon EC2

Using VM Import migrate your existing VM-based applications and preserve the software and settings that you have configured in your existing VM.

Fig : Migrate Your Existing Applications and Workloads to Amazon EC2

Follow this article in Youtube

  1. Prerequisites

    • OnPremise VM (Preferably in VMWare / Virtualbox)
      • If you have *.vmdk image of your VM that will also be enough
      • MUST: You should have the uid/password to log into this VM
    • AWS CLI with access to Administrator privileges
      • You can tighten it down based on your requirements
  2. Export VM & Upload to S3

    Depending on virtualization tool, use the appropriate procedure to export your VM into *.vmdk or *.ova image. Upload the image to S3 Bucket and note down the bucket_name and vm_image_name.

  3. Global Customization Variables

    bucket_name="n-backup"
    # Add the appropriate S3 Prefix to the VM Image
    vm_image_name="VM-Import/vCentOS7-disk002.vmdk"
  4. Create Trust Policy

    Create the IAM trust policy json with the name trust-policy.json

    cat > "trust-policy.json" << "EOF"
    {
       "Version": "2012-10-17",
       "Statement": [
          {
             "Effect": "Allow",
             "Principal": { "Service": "vmie.amazonaws.com" },
             "Action": "sts:AssumeRole",
             "Condition": {
                "StringEquals":{
                   "sts:Externalid": "vmimport"
                }
             }
          }
       ]
    }
    EOF
  5. Create the IAM Role for VM Import

    Ensure that you create the role with the name vmimport. Use the trust policy created in the previous step

    aws iam create-role --role-name vmimport --assume-role-policy-document "file://trust-policy.json"
  6. Create the IAM Policy: role-policy.json

    This policy will be attached to the role vmimport created in the previous step. The bucket name is picked up from the global variable.

    echo '{
       "Version":"2012-10-17",
       "Statement":[
          {
             "Effect":"Allow",
             "Action":[
                "s3:GetBucketLocation",
                "s3:GetObject",
                "s3:ListBucket" 
             ],
             "Resource":[
                "arn:aws:s3:::'${bucket_name}'",
                "arn:aws:s3:::'${bucket_name}'/*"
             ]
          },
          {
             "Effect":"Allow",
             "Action":[
                "ec2:ModifySnapshotAttribute",
                "ec2:CopySnapshot",
                "ec2:RegisterImage",
                "ec2:Describe*"
             ],
             "Resource":"*"
          }
       ]
    }
    ' | sudo tee role-policy.json
  7. Attach policy to IAM Role:vmimport

    aws iam put-role-policy --role-name vmimport \
                            --policy-name vmimport \
                            --policy-document "file://role-policy.json"
  8. Begin VM Image Import Task

    The following command will begin the import of the VM Image. The S3 Bucket name & Bucket Key is picked up from the global variables.

    # Set the metadata, 
    echo '[
      {
        "Description": "centosv7",
        "Format": "vmdk",
        "UserBucket": {
            "S3Bucket": "'${bucket_name}'",
            "S3Key": "'${vm_image_name}'"
        }
    }]
    ' > containers.json

    Begin VM Import

    aws ec2 import-image --description "centosv7" --disk-containers "file://containers.json"

    The expected output,

    {
        "Description": "centosv7",
        "ImportTaskId": "import-ami-0d6db3a35d431e4e3",
        "Progress": "2",
        "SnapshotDetails": [
            {
                "DiskImageSize": 0.0,
                "Format": "VMDK",
                "UserBucket": {
                    "S3Bucket": "n-backup",
                    "S3Key": "VM-Import/vCentOS7-disk002.vmdk"
                }
            }
        ],
        "Status": "active",
        "StatusMessage": "pending"
    }

    Note down the ImportTaskId to check the progress of the import job.

    Check status of VM Import Jobs

    aws ec2 describe-import-image-tasks --import-task-ids "import-ami-0d6db3a35d431e4e3"

    Check VM Import Progress

    # VM Image being updated to AMI
    [root:tmp]# aws ec2 describe-import-image-tasks --import-task-ids "import-ami-0d6db3a35d431e4e3"
    {
        "ImportImageTasks": [
            {
                "Description": "centosv7",
                "ImportTaskId": "import-ami-0d6db3a35d431e4e3",
                "Progress": "30",
                "SnapshotDetails": [
                    {
                        "Description": "centosv7",
                        "DiskImageSize": 931182592.0,
                        "Format": "VMDK",
                        "Status": "completed",
                        "UserBucket": {
                            "S3Bucket": "n-backup",
                            "S3Key": "VM-Import/vCentOS7-disk002.vmdk"
                        }
                    }
                ],
                "Status": "active",
                "StatusMessage": "updating"
            }
        ]
    }

    Completion Status

    [root:tmp]# aws ec2 describe-import-image-tasks --import-task-ids "import-ami-0d6db3a35d431e4e3"
    {
        "ImportImageTasks": [
            {
                "Architecture": "x86_64",
                "Description": "centosv7",
                "ImageId": "ami-0da97e2296167b5ca",
                "ImportTaskId": "import-ami-0d6db3a35d431e4e3",
                "LicenseType": "BYOL",
                "Platform": "Linux",
                "SnapshotDetails": [
                    {
                        "Description": "centosv7",
                        "DeviceName": "/dev/sda1",
                        "DiskImageSize": 931182592.0,
                        "Format": "VMDK",
                        "SnapshotId": "snap-0dc6d32a5924b22c7",
                        "Status": "completed",
                        "UserBucket": {
                            "S3Bucket": "n-backup",
                            "S3Key": "VM-Import/vCentOS7-disk002.vmdk"
                        }
                    }
                ],
                "Status": "completed"
            }
        ]
    }
  9. Launch New EC2

    Once you launch the VM, you can login using the same uid/password you used onpremise. Typically in real-world you will clean this before the import task and setup SSH key-based authentication

Support

Please open a GitHub issue.

Feedback

Please open a GitHub issue. I encourage you to contribute your changes and send me pull request.

References
  1. AWS CLI - import-image

  2. AWS Blogs - Importing a VM

Note that the project description data, including the texts, logos, images, and/or trademarks, for each open source project belongs to its rightful owner. If you wish to add or remove any projects, please contact us at [email protected].