![]()
Sidekick64 is a versatile cartridge/expansion for the C64, C128, and the C16/+4. It uses a Raspberry Pi 3A+, 3B+ or Zero 2 (only for C64/C128) to emulate memory expansions, sound devices (up to 8 SIDs, SFX Sound Expander, MIDI), freezer cartridges, cartridges such as Easyflash/GMOD, kernal replacements, C128 function ROMs and many more. Some functionalities can be combined with others, e.g. kernal replacement plus freezers or GeoRAM expansion. The Sidekick64 handles among others PRGs, D64, SID files and also integrates tools such as Disk2EasyFlash, PSID64.
Its functionality is entirely defined by software. The connecting circuitry is quite simple and does not include any programmable ICs and is thus easy to build. A more complete list of currently implemented emulations/features includes
- a GeoRAM/NeoRAM-compatible memory expansion,
- freezer cartridges
- Action Replay 4.x-7.x
- Final Cartridge 3(+)
- KCS Power Cartridge
- Super Snapshot V5
- Freeze Frame and Freeze Machine
- Atomic/Nordic Power (experimental, at best)
- numerous (bank switching) cartridges such as
- plain CBM80, C16/+4 and C128 cartridges
- Easyflash (with simplified EAPI support)
- GMod2 (including EEPROM for save games)
- MagicDesk/Domark/HES Australia
- Ocean Type A and B (up to 512k)
- Dinamic
- C64 Game System
- Funplay/Powerplay
- Comal80
- Epyx Fastload
- Warp Speed (C64 and C128)
- Megabit ROM (C128)
- (Super) Zaxxon
- Prophet64
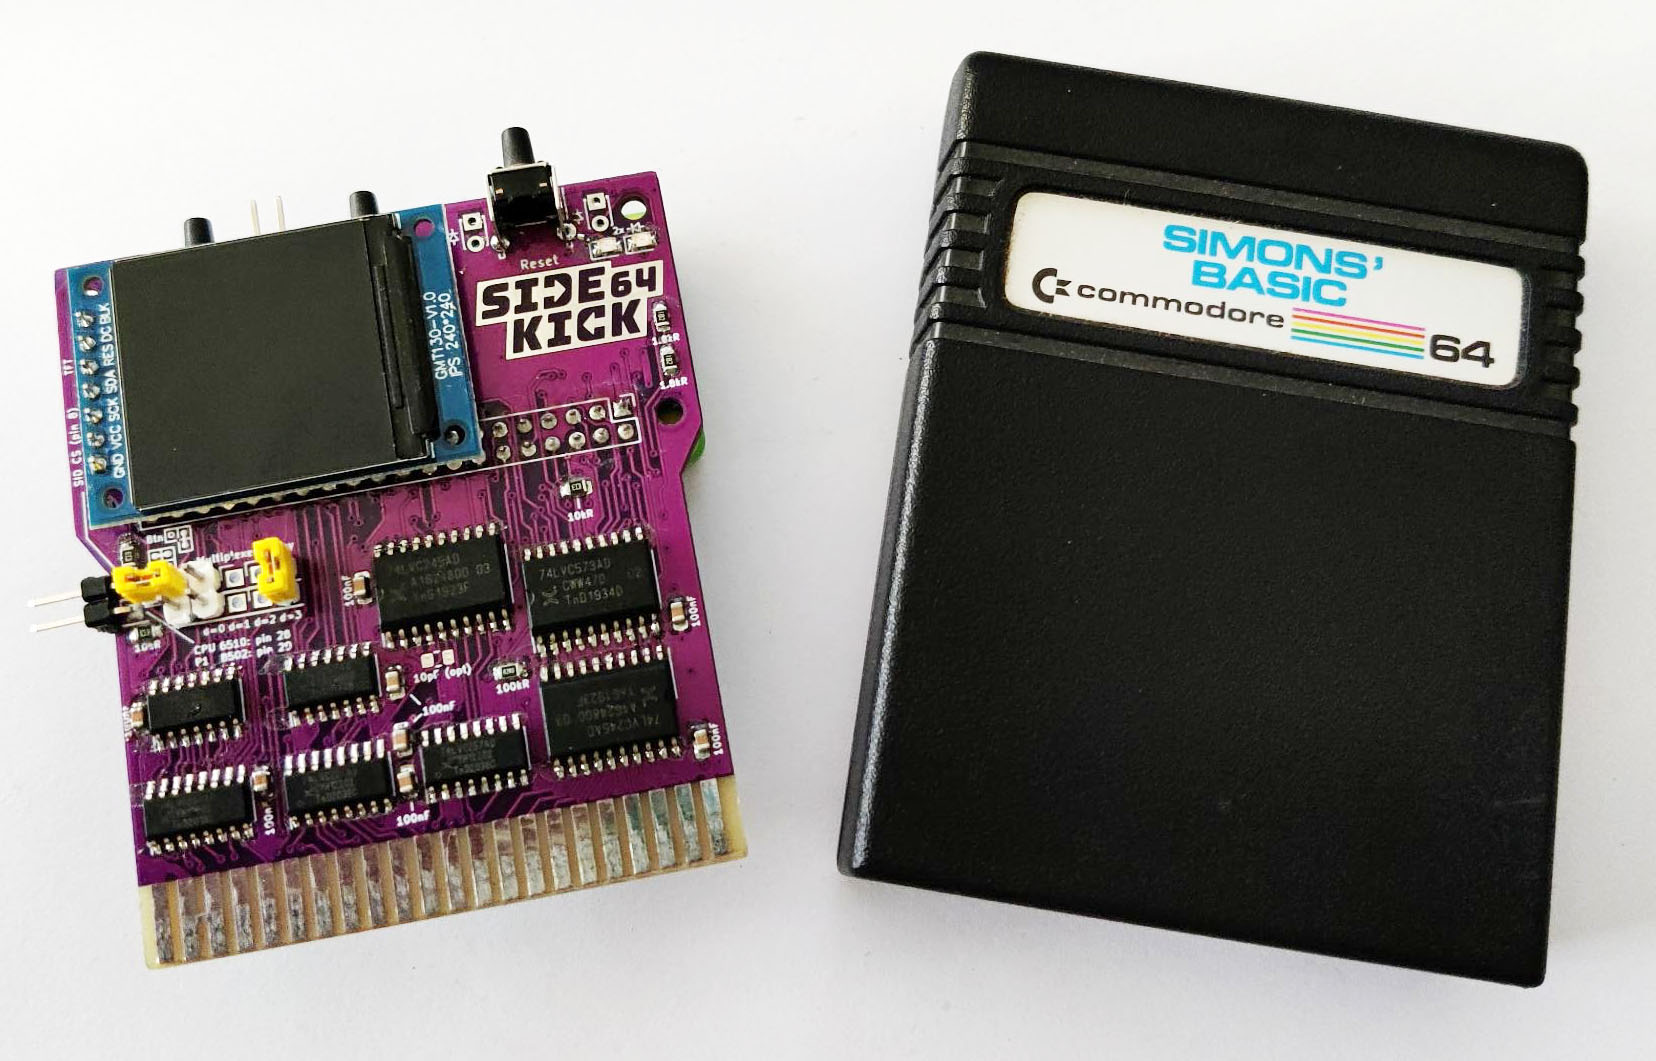
- Simons Basic
- RGCD and Hucky's cartridge
- C64 kernal replacement
- Function ROMs on a C128
- multiple SIDs and Sound Expander/FM emulation (up to 8 SIDs, e.g. to play The Tuneful 8)
- simplified Datel and Sequential MIDI interface emulation with built-in SoundFont-synthesizer (slightly modified version of TinySoundFont)
- TED-sound and Digiblaster emulation for C16/+4 (to have all sound devices on one output)
But many more things are imaginable, e.g. 80 column cards with HDMI video output, custom accelerators/coprocessors etc.
Sidekick64 has been tested with various PAL-machines (C64s, C128, C128D), C64 NTSC, C16/+4 (PAL, PAL-N, NTSC), Ultimate64 and C64 Reloaded boards. Sidekick64 connects to the C16/+4 using a simple adapter.
The Sidekick64 software provides a main menu for frequently used features, programs, cartridges (either configured manually or created from a folder of favorites on the SD card), a configuration screen, and a file browser. The menu can be customized (entries, layout, color schemes, font, animation). It also autodetects and interoperates with a SIDKick if present. The C16/+4 version comes with two fabulous games ported to run directly off the emulated memory expansion: Alpharay and Pet's Rescue! Here's a video of Sidekick64 emulating SIDs and playing Electric City by Flex.
How to build a Sidekick64:
This section summarizes building and setting up the hardware. If you're not into building one yourself: Restore Store (not my shop) offers pre-assembled Sidekick64s at fair prices.
PCBs, BOM and assembly information
There are two variants of the PCB: a larger one the fits the dimensions of the Raspberry Pi 3A+/3B+ and a smaller one with tailored for the Raspberry Pi Zero 2. Note that all is interchangeable, i.e. you can use either PCB with any of the supported RPis.
Here you can find the BOM and assembly information for Sidekick64 v0.42, Sidekick64 v0.42 Zero. Sourcing components: you can use LVC and LVX types for the 07, 245, 257, and 573 ICs, and you can use 74LS30 or 74HCT30. The C16/+4 adapter does not require any electronic components.
Build instructions
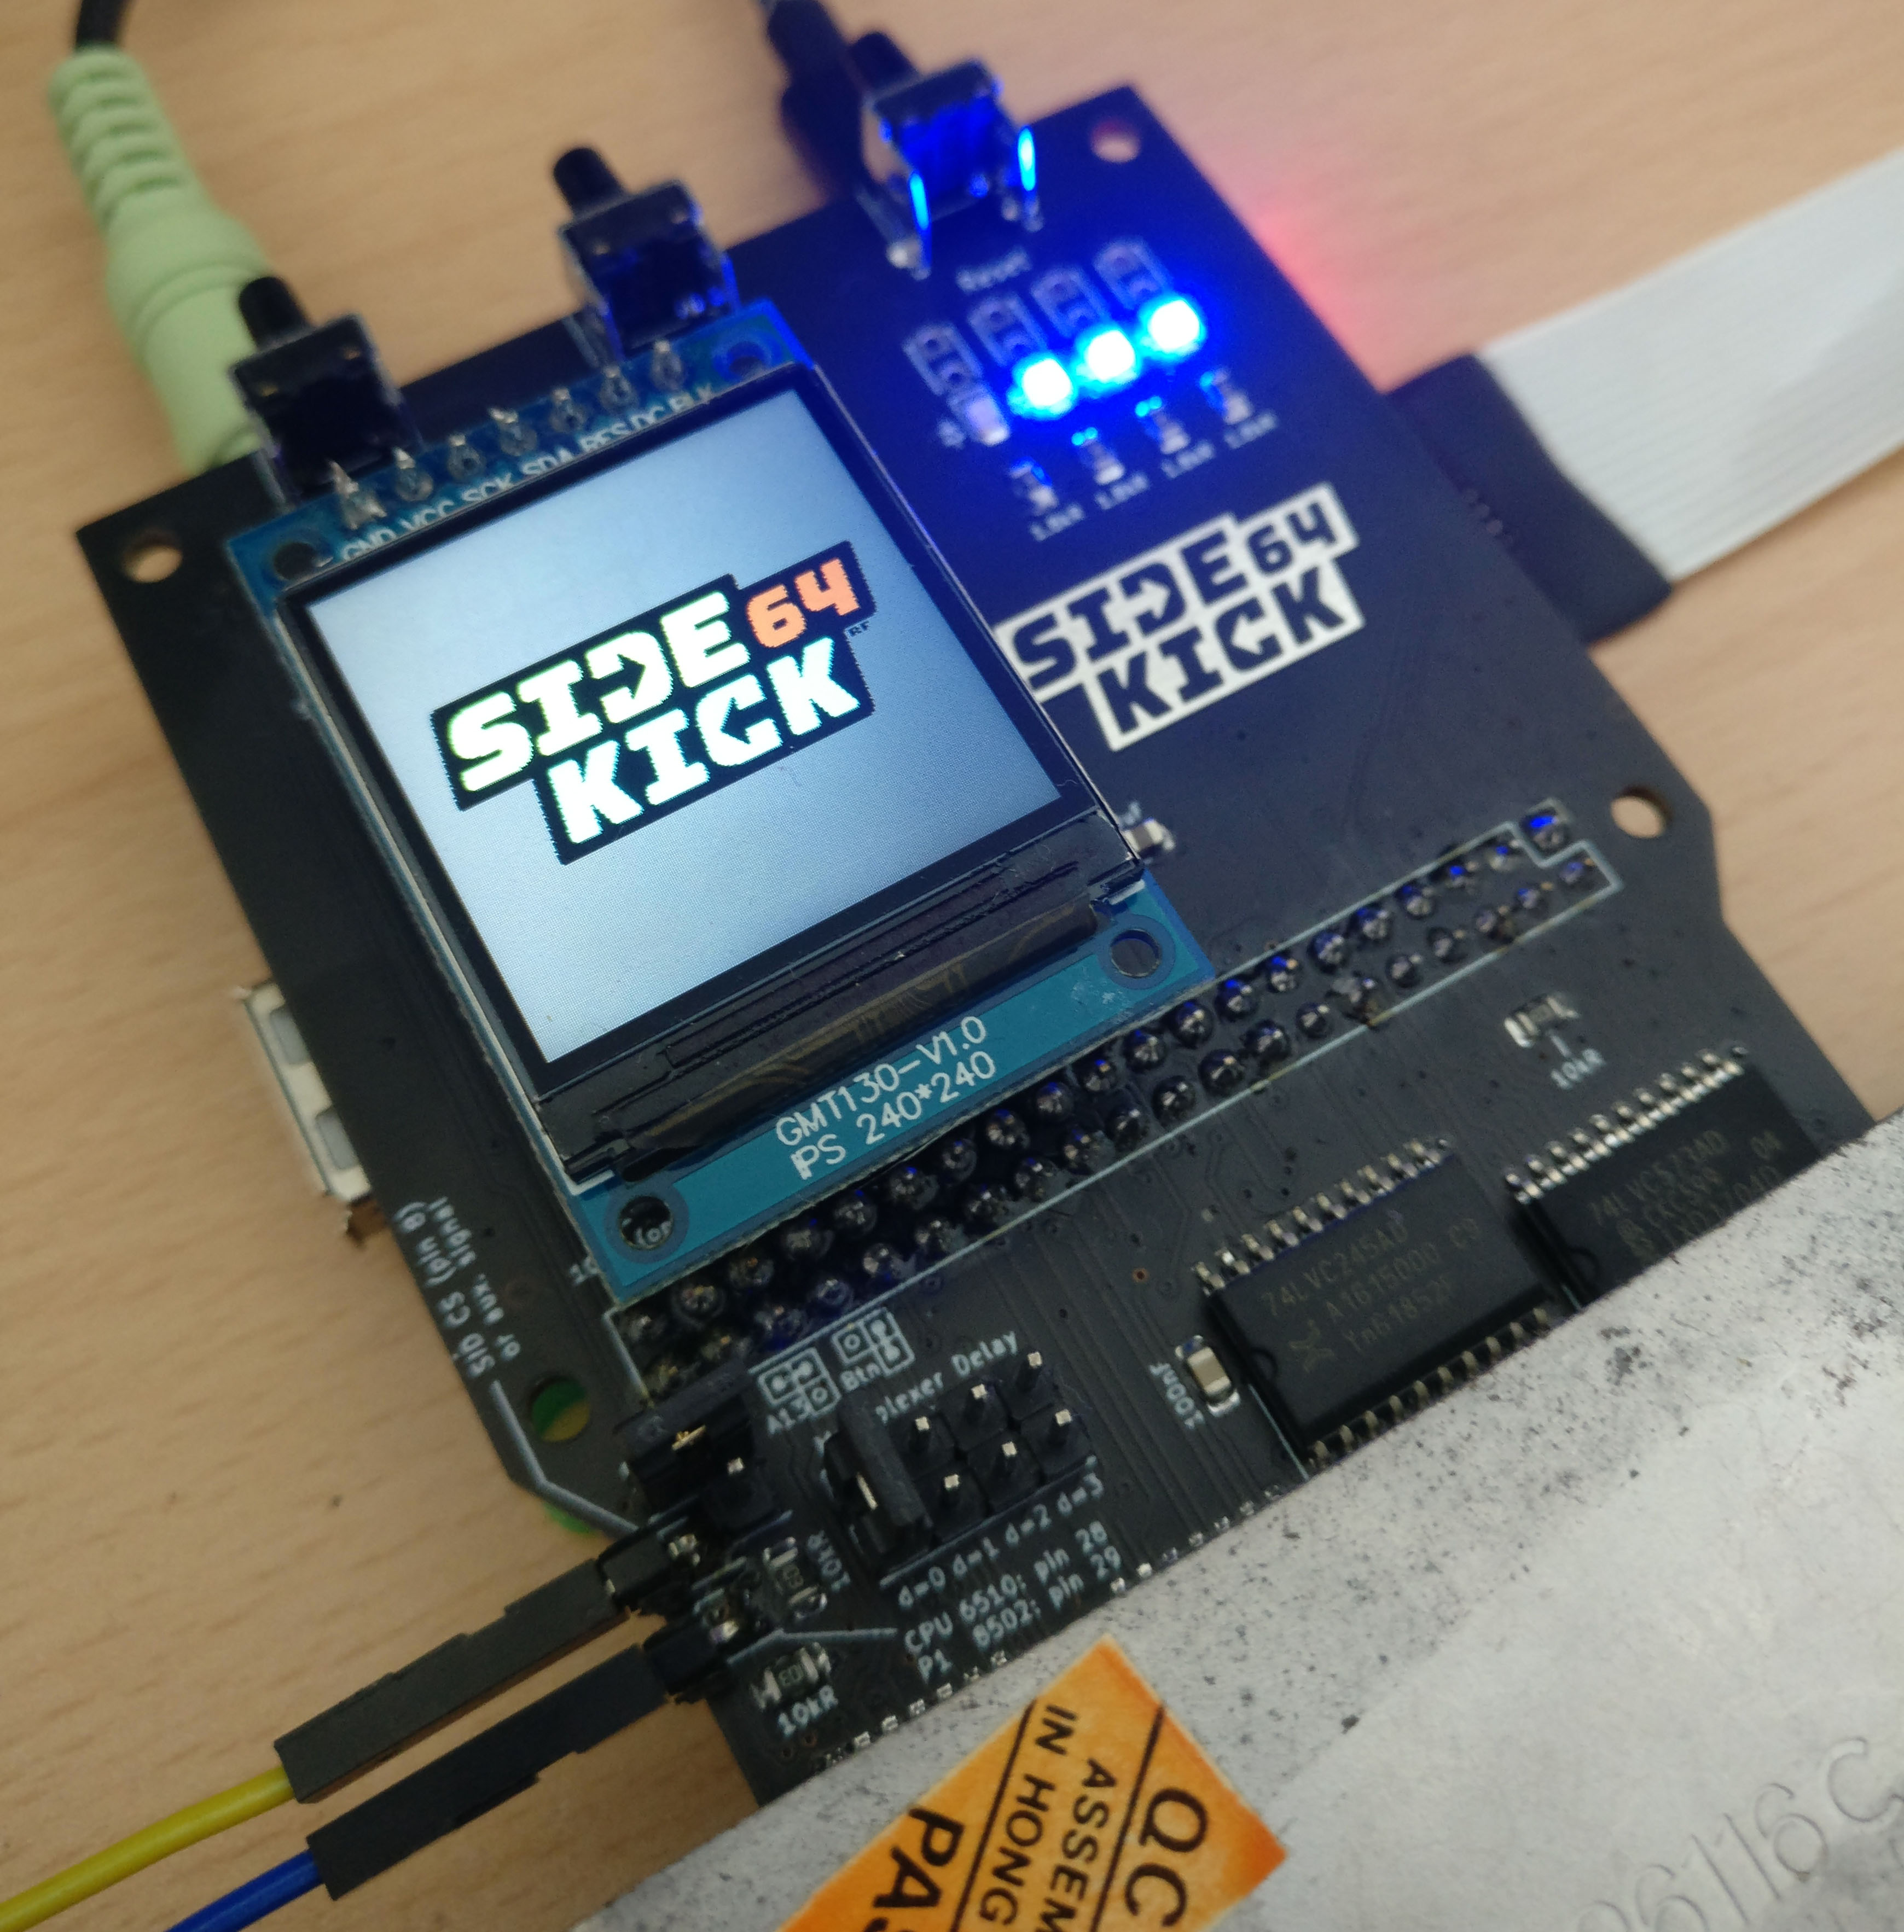
The first step when building the Sidekick64 is soldering the surface-mount components (top side only). Next solder the socket for the Raspberry Pi (2x20 female pin header), the pin headers and push buttons. Optionally you can attach a SSD1306 OLED (4 pin connector) or a ST7789 RGB-TFT with 240x240 resolution to the Sidekick64. The latter is recommended and provides much more functionality. Pay attention to configure the GND/VCC pins of the displays correctly using the solder pads.
Important: d=0..3 (see PCB) is an external delay of the multiplexer switching signal. For the C64/C128 use a jumper connecting the pins in the d=0 columns. For the C16/+4 connect the d=3 column!
Important (for C64/C128): if you want to use the kernal-replacement and SID-emulation functionality you need to connect the two pins on the left side of the PCB (dubbed "SID CS" and "CPU P1") using wires to the CPU (pin 28 for MOS 6510/8500 in C64, pin 29 for 8502 in C128) and the SID-socket (pin 8). Note that the Sound Expander and MIDI emulation works without the SID CS-wire.
The jumper "A13-BTN" is used select whether the Sidekick64 reads the A13-signal from the computer or the middle button, currently the latter is not used.
3D printed cases
My first attempt at designing a case for 3D printing is included in this repository. A much nicer one for the RPi 3B+ has been created by bigby and is available here -- cases for the smaller RPis are in the making.
I have a previous revision PCB, can I still...?
The software can be run on any of the previous PCB revisions. If you want to to use a RGB-TFT and/or the C128 function ROMs with your (very old) PCB then you can do simple modifications (soldering 3 wires to connect the two additional signals to the display and add one more input to the RPi) as shown here. All revisions v0.4 and above do not need any modification.
Quick start
The easiest way (and probably the one most will use) is to copy the image onto an SD card. It contains the main Sidekick64-software combining various functionality accessibly from a menu. You should edit the configuration file SD:C64/sidekick64.cfg and copying your .CRTs, .PRG, .D64s, kernal ROMs (.bin raw format) etc. to the respective subdirectories. You can choose to automatically create the main screen from files stored in SD:/FAVORITES (C64/C128). Don't forget to set the type of display used in this .cfg-file! Pressing = cycles through your and some other color profiles.
You can also create custom logos to be used with Easyflash .CRTs and .PRGs (.raw format for the OLED, 24-Bit uncompressed .tga for the RGB-TFT), or modify the appearance on the TFT completely (see SD:SPLASH). There is also a command line tool to create custom animations visible in the C64/C128(VIC) menu.
From the menu you can select/browse using the keyboard or a joystick in port 2 (should be self-explanatory), by pressing the RESET-button for 1-2 seconds you get back to the main menu from other functionalities.
Sometimes 'button #2' has extra function (e.g. freezing, reactivating Sidekick64 after exit to basic, toggle visualization in sound emulation, ...).
Important for C64/C128 use: when using a SID (or replacement) which supports register reading (= essentially all but the non-Ultimate SwinSIDs) then run the SID+FM emulation only with register read in the settings menu turned OFF. Otherwise the Sidekick64 and the SID may write to the bus at the same time, and this may not be a good idea.
Overclocking
When using the RPi Zero 2 you need to overclock the SoC to 1.2 GHz or 1.3 GHz (see SD:config.txt). The RPi 3A+/3B+ can run at the same frequencies when being used with a C64/C128 (i.e. without overclocking). For the C16/+4 the software is currently tested with the 3A+/3B+ only and also requires a little bit of overclocking. Although I never experienced any problems with it, please be aware that overclocking may void warranty.
Powering the Sidekick64
Normally you would use an external power supply for the RPi. Although the circuitry has pull-ups/pull-downs to not mess with the bus at boot time, the safest way is to boot the Sidekick64 first and then turn on the C64. The Sidekick64 is ready when the splash screen appears.
Alternatively you can power the Sidekick64 from the C64/C128 using the "close to power..."-jumper. The current of the RPi has been measured and stays within the specifications of the expansion port. In any case I recommend to not try powering the Sidekick64 with a standard PSU/brick of death.
Important: NEVER power the Sidekick64 from the C64/C128 and externally at the same time. NEVER!
Do also NOT power the Sidekick64 from a C16/+4, always use an external power supply for these computers!
Sidekick128 for C128
The menu software is the very same as for Sidekick64 -- it detects automatically when running on a C128, and scans the PRG128 and CRT128 folders on the SD-card in this case. It can launch PRGs in C128 mode and emulate cartridges and external function ROM. The Easyflash emulation supports reads in 2MHz Turbo Mode on the C128.
The menu can also be displayed on the VDC (40/80-column) screen on a C128: press ↑ or shift-↑ to cycle through VIC, VIC+VDC and VDC-only output. Pressing shift goes to 40-column-VDC (if the next mode includes VDC-output), no shift means 80-column output.
Known limitations: the C128 behaves differently in C64-Ultimax-mode (VIC-II ROMH read accesses do not properly set the RW-signal at the expansion port). This causes 10%-20% of the read accesses to fail "randomly", because the RW-signal is used to control the direction of level shifters on the Sidekick64. You can experience this as visual artifacts in old Ultimax-mode games.
Sidekick264 for C16 and Plus/4
Sidekick264 requires a passive adapter (Gerber files and schematics are in the repo) to be put between the C16/+4 expansion port and the Sidekick64.
The Sidekick264 provides the same menu and browser as the C64/C128 version, and supports PRG loading and C1low/C1high cartridges. As a bonus it can be used as Dual-SID-card (addresses $FD40 and $FE80), as FM-card (I chose address $FDE2), can emulate TED-sound and Digiblaster output. And -- until recently without any use case :-) -- a Geo/NeoRAM-compatible memory expansion (registers at $FDE8-$FDEA, memory window at $FE00-$FE7F). The Sidekick264 repository contains Alpharay and Pet's Rescue modified to run directly off the emulated NeoRAM! The SD Card contains example programs with source to demonstrate these functionalities.
Attention: Sidekick264 is currently tested with RPi 3A+ and 3B+ only and requires to overclock your RPi (see SD:sidekick264.txt). Please be aware that this may void warranty. In principle it also works with a RPi Zero 2, however, it requires insane overclocking and which usually refuses to work.
Note that for resetting a Plus/4 you will need to press the computer's own reset button instead of the one on the Sidekick PCB. This is annoying and because the Plus/4 does not reboot on a reset signal at the expansion port.
There is a simple hardware fix which would require to bridge pin 2 and 12 of a 7406 to make /RESET = /BRESET (thanks for this hint kinzi!), e.g. using a wire with test hooks. The Sidekick software will work around if you use the computer's reset button.
Note: if you want to emulate cartridges using the C1Hi-range you will have to connect the pin "C1 Hi" on the adapter to the "SID CS"-pin on the Sidekick (there are only few cartridges for C16, and even less use high ROM). Again, please double check that you set the d=3 jumper on the Sidekick64 PCB (see above).
Sidekick20 for VIC20
Coming soon ... :-)
How does it work? (technical details)
Connecting the computers to the RPi requires level shifting to interface the 5V bus with the 3.3V GPIOs of the RPi. However, things get a bit more complicated as communication on the data lines (obviously) needs to be bidirectional and there are way too few GPIOs on a standard RPi to simply connect to all signals. The Sidekick64 reads A0-A13, IO1, IO2, ROML, ROMH, Phi2, Reset, HIRAM and SID-chipselect,
R/W and reads/writes data lines D0-D7 (plus GPIOs for controlling the circuitry). This makes the use of multiplexers necessary. Additionally it also controls GAME, EXROM, NMI, DMA and RESET, and, very important :-), drive an OLED or TFT display and LEDs.
On the software side, handling the communication is time critical. The communication needs to happen within a time window of approx. 500 nanoseconds (significantly less on a C16/+4). This includes reading the GPIOs, switching multiplexers and reading again, possibly figuring out which data to put on the bus, doing so -- and getting hands off again on time. Many of these steps obviously must not happen too late, but also not too early (e.g. some signals might not be ready). Just sniffing the bus, e.g. getting SID commands and running an emulation is less time critical than reacting, for instance when emulating a cartridge. In addition to careful timing – and this turned out to be the most complicated part on the RPi – we also must avoid cache misses.
I implemented the communication in a fast interrupt handler (FIQ) which handles GPIO reading, preloads caches if required, and reacts properly. The timing is done using the ARM's instruction counters. I use Circle (https://github.com/rsta2/circle) for bare metal programming the RPi which provides a great basis and great support by its creator Rene Stange.
Known limitations/bugs
Please keep in mind that you're not reading about a product, but my personal playground that I'm sharing. Not all kinds of .CRTs are supported. Not all kinds of disk images are supported (I only tried D64, D71 might work, D81 not). At, hopefully very rare occasions, there might be some glitches (although they should be mostly eliminated over the software iterations) as the RPis are really not made for what they are used here.
Building the code (if you want to)
Setup your Circle44+ and gcc-arm environment, then you can compile Sidekick64 almost like any other example program (the repository contains the build settings for Circle that I use -- make sure you use them, otherwise it will probably not work). Use "make -kernel={sid|cart|ram|ef|fc3|ar|menu}" to build the different kernels, then put the kernel together with the Raspberry Pi firmware on an SD(HC) card with FAT file system and boot your RPi with it (the "menu"-kernel is the aforementioned main software). The C64 code is compiled using cc65 and 64tass.
Videos
I added two videos showing life captures of the C64 screen where the RPi is used as a "graphics coprocessor" for rendering an image using rasterization or path tracing (light transport simulation). This is just meant to show case that the RPi can be used for more than just emulating existing cartridges/hardware. The source code is not yet included in the repository, contact me if you are interested.
Disclaimer
Be careful not to damage your RPi or 8-bit computer, or anything attached to it. I am not responsible if you or your hardware gets damaged. In principle, you can attach the RPi and other cartridges at the same time, as long as they do not conflict (e.g. in IO ranges or driving signals). I recommend to NOT do this. For example, using Sidekick64 and an Easyflash 3 will very likely destroy the EF3's CPLD. Again, I'm not taking any responsibility -- if you don't know what you're doing, better don't... use everything at your own risk.
License
My portions of the source code are work licensed under GPLv3.
The PCB and 3D model/label is work licensed under a Creative Commons Attribution-NonCommercial-ShareAlike 4.0 International License.
The software uses third-party libraries and components such as reSID, TinySoundFont, PSID, Disk2EasyFlash, SSD1306xLED, m93c86-emulation from Vice. Please see the source folder/files for authors and licenses.
Misc
Last but not least I would like to thank a few people and give proper credits:
kinzi (forum64.de, F64) for lots of discussions and explanations on electronics and how a C64 actually works. Kim Jørgensen for chats on weird bus timings and freezers, hints on how to get things right and last but not least for letting me adapt his C64-side code of KFF's EAPI for use with Sidekick64. Thanks also go to Roland Hermans for creating and sharing PSID64, and to ALeX for letting me use his Disk2EasyFlash. Also, thanks to the beta testers on F64 (in particular emulaThor, bigby, kinzi and TurboMicha).
Rene Stange (the author of Circle) for his framework and patiently answering questions on it, and digging into special functionality (e.g. ARM stubs without L1 prefetching). Retrofan (https://compidiaries.wordpress.com/) for sharing his new system font which is also used in all recent releases, and for the Sidekick logo. And of course thanks a lot to Mad^BKN for porting Alpharay and Pet's Rescue in an amazingly short time!
The authors of reSID and the OPL emulators (also used in WinVICE), the authors of SSD1306xLED (https://bitbucket.org/tinusaur/ssd1306xled, which I modified to work in this setting) for making their work available. The code in the repo further builds on d642prg V2.09 and some other code fragments found on cbm-hackers and codebase64.org. The OLED-Sidekick logo is based on a font by Atomic Flash found at https://codepo8.github.io/logo-o-matic. The C16/+4 SID and FM examples are based on code by Mr.Mouse/Xentax and Antti Hannula's (flex) 2sid tune "Eternity" (original mod by Matt Simmonds); the FM songs are Koere and Like Galway by Jesper Olson (jo). The C16 cartridge startup code is based on CBMHARDWARE's example.
Trademarks
Raspberry Pi is a trademark of the Raspberry Pi Foundation.