Development has been suspended due to re-code of Songify. The app still works, we offer support and will patch bugs, but won't implement new features.
What is Songify?
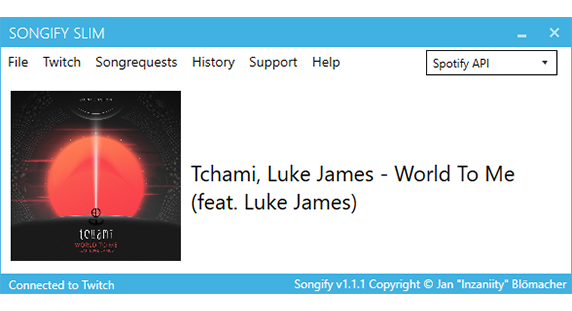
Songify fetches the current playing song from Spotify, YouTube (Chrome) and many more players and saves it to a text file. We also have a widget which allows you to add it to your stream.
Features?
- Gets the currently playing song and saves it to a text file. We also support splitting Artist and Title in seperate files
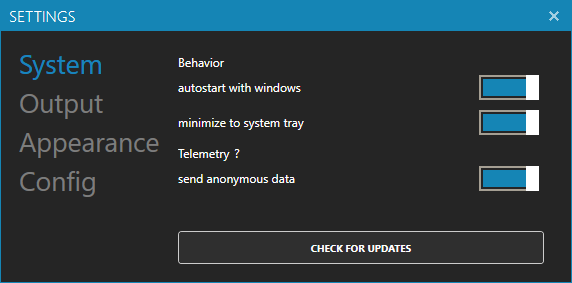
- Automatically start with windows
- Minimize to the system tray
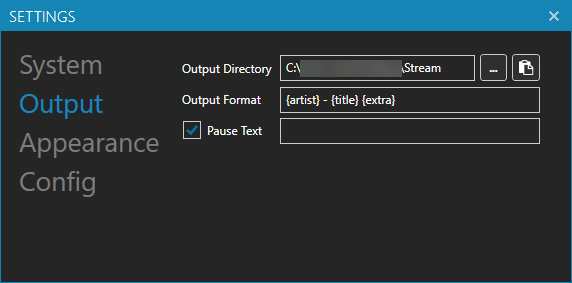
- Custom output string
- Upload Song info to use with most common chat bots
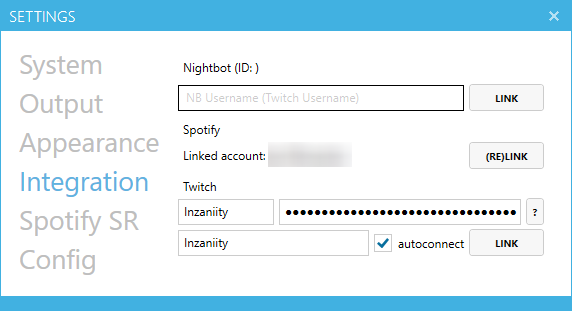
- Integration with Twitch Chat
- Song History
- Spotify Songrequests
- Download the album cover
- Custom pause text
- and more
FAQ
The FAQ can be found here https://songify.rocks/faq.html
Troubleshooting
If you don't see anything happen in the Live Output try switching songs and make sure this option is turned off!

Screenshots
How to set up
This small guide will help you to set up Songify Slim with some of the popular streaming applications.
Initial Setup
This initial process is the same for all streaming applications that support text files. First, start Songify Slim and choose your desired music service.

Next, go into the Songify Slim Settings and find the output tab. Click on the clipboard icon to copy the path of the text file to your clipboard.

OBS Studio / StreamLabs OBS (SLOBS)
This part of the guide applies to OBS Studio and StreamLabs OBS.
First, add a new "Text (GDI+)" source to your scene and give it a name. After that, the property window for your text source will open. Once it opens, tick the "Read from file" checkbox.

Next, click on "Browse" and find the "Songify.txt"-File that is located in the same directory as your Songify Slim application. The path to the file will still be copied to your clipboard, so you can use that to speed up the process. After finding the file, the preview windows should update and show the same information that Songify Slim is showing.
XSplit Broadcaster
This part of the guide applies to XSplit Broadcaster.
First, add a new Text source to your scene. This should open up a popup property window.
Under "Content", click on "Use Custom Script", then click "Edit Script".

Then, from the Template drop down menu, select "Load Text from Local File" and paste the path of the "Songify.txt"-file from your clipboard into the field labeled "File Path". After that, press on "Update Text".

After that, you should be good to go.
How to get Twitch Reward ID
Fill out the Twitch credentials inside the Integration tab (hit the "?" Button to open a website that generates the oAuth Token for you).
Connect to Twitch by clicking the Twitch Icon on the main window of Songify, if the icon turns green you successfully connected to Twitch.

Enable message logging (Spotify SR tab in Settings)
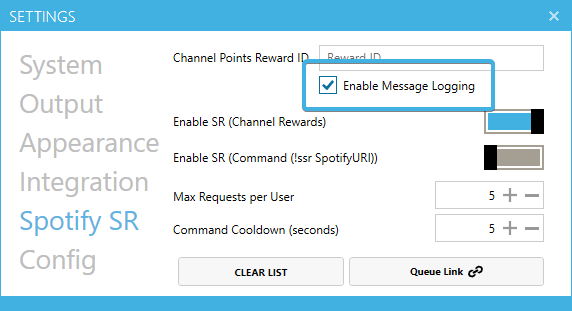
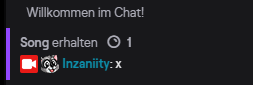
Trigger the reward you want to have as your songrequest reward. The reward ID will automatically be filled in the textbox.
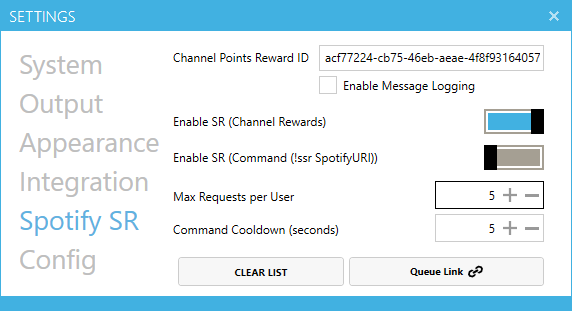
You can now turn off message logging.