acelords / Flutter Starter Kit
Programming Languages
Labels
Flutter Starter Kit (Boilerplate) using the BLoC Pattern
A Flutter starter application that utilizes the BLoC Pattern. You can read more at this Medium's excellent post
Features
- Centralized place to manage your application's colors/branding (
lib > utils > styles) - Centralized place to manage your application's constants/url/keys (
lib > utils > constants) - BLoC Pattern when fetching and posting data over the internet.
-
Logically & Naturally organized files & folders.
- api - hold all your common api concerns (ApiBaseHelper, ApiResponse, AppException)
- blocs - hold all your blocs (Streams - provide data to the views. relate to controllers in Laravel)
- models - hold all your models (relate to models in Laravel)
- repositories - hold all your repositories (CRUD operations)
- responses - hold all your responses
- utils - hold all your utility files
-
views - hold all your views/ui (relate to views in Laravel)
- partials - hold all your commonly used widgets (ApiError, Loading)
- Google AdMob ready
- Firebase FCM ready
Sample pages included:
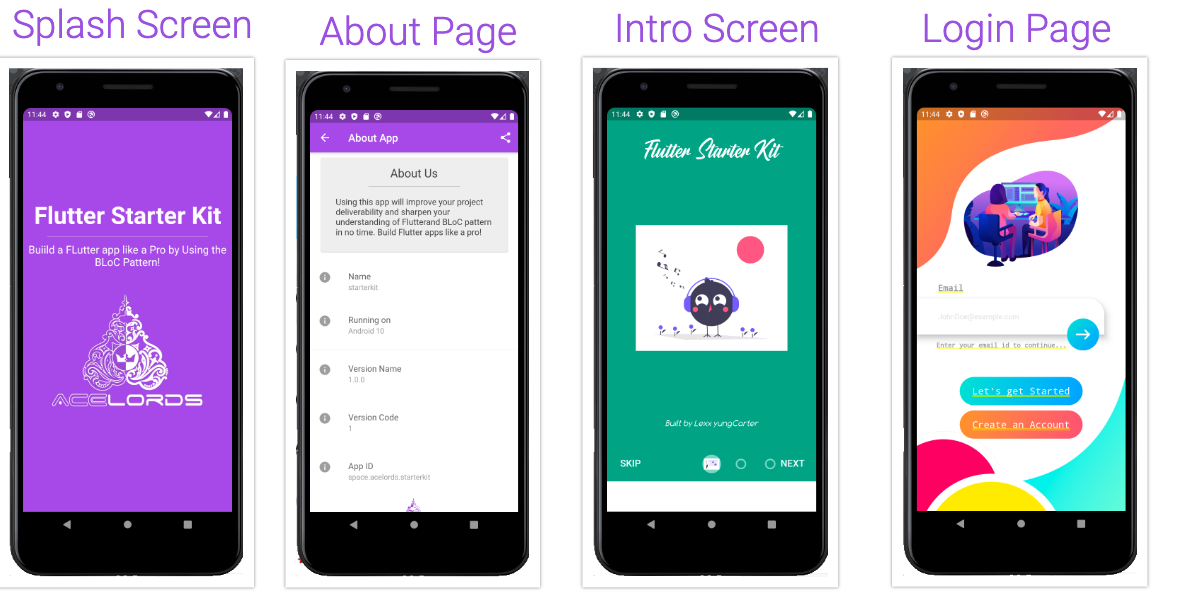
- Splash Screen
- Intro Screens (when app installed)
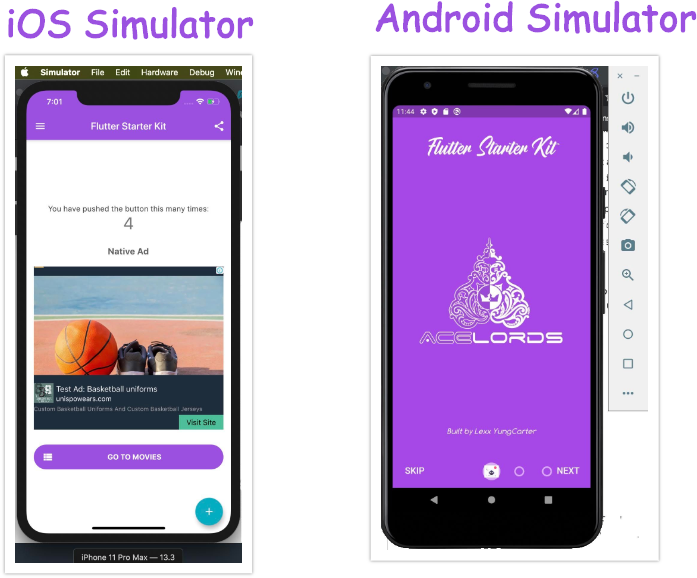
- Homepage
- About
- Rate App
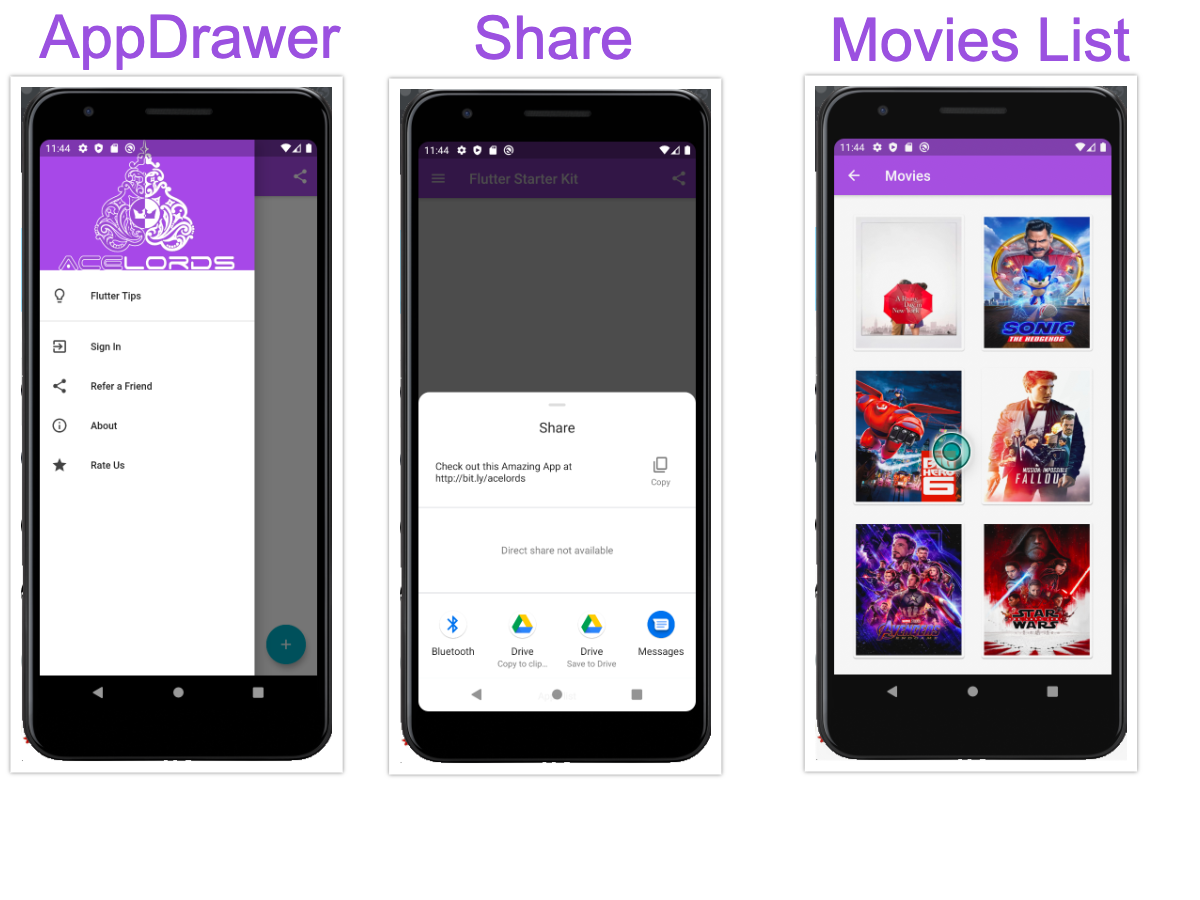
- Refer a Friend
- Login
- flutter tips (Sample content page)
- Unknown Page (The fallback page when router doesn't find page specified in navigation)
- Movies List (Demonstrates BLoC Pattern when fetching a list of movies)
Crowdfunding
It's also possible to buying products and merchandise at Marketplace.
Getting Started
To safely start off your new flutter application while basing it off this project:
git clone [email protected]:lexxyungcarter/flutter-starter-kit.git myapp- Then open the folder inside Android Studio (Sorry
vscodeguys). - Using Android Studio, update the
namespaceof your project. - You're good to go
- Go under
lib > utilsfolder and update yourconstantsandstylesfile accordingly. - You can even create an
env.dartfile inside there to store your secret keys such as api keys while testing. This file will not be saved in git for privacy concerns
How to rename to your namespace (technically, to your appId)
Say, your new appId is meant to be example.company.myapp, here's how to go about it:
- Ensure Android Studio has finished indexing your project. VERY IMPORTANT
- Making sure you're in the *Project Viewer mode, expand on the starterkit_android to its entirety
- As you can see, the current
nammespaceis set tospace.acelords.starterkit - Right-click on
space, selectrefactor>renameand rename to your desired name, e.g.example - Select Do Refactor on all files presented at the terminal.
- Repeat the same steps for the other parts of the
namespace, i.e.acelords=>exampleandstarterkit=>myapp - Confirm the namespace changing in
AppManifestand allbuild,gradlefiles. - You're good to proceed building your app.
Building in DEV and Deploying to PRODUCTION
When building your app, you may need to set some things to testing (such as Google Ads) to avoid any penalties. And when deploying, you may also need to revert a setting to production mode (such as Google Ads also to display real ads)
Setting up for Local Development
- Go to
lib > utils > admob_constants.dartfile - Set
static bool testing = true; - Go to
lib > utils > constants.dartfile - Set
static bool testing = true;
Setting up for Production Development
- Go to
lib > utils > admob_constants.dartfile - Set
static bool testing = false; - Go to
lib > utils > constants.dartfile - Set
static bool testing = false;
Also ensure you have provided your correct Google Ad Units in admob_constants.dart file. This way, you'll ensure your app displays correct ads in PlayStore.
NB: To deploy Flutter app to store for the first time, you might need to read up on How To. These instructions assume you already know how to.
Google AdMob
To setup Google Ads,
- Update this file accordingly:
lib > utils > admob_constants.dart. - Update the app's
build.gradle(located underandroid > app > build.gradle) and go to line68. Update as instructed in the comments. - Update the projects'
build.gradle(located underandroid > build.gradle) and go to line12. Update as instructed in the comments.
Remember to update Your_Admob_App_ID in the respective platforms.
For iOS
- Go to
ios > Runner > Info.plistfile - Navigate to line
#45and update Your_Admob_App_ID accordingly.
For Android
- Go to
android > app > src > main > AndroidManiifest.xmlfile - Navigate to line
#16and update Your_Admob_App_ID accordingly.
FaceBook Ads
The setup for facebook ads is similar. The same file lib > utils > admob_constants.dart can be used/modified or another new file created for easier ads management.
Setting up FCM - Firebase Cloud Messaging
- Go to
lib > utils > constants.dartfile - Search line #36
static String publicTopicKey = testing ? "testing" : "public"; - Set the topic you'd like to always post to once app is run
- Update AndroidManifest.xml file
android > app > src > main > AndroidManifest.xml. Go to line20and update accordingly. - You can also update Colors file
android > app > src > main > res > values > colors.xmlto match your app's theme color.
For apps requiring many topics, you can register multiple topics as required.
NB: Ensure you understand FCM from the developers console at Google. A medium article is under authoring to explain this further.
In case you need the Firebase Functions setup project, contact us and we'll gladly organize how. It is written in Node. Firebase Functions can automatically send notifications to your users when a CRUD operation happens in Firebase CloudStore e.g. a new order, a new blog post, a team won, or an invoice payment. Your imagination is the limit.
Updating Launcher Icon
Design your app logo, preferably in 1024x1024 size (px). Once done, open https://appicon.co/#app-icon in your browser and generate a new set of icons.
- Place appstore.png to
assets > iconand rename it to icon.png - Copy the other folders to their respective locations. For instance, on android it is
android > app > src > main > res.
NB: You might need to manually remove Icon files from the folders. The website weirdly adds the unnecessary files, hindering a successful build
- Once done, run this command in terminal:
flutter pub run flutter_launcher_icons:main
AOB
A few resources to get you started if this is your first Flutter project:
For help getting started with Flutter, view our online documentation, which offers tutorials, samples, guidance on mobile development, and a full API reference.
Contributing?
Suggestions are welcome and any contributions whatsoever are highly valued. If feeling a little bit shy, feel free to send an email to
Credits
- Lexx YungCarter
- AceLords
- Google - For creating Flutter!


