ParthaEth / Gif
Programming Languages
Projects that are alternatives of or similar to Gif
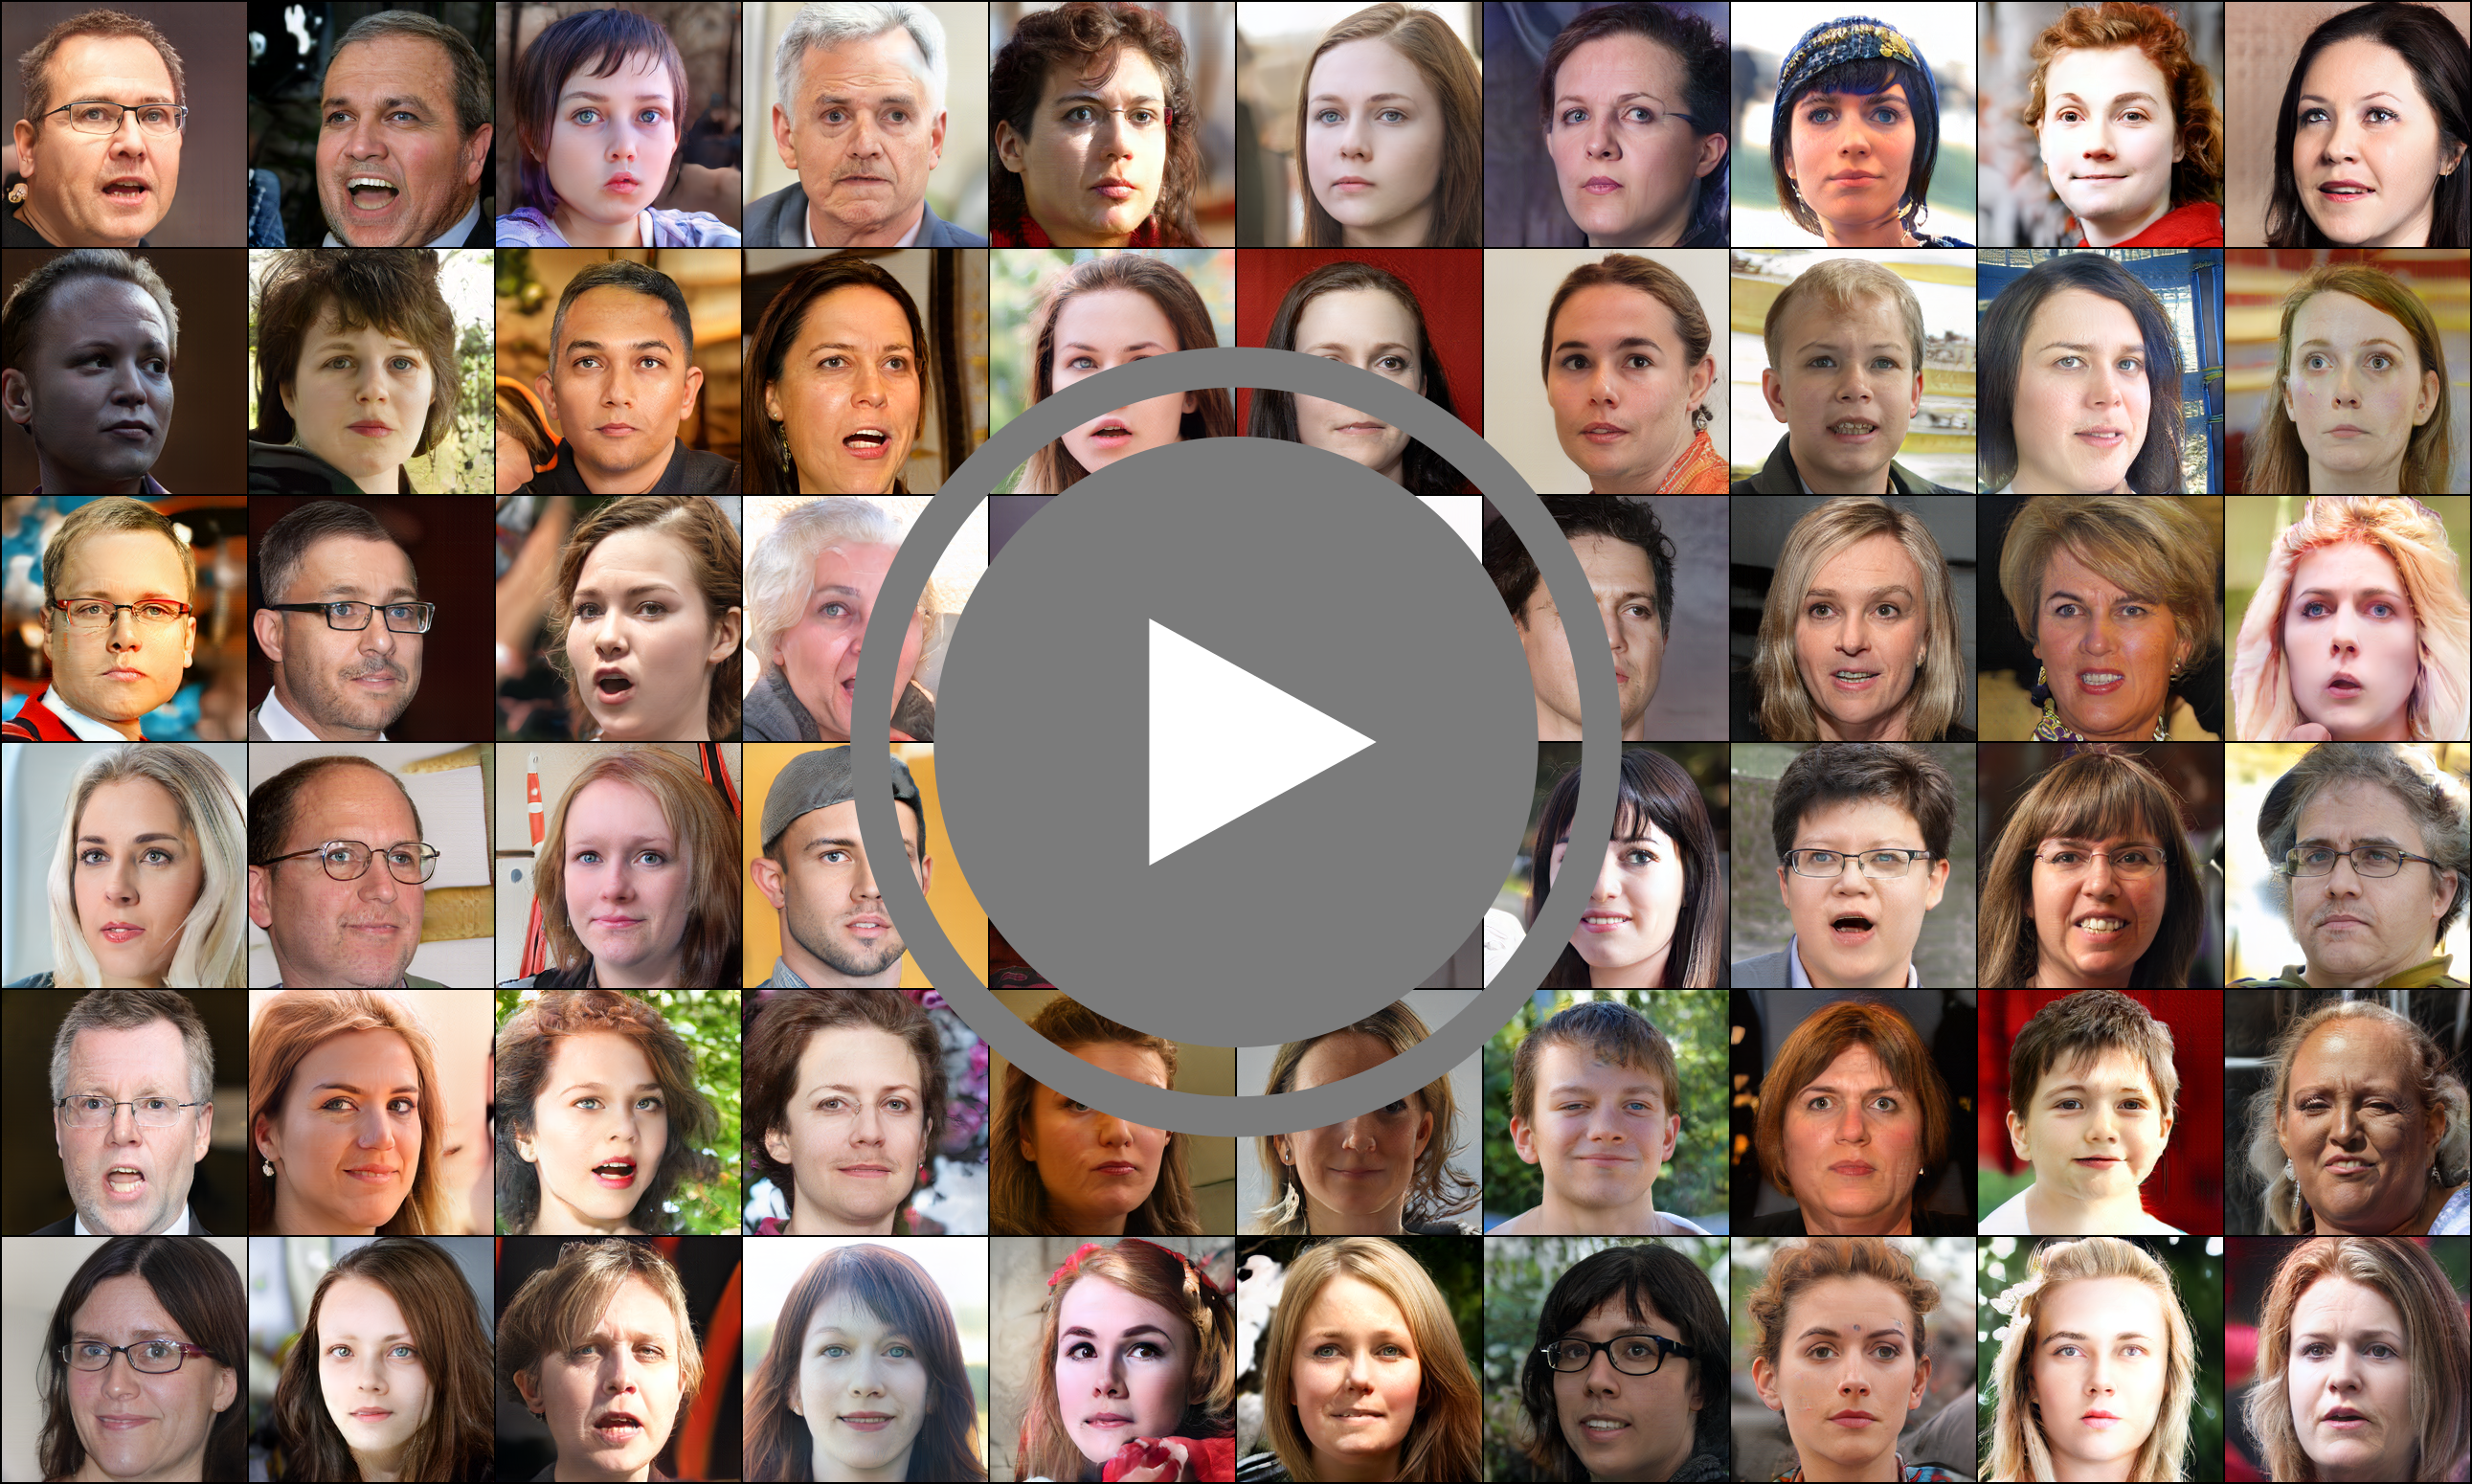
GIF: Generative Interpretable Faces
This is the official implementation for the paper GIF: Generative Interpretable Faces. GIF is a photorealistic generative face model with explicit control over 3D geometry (parametrized like FLAME), appearance, and lighting.
- Key words: Generative Interpretable Faces, conditional generative models, 3D conditioning of GANs, explicit 3D control of photorealistic faces, Photorealistic faces.
Important links
- Project page https://gif.is.tue.mpg.de/
- Paper pdf https://arxiv.org/abs/2009.00149
- video demo https://www.youtube.com/watch?v=-ezPAHyNH9s
Watch a brief presentation
Citation
If you find our work useful in your project please cite us as
@inproceedings{GIF2020,
    title = {{GIF}: Generative Interpretable Faces},
    author = {Ghosh, Partha and Gupta, Pravir Singh and Uziel, Roy and Ranjan, Anurag and Black, Michael J. and Bolkart, Timo},
    booktitle = {International Conference on 3D Vision (3DV)},
    year = {2020},
    url = {http://gif.is.tue.mpg.de/}
}
Installation
python3 -m venv ~/.venv/gifsource ~/.venv/gif/bin/activatepip install -r requirements.txt
First thing first
Before Running any program you will need to download a few resource files and create a suitable placeholder for the training artifacts to be stored
- you can use this link to download input files necessary to train GIF from scratch - http://files.is.tuebingen.mpg.de/gif/input_files.zip
- you can use this link to download checkpoints and samples generated from pre-trained GIF models and its ablated versions - http://files.is.tuebingen.mpg.de/gif/output_files.zip
- Now create a directory called
GIF_resourcesand unzip the ipput zip or checpoint zip or both in this directory - When you train or fine tune a model the output directory checkpoint and sample directory will be populated. Rmember that the model atifacts can easily become a few 10s of terabytes
- The main resource directory should be named
GIF_resourcesand it should haveinput_filesandoutput_fielsas sub-directories - Now you need to provide the path to this directory in the
constants.pyscript and make changes if necessary if you wish to change names of the subdirectories - Edit the line
resources_root = '/path/to/the/unzipped/location/of/GIF_resources' - Modify any other paths as you need
- Download the FLAME 2020 model and the FLAME texture space from here - https://flame.is.tue.mpg.de/ (you need to sign up and agree to the license for access)
- Please make sure to dowload 2020 version. After signing in you sould be able to download
FLAME 2020 - Download the FLAME_texture_data, Unzip it and place the
texture_data_256.npyfile in the flame resources directory. - Please place the
generic_model.pklfile inGIF_resources/input_files/flame_resource - In this directory you will need to place the
generic_model.pkl,head_template_mesh.obj, andFLAME_texture.npzin addition to the already provided files in the zip you just downloaded from the link given above. You can find these files from the official flame website. Link given in point 9.
Preparing training data
To train GIF you will need to prepare two lmdb datasets
- An LMDB datset containing FFHQ images in different scales
- To prepare this
cd prepare_lmdb - run
python prepare_ffhq_multiscale_dataset.py --n_worker N_WORKER DATASET_PATH - Here
DATASET_PATHis the parth to the directory that contains the FFHQ images - Place the created
lmdbfile in theGIF_resources/input_files/FFHQdirectory, alongsideffhq_fid_stats
- To prepare this
- An LMDB dataset containing renderings of the FLAME model
- To run GIF you will need the rendered texture and normal images of the FLAME mesh for FFHQ images. This is already provided as
deca_rendered_with_public_texture.lmdbwith the input_file zip. It is located inGIF_resources_to_upload/input_files/DECA_inferred - To create this on your own simply run
python create_deca_rendered_lmdb.py
- To run GIF you will need the rendered texture and normal images of the FLAME mesh for FFHQ images. This is already provided as
Training
To resume training from a checkpoint run
python train.py --run_id <runid> --ckpt /path/to/saved.mdl/file/<runid>/model_checkpoint_name.model
Note here that you point to the .model file not the npz one.
To start training from scratch run
python train.py --run_id <runid>
Note that the training code will take all available GPUs in the system and perform data parallelization. You can set visible GPUs by etting the CUDA_VISIBLE_DEVICES environment variable. Run CUDA_VISIBLE_DEVICES=0,1 python train.py --run_id <runid> to run on GPU 0 and 1
To run random face generation follow the following steps
- Clone this repo
- Download the pretrained model. Please note that you have to download the model with correct run_id
- activate your virtual environment
cd plotspython generate_random_samples.py- Remember to uncomment the appropriate run_id
To generate Figure 3
cd plots-
python role_of_different_parameters.pyit will generatebatch_sizenumber of directories inf'{cnst.output_root}sample/'namedgen_iamges<batch_idx>. Each of these directory contain a column of images as shown in figure 3 in the paper.
Amazon mechanical turk (AMT) evaluations:
Disclaimer: This section can be outdated and/or have changed since the time of writing the document. It is neither intended to advertise nor recommend any particular 3rd party product. The inclusion of this guide is solely for quick reference purposes and is provided without any liability.
- you will need 3 accounts
- Mturk - https://requester.mturk.com/
- Mturk sandbox - just for experiments (No real money involved) https://requestersandbox.mturk.com/
- AWS - for uploading the images https://aws.amazon.com/
- once that is done you may follow the following steps
- Upload the images to S3 in AWS website (into 2 different folders. e.g. model1, model2)
- Make the files public. (You can verify it by clicking one file, and try to view the image using the link)
- Create one project (not so sure what are the optimal values there, I believe that people at MPI have experience with that
- In “Design Layout” insert the html code from
mturk/mturk_layout.htmlor write your own layout - Finally you will have to upload a CSV file which will have s3 or any other public links for images that will be shown to the participants
- You can generate such links using the
generate_csv.pyor thecreate_csv.pyscripts - Finally follow an AMT tutorial to deploye and obtain the results
- You may use the
plot_results.pyorplot_histogram_results.pyscript to visualize AMT results
Running the naive vector conditioning model
- Code to run vector conditioning to arrvie soon on a different branch :-)
Acknowledgements
GIF uses DECA to get FLAME geometry, appearance, and lighting parameters for the FFHQ training data. We thank H. Feng for prepraring the training data, Y. Feng and S. Sanyal for support with the rendering and projection pipeline, and C. Köhler, A. Chandrasekaran, M. Keller, M. Landry, C. Huang, A. Osman and D. Tzionas for fruitful discussions, advice and proofreading. We specially thank Taylor McConnell for voicing over our video. The work was partially supported by the International Max Planck Research School for Intelligent Systems (IMPRS-IS) and by Amazon Web Services.