oslabs-beta / Kq
Programming Languages
kafkaQ
Table of Contents
Overview
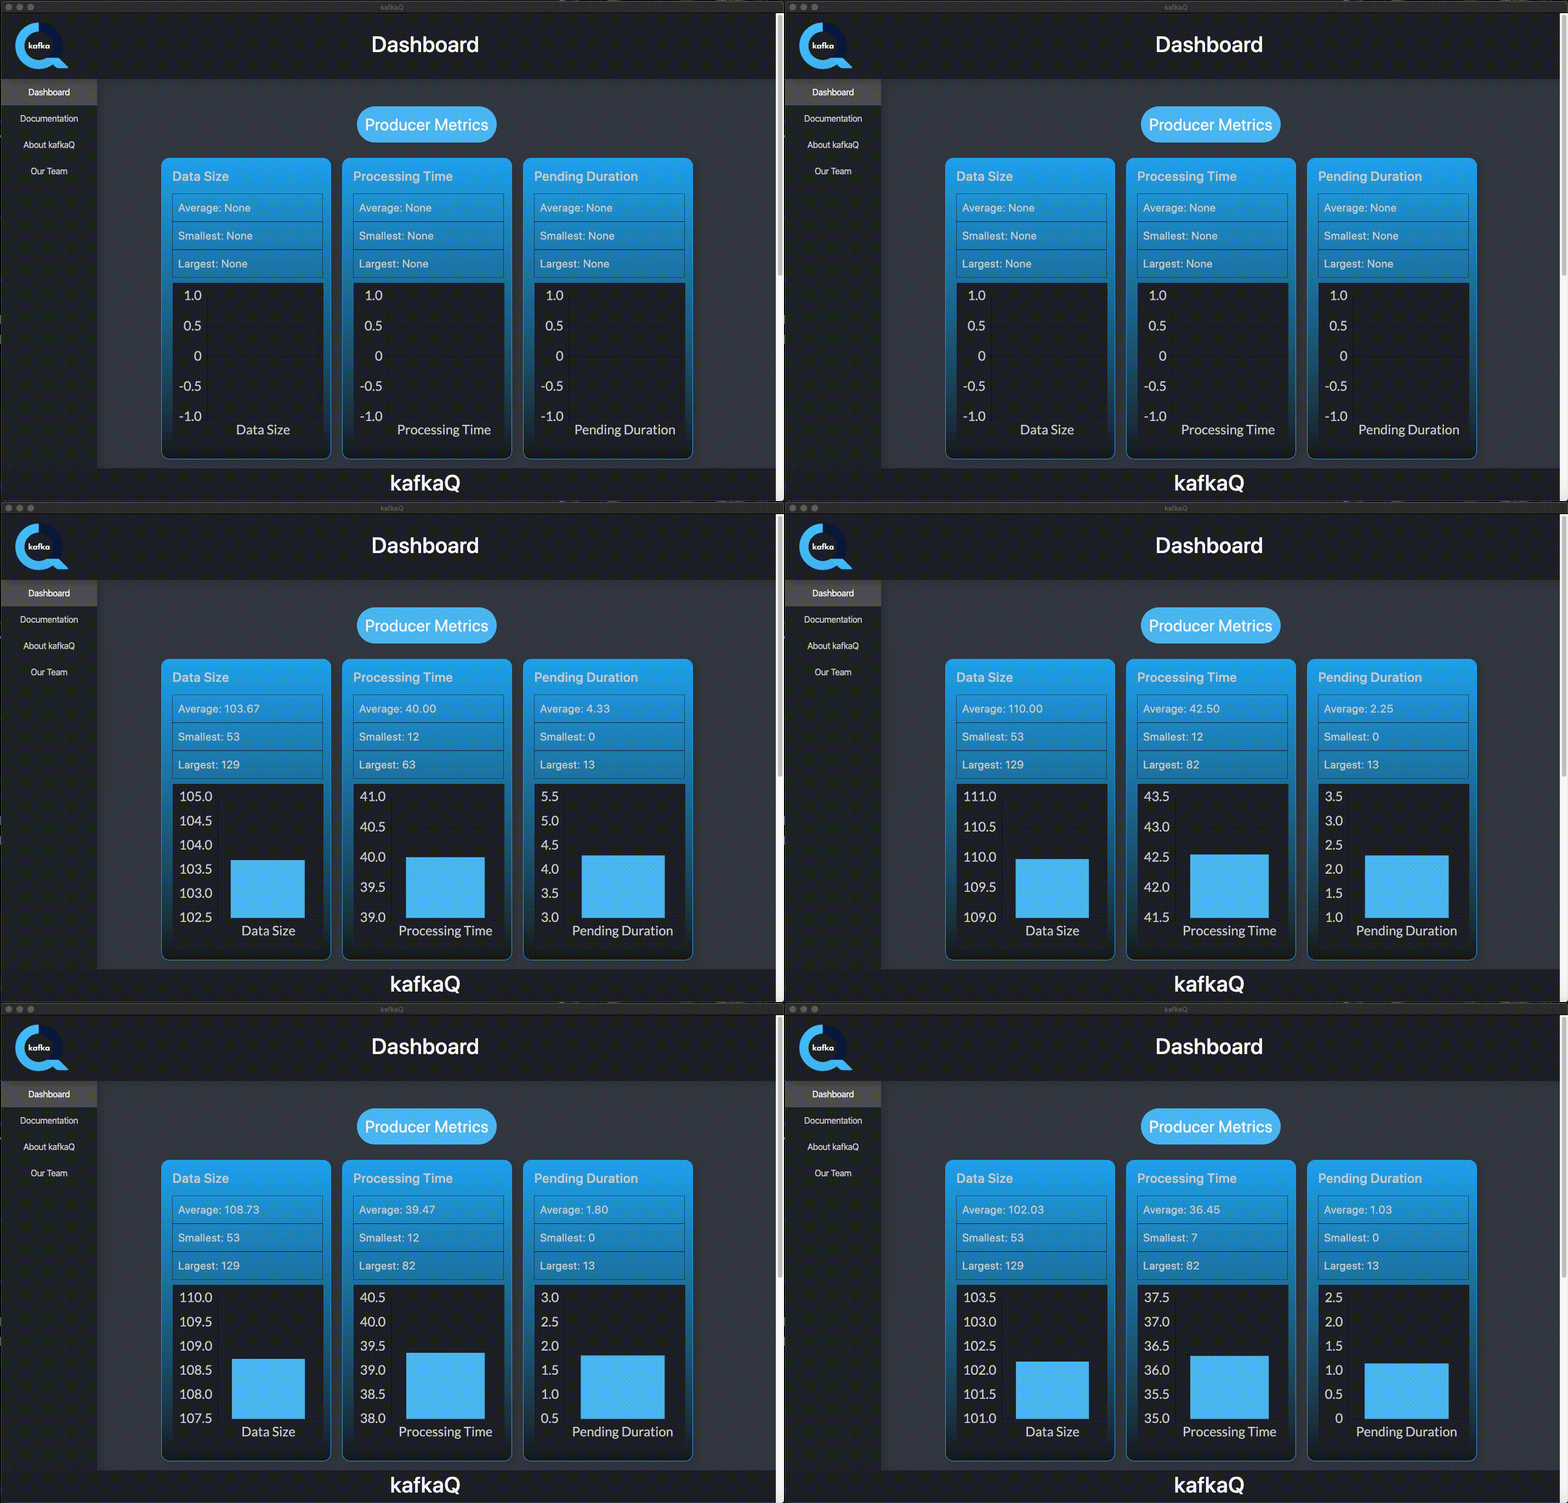
Demo
Companion Website
Quick Start
Viewing your metrics
See kafkaQ in action using our Kafka application simulator
Overview
- Monitor your Kafka application in real-time to diagnose vulnerabilities and improve system health
- Track key metrics like data size, processing time, and pending duration for producers and consumers
- Integrate kafkaQ with your application in a matter of minutes
- Compatible with the KafkaJS API for Node.js backends
kafkaQ is a central location where you can find important data about your Kafka application's performance. Our dashboard provides critical insight about your system's activity, allowing rapid diagnosis of vulnerabilities.
Informed by our statistics, you can determine the optimal approach to scale your Kafka architecture, whether it means adding more brokers or reconfiguring your zookeeper.
Demo
Companion Website
You can find more information and documentation about kafkaQ here.
Quick Start
kafkaQ is incredibly easy to incorporate into your application. Let's walk through the steps you'll need to take.
- In your project's root directory, run
npm install kafkaq-monitor - In the producer script of your Kafka application, import our
trackProducermethod and invoke it immediately after the code connecting your producer, passing in your producer as an argument. Here's an example:
const { Kafka } = require('kafkajs');
const { trackProducer } = require('kafkaq-monitor'); // kafkaQ's NPM package

const kafka = new Kafka({
  clientId: 'myapp',
  brokers: [`${process.env.LOCAL_COMPUTER}:9092`],
});

const producer = kafka.producer();
await producer.connect();

trackProducer(producer); // Invoke kafkaQ's trackProducer method with your producer as the argument

const result = await producer.send({
  topic: 'Users',
  messages: [
    {
      value: 'test',
      partition: 0,
    },
  ],
});

await producer.disconnect();
- We will now connect kafkaQ to your consumer. This will be very similar to the previous step. Import our
trackConsumermethod and invoke it after your consumer subscribes to a topic, passing your consumer as the argument. Here's an example:
const { Kafka } = require('kafkajs');
const { trackConsumer } = require('kafkaq-monitor'); // kafkaQ's NPM package

const kafka = new Kafka({
  clientId: 'myapp',
  brokers: [`${process.env.LOCAL_COMPUTER}:9092`],
});
const consumer = kafka.consumer({
  groupId: 'test',
});

await consumer.connect();

await consumer.subscribe({
  topic: 'Users',
  fromBeginning: true,
});

trackConsumer(consumer); // Invoke kafkaQ's trackConsumer method with your consumer as the argument

await consumer.run({
  eachMessage: async (result) => {
    // Execute some code for each message
  },
});
You're done! In just 4 lines of code, you were able to integrate kafkaQ with your application for real-time tracking. In the next section, we'll see how to view your metrics.
Viewing your metrics
To view your metrics, you will need to use the Electron app built in this repo. Follow these instructions.
- Clone this repo (
git clone https://github.com/oslabs-beta/kafkaQ.git) and cd into it (cd kafkaq). - Start the application with
npm run electron-app. This allows kafkaQ to send its metrics to our Electron UI.
You're all set! You should be able to track analytics as data moves through your Kafka application, and make vital decisions about scaling your distributed system.
See kafkaQ in action using our Kafka application simulator
If you haven't yet set up your Kafka application, but you want to see how kafkaQ works, we've got you covered. In this section, we'll show you how to set up our Kafka application simulator and track its metrics using kafkaQ.
First, clone this repo (git clone https://github.com/oslabs-beta/kafkaQ.git) and cd into it (cd kafkaq). From here, we will split the instructions into 3 sections for clarity.
Section I: Starting Kafka
We will be using Docker images to start Kafka, so make sure to install Docker and create an account.
- Start by ensuring that Docker is running with
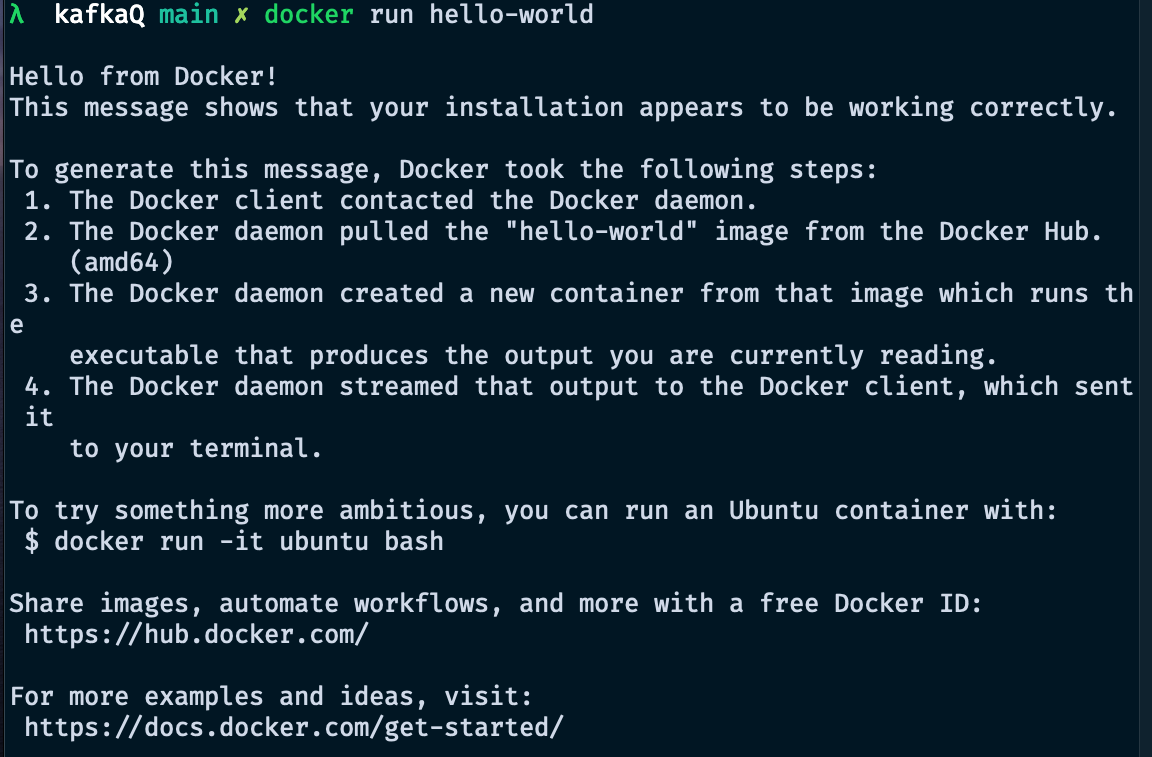
docker run hello-world. If Docker is not running, you should open the Docker desktop app; otherwise, you should see something similar to this:
-
Now, we will start a Kafka zookeeper instance. Run this command to start a zookeeper instance and expose it on port 2181:
docker run --name zookeeper -p 2181:2181 zookeeper -
For our next step, you will need to copy your computer's reference on your local network. On a Mac, you can find this by going to Systems Preferences > Sharing. Under the section "Computer Name", you should be able to find it. See the example below:
- Now that you have your local computer's reference, you're ready to start Kafka. Make sure to replace [LOCAL_COMPUTER] with this reference (note that you should NOT include the square brackets). Run the following command:
docker run --name kafka -p 9092:9092 -e KAFKA_ZOOKEEPER_CONNECT=[LOCAL_COMPUTER]:2181 -e KAFKA_ADVERTISED_LISTENERS=PLAINTEXT://[LOCAL_COMPUTER]:9092 -e KAFKA_OFFSETS_TOPIC_REPLICATION_FACTOR=1 confluentinc/cp-kafka
This is all you need to do to start Kafka! Make sure to save your local computer's reference as we will use that in future sections.
Section II: Set up the Kafka application simulator
Before we get started with this section, you will need to create a file called .env and have it mimic this example:
- Start the server for our Kafka application simulator using
npm run simulator-server. This server has a route that will connect a producer and send a message, which we will use later. - Run
npm run electron-appto start our server (our producer and consumer will need to connect to this) and open the Electron app. - Start your Kafka consumer with
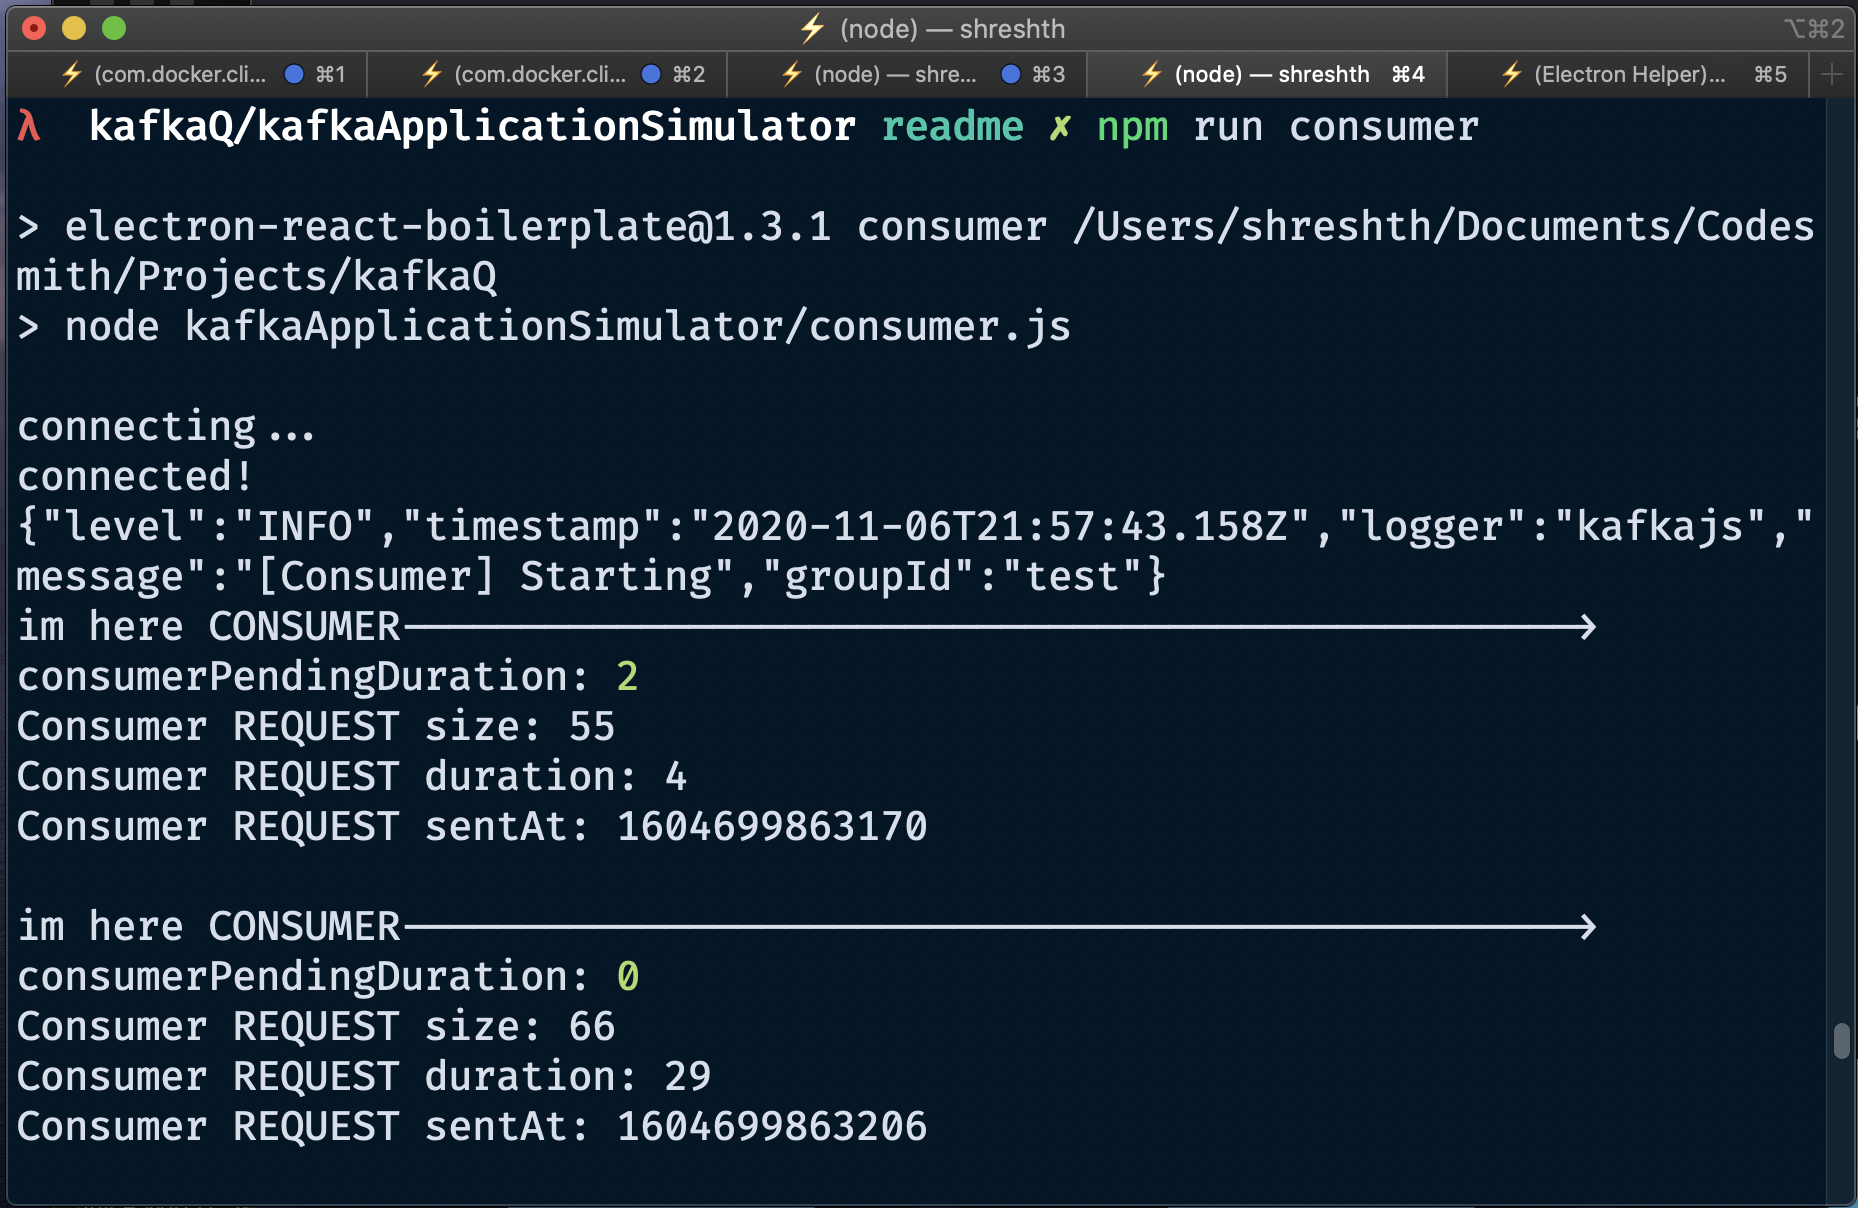
npm run consumer. You should see output similar to this:
- Finally, we'll need to send some data through our system. To do so, run our Go script using
npm run go-script. Note that if you have not installed Go, you will need to runbrew install golangbefore completing this step. For future reference, if you would like to increase or decrease the volume of data sent through your system, simply change the NUM_STRINGS variable in kafkaApplicationSimulator/generate_data.go
Authors
kafkaQ Engineers
Jonathan Barenboim
Kaiwei Hsu
Micah Turan
Shreshth Srivastava


