FriendsOfREDAXO / Redaxo Mit Docker
Projects that are alternatives of or similar to Redaxo Mit Docker
🌎 Deutsch
REDAXO with Docker 🐳

- Introduction
- Package Content
- Usage
- Customize for your project
- Configuration and Tips
- Beginner’s Guide
- Questions or comments?
Introduction
🚀 No experience with Docker yet? No worries, find a Beginner’s guide below!
In short, what is the purpose of this Docker setup?
- Docker provides you and your team with a server environment (Apache, PHP, MySQL) for each of your REDAXO projects. It works much like a virtual machine but requires significantly fewer resources. You can customize the server environment and discard it at any time without losing data.
- If you like, Docker can automatically install a fresh REDAXO within the server environment.
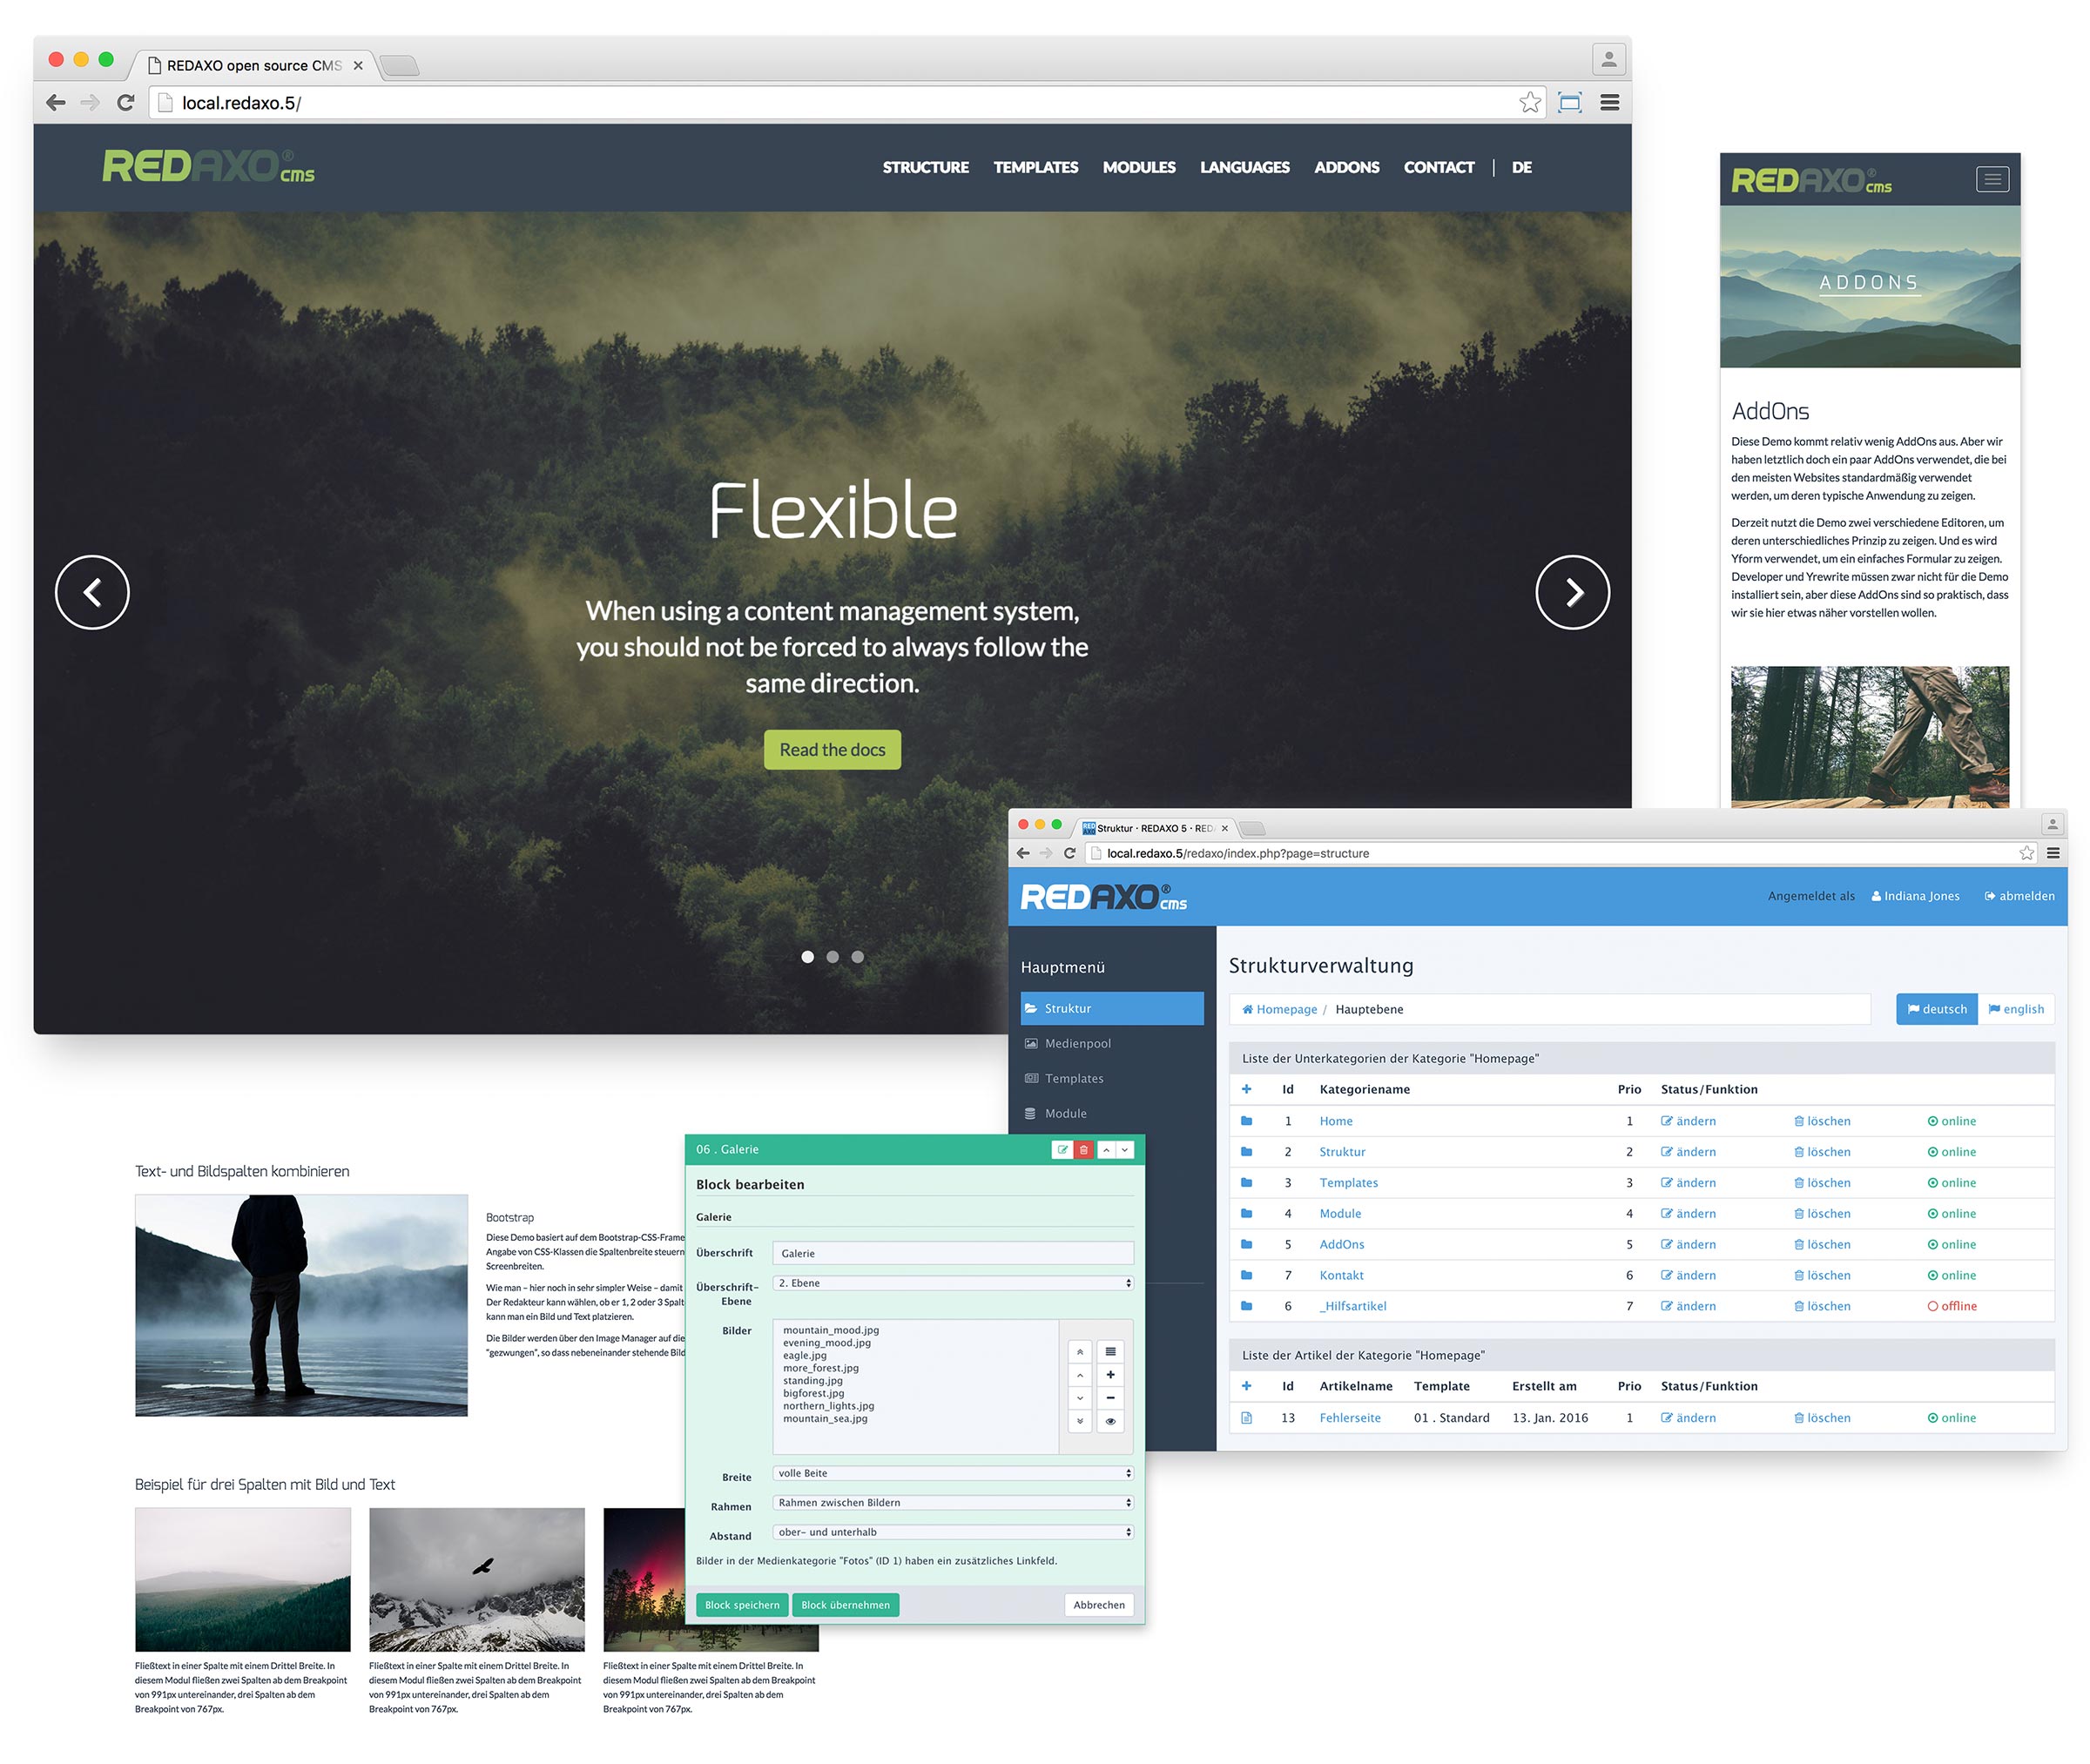
- Even better: Docker can install complete demo websites, for example the popular Base Demo or the Community Demo. So you can try out REDAXO features at any time without special effort.
Who benefits?
- All those who work with REDAXO on a regular basis and maintain several projects. With Docker, you can run your projects in a proper server environment, and the auto-install feature allows you to easily set up fresh REDAXOs and demo websites where you can test and develop features.
- Teams, because they are provided with a unified server environment and save the time to manually set up and maintain their systems.
- All those who develop complex applications: if your REDAXO requires an Elasticsearch or an external mail server, if it outsources data to S3 or uses various services, you can model such an environment with Docker containers.
Okay cool, how to start?
- If you already have experience with Docker:
docker-compose up -d, look at Usage. - If Docker is still pretty new to you: no worries, there’s a Beginner’s guide. 🚀 If you have questions or need help, feel free to join the Slack chat! You will receive an invitation here: https://redaxo.org/slack/
Package Content
- Apache 2.4
- PHP 7.x
- MySQL 5.x
- Mailhog (email testing)
- REDAXO 5.x
- REDAXO demo website (optional)
The volume for the Webroot is the folder html/. If this is empty during the build of the container, a current REDAXO will be downloaded and automatically installed (login into the backend via admin/admin).
The database is persisted to the db/ folder.
Usage
Start a Docker container:
$ docker-compose up -d
Stop and remove the Docker container:
$ docker-compose down
Rebuild Docker images if changes were made to the setup:
$ docker-compose build
Or combined (build all images and restart all containers, see Docs):
$ docker-compose up -d --build --force-recreate
Access REDAXO in your browser:
 http://localhost:20080
https://localhost:20443
👉 We use Port 20080 for HTTP, 20443 for HTTPS and 23306 for the database, so as not to interfere with the standard ports 80/443/3306 if they are already in use. That makes our setup more robust.
If you run multiple Docker projects, you have to keep in mind that all of them use the same ports and therefore can only run one at a time, not several at the same time.
👉 To access via HTTPS, an SSL certificate will be generated that works only for testing purposes. Your browser will alert you that the connection is not secure. For local testing, however, that's enough, and you can skip the safety note.
Customize for your project
Where do you have to adjust something if you want to use the package for your projects?
-
The names of your containers
docker-compose.yml
In this package the container names start withredaxodocker. For your projects you should adapt the name, preferably in each case so that you can recognize the project by the name. In the end you will have many containers on your system and you need a good overview! -
The Database-Configuration
docker-compose.ymlanddocker/php-apache/default.config.yml
For local development,MYSQL_USERandMYSQL_PASSWORDare not all that relevant because your database runs encapsulated in a Docker container. If you don’t have a deployment workflow and import database dumps manually on the live server, you don’t need to change anything here. But of course you should adjust the credentials if they ever leave your development environment and end up on a productive server! -
The login for your REDAXO admin
docker-compose.yml
If Docker automatically sets up REDAXO for you,REDAXO_USERandREDAXO_PASSWORDare used to create an admin user. If your project ever goes live like this, then you better use other credentials thanadmin:) -
REDAXO demo
docker-compose.yml
If you want Docker to automatically install a website demo for you, you can set it up atREDAXO_DEMO. Leave the value empty if you do not want a demo to be installed. The list of existing demos can be found indocker/php-apache/demos.yml.
☝️ Long story short: if you use this setup for your local REDAXO development, you probably only need to pay attention to point 1, which means customizing the container names for each project.
Configuration and tips
⚠️ Keep in mind: whenever you make changes to the container, you have to rebuild it afterwards!
$ docker-compose build
Define the REDAXO version
In docker/php-apache/Dockerfile the version is stored as ENV, which means environment variable. It consists of two parts, the version string and a hash, which is used to check for integrity after the download. How to find out the hash of a new version is described in CONTRIBUTING.md.
The REDAXO version is only relevant if Docker automatically installs the system for you. If you are installing manually or updating an existing REDAXO, you do not have to change anything here.
Set and configure PHP version
Just customize docker/php-apache/php.ini and build again.
If you want to use a different version of PHP, such as 5.6 for older REDAXO versions, you just have to customize and rebuild the Dockerfile:
FROM php:5.6-apache
Install further PHP extensions
In addition to the extensions already included in the PHP/Apache image, we also install GD and PDO_MYSQL, please refer to /docker/php-apache/Dockerfile#L23-L24. If you need more extensions, you can use the helper functions the image provides: docker-php-ext-configure and docker-php-ext-install.
Some extensions need to be configured, like GD, but most of them you just have to install. You do that by just adding them right after pdo_mysql, like this:
&& docker-php-ext-install -j$(nproc) gd pdo_mysql exif opcache
👉 Hint: to find out which extensions are included in the PHP/Apache image, you can use <?php phpinfo (); ?>.
Database configuration
Just customize docker/mysql/my.cnf and build again.
If you want to use a different version, all you have to do is adapt and rebuild the Dockerfile:
FROM mysql:5
Use Mailhog

We’ve integrated Mailhog to be able to test the e-mail dispatch within REDAXO without having to fill in an existing e-mail account. Instead, Mailhog captures all mails and provides a web interface to display it. It is accessible via:
http://localhost:28025
👉 Tip: In the REDAXO backend, configure the PHPMailer addOn to use mail oder sendmail. They do not require further configuration. If you want to use smtp for local testing, host should be mailhog and port 1025.
Integrate phpMyAdmin
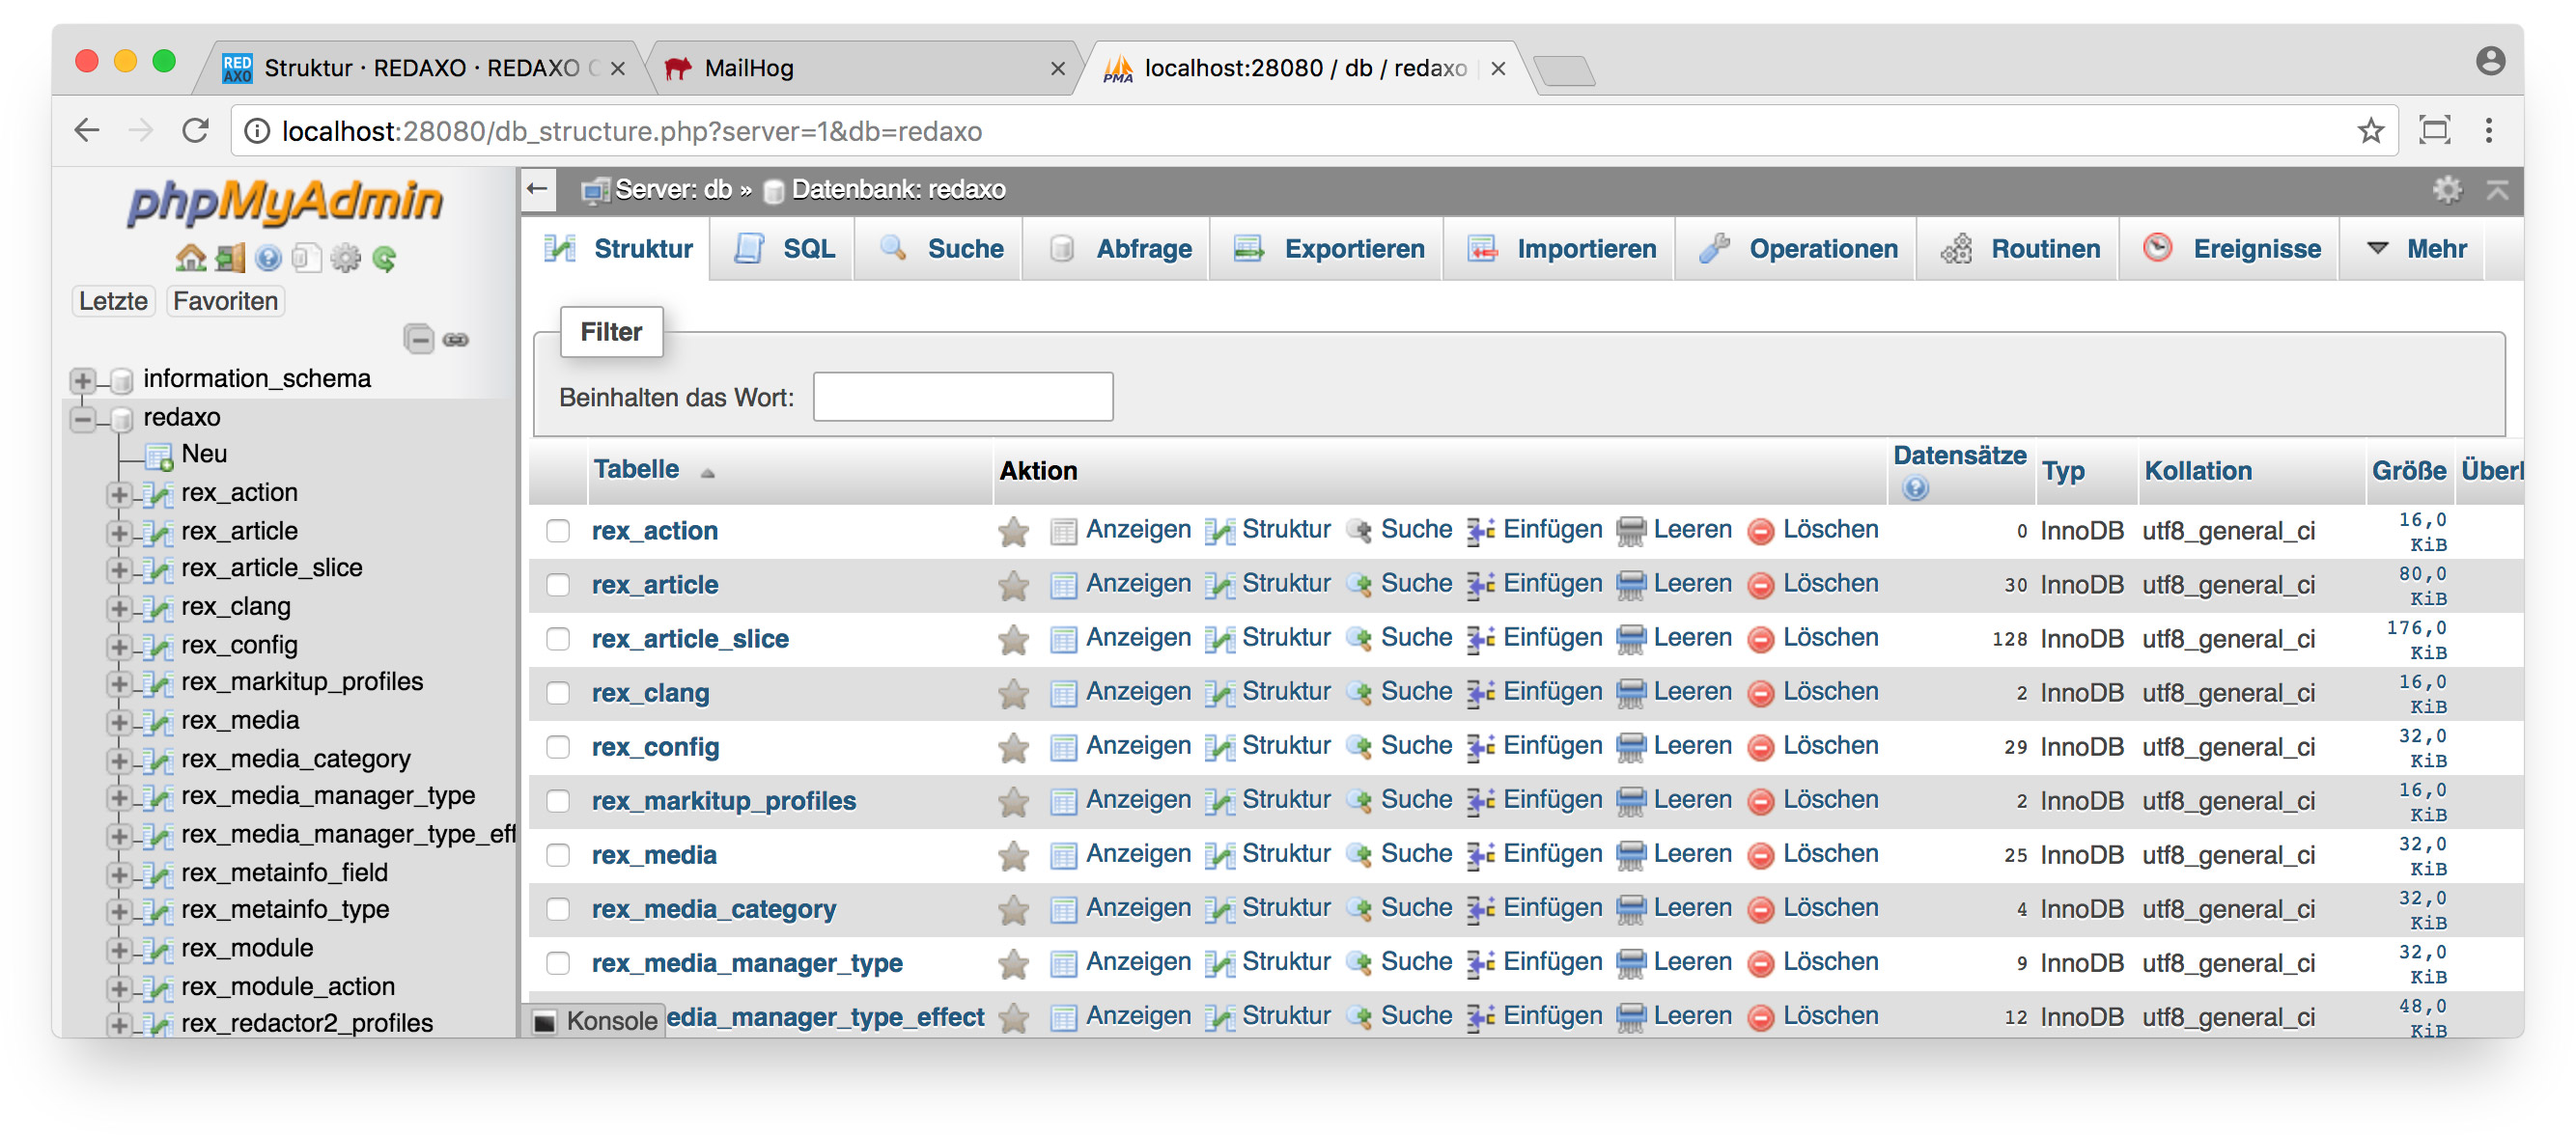
If you want to integrate phpMyAdmin you just have to add this code snippet in the docker-compose.yml at the end:
phpmyadmin:
  container_name: redaxodocker_phpmyadmin
  hostname: redaxodocker_phpmyadmin
  image: phpmyadmin/phpmyadmin
  ports:
    - 28080:80
  depends_on:
    - db
  environment:
    PMA_HOST: db
    PMA_USER: redaxo
    PMA_PASSWORD: redaxo
👉 Keep in mind: Here we use a ready-made image for the container, which we do not modify afterwards. Therefore, we can fetch it with image: phpmyadmin/phpmyadmin and don’t need a separate dockerfile in the docker/ folder, just like with our other containers.
Restart the Docker container:
$ docker-compose up -d
After that you can access phpMyAdmin in your browser:
http://localhost:28080
Beginner’s Guide 🚀
What is it all about?
Virtualization! Docker runs various applications in containers, e.g. a database, a web server and in our case REDAXO as well. These containers run on your system and use its resources, but still run completely isolated. Unlike virtual machines (VMs) that run complete operating systems—such as Windows on a Mac to test websites in Internet Explorer or do german tax returns—Docker containers are very small and performant! You can easily start multiple containers on one system.
We use Docker in this project to build a dev environment from different containers in which we can run REDAXO: one container contains the database, another the Apache web server with PHP. Your local dev environment, which you have previously set up on your system—perhaps with the help of tools such as XAMPP (Windows) or MAMP (Mac)—is thus unnecessary, because it is now provided by Docker containers. And that brings a lot of advantages, of which only these are relevant for us:
- The containers are transportable. You can distribute them within your team, so that all team members work in the same dev environment without any special effort.
- You can customize your local environment to match the live environment.
👉 As you move forward with Docker, you’re about to get into topics like micro services, scaling and automation. We don’t care about that for now, because we want to keep our Docker setup simple and only use it for local REDAXO development.
What is needed?
You only have to install Docker (Community Edition) for your System, that’s all. In the settings, you need to select the folders where Docker projects are allowed to be executed in. Start by just selecting the one folder in which this Git repo is located. Afterwards, open the folder in your console and start the containers:
$ docker-compose up -d
That’s gonna take a good while the first time, as it requires to download the images from which Docker then builds executable containers. A lot of text will pass through your console.
⚠️ When the console is ready again and the command line appears, you will have to wait another 1-2 minutes until REDAXO is fully installed. You will not see the status of the REDAXO installation in your console, because the process is taking place inside of the container. You can look at the container logs using docker-compose logs web (The web at the end is our web server, db would be the database). Alternatively you can see the logs in the free Docker tool Kitematic, which is very useful when working with multiple Docker projects.
Finally, you got a fresh REDAXO setup bundled with the demo website, which you can access in your browser:
http://localhost:20080
Log in to the REDAXO backend using admin/admin.
🎉
What are the next steps?
You should play around with Docker and dive into the official documentation. Don’t let it put you off, because Docker can get terribly complicated when used on a bigger scale. And even in our small context, not everything is easy to understand. With this setup you have a working development environment for REDAXO, which you will gradually understand in detail as you spend more time working with Docker!
What are the functions of the files and folders in this package?
Let’s walk through from top to bottom:
Database
db/
In this folder, the database of the container is persisted, i.e. it is permanently stored on your system. If we wouldn’t do this, the database would be empty every time you build the container. But because we want to work permanently on the REDAXO inside this package, we have to keep the database outside the container.
👉 Keep in mind: if the folder is empty when the container starts, Docker will set up a fresh database for you. However, if the folder already contains content, Docker does not change it and just starts the container.
Container configuration
docker/
    mailhog/
        Dockerfile
    mysql/
        Dockerfile
        my.cnf
    php-apache/
        apache.conf
        default.config.yml
        demos.yml
        docker-entrypoint.sh
        docker-redaxo.php
        Dockerfile
        php.ini
        ssmtp.conf
The docker/ folder contains the configuration for the containers we use, namely mailhog/, mysql/ and php-apache/. These each contain a dockerfile, which provides the instructions for building an executable container from an image.
The dockerfiles for Mailhog and MySQL are quite simple, because they only contain the information, which image is used, without any further modification. The PHP/Apache dockerfile is more complex: once an image has been selected, we make several adjustments. For example, we enable some Apache modules and install PHP extensions required for REDAXO. Afterwards, we check if our webroot—more on this topic later on—is still empty, and if it is, we pull a fresh REDAXO from GitHub and unpack it into the webroot.
The other folders contain setup scripts, configurations for PHP, Apache and the database.
Webroot
html/
This directory acts as the webroot, which has already been mentioned above. It is linked to the directory of the container (a Debian GNU/Linux btw) in which the Apache web server expects the website to be located. So if you make adjustments to your REDAXO, they are immediately available to the server, and vice versa. This means: like the database, your REDAXO is also permanently stored on your system and can be edited by you, while Docker only provides you with the necessary server environment.
👉 Keep in mind: if the folder is empty when you start the container, Docker will install a fresh REDAXO for you, and depending on your configuration (in docker-compose.yml) even a website demo. However, if the folder already contains content, Docker does not change it and just starts the container.
Ignore
.dockerignore
The file dockerignore defines which files and folders are not handed over to the Docker daemon. If your project folder is very large, you can skip data that is not important for Docker and save resources.
Compose
docker-compose.yml
Docker Compose allows you to start and link several containers at the same time. It contains information about what the containers are called, which ports they use, and which directories of your system they mount (volumes). It may also contain information such as username and passwords, in our case for the database.
Questions or Comments?
Any time. Best thing to do is to join our Slack! ✌️
Get your Slack invitation here: https://redaxo.org/slack/