Germanunkol / Ogreoculussample
Labels
Projects that are alternatives of or similar to Ogreoculussample
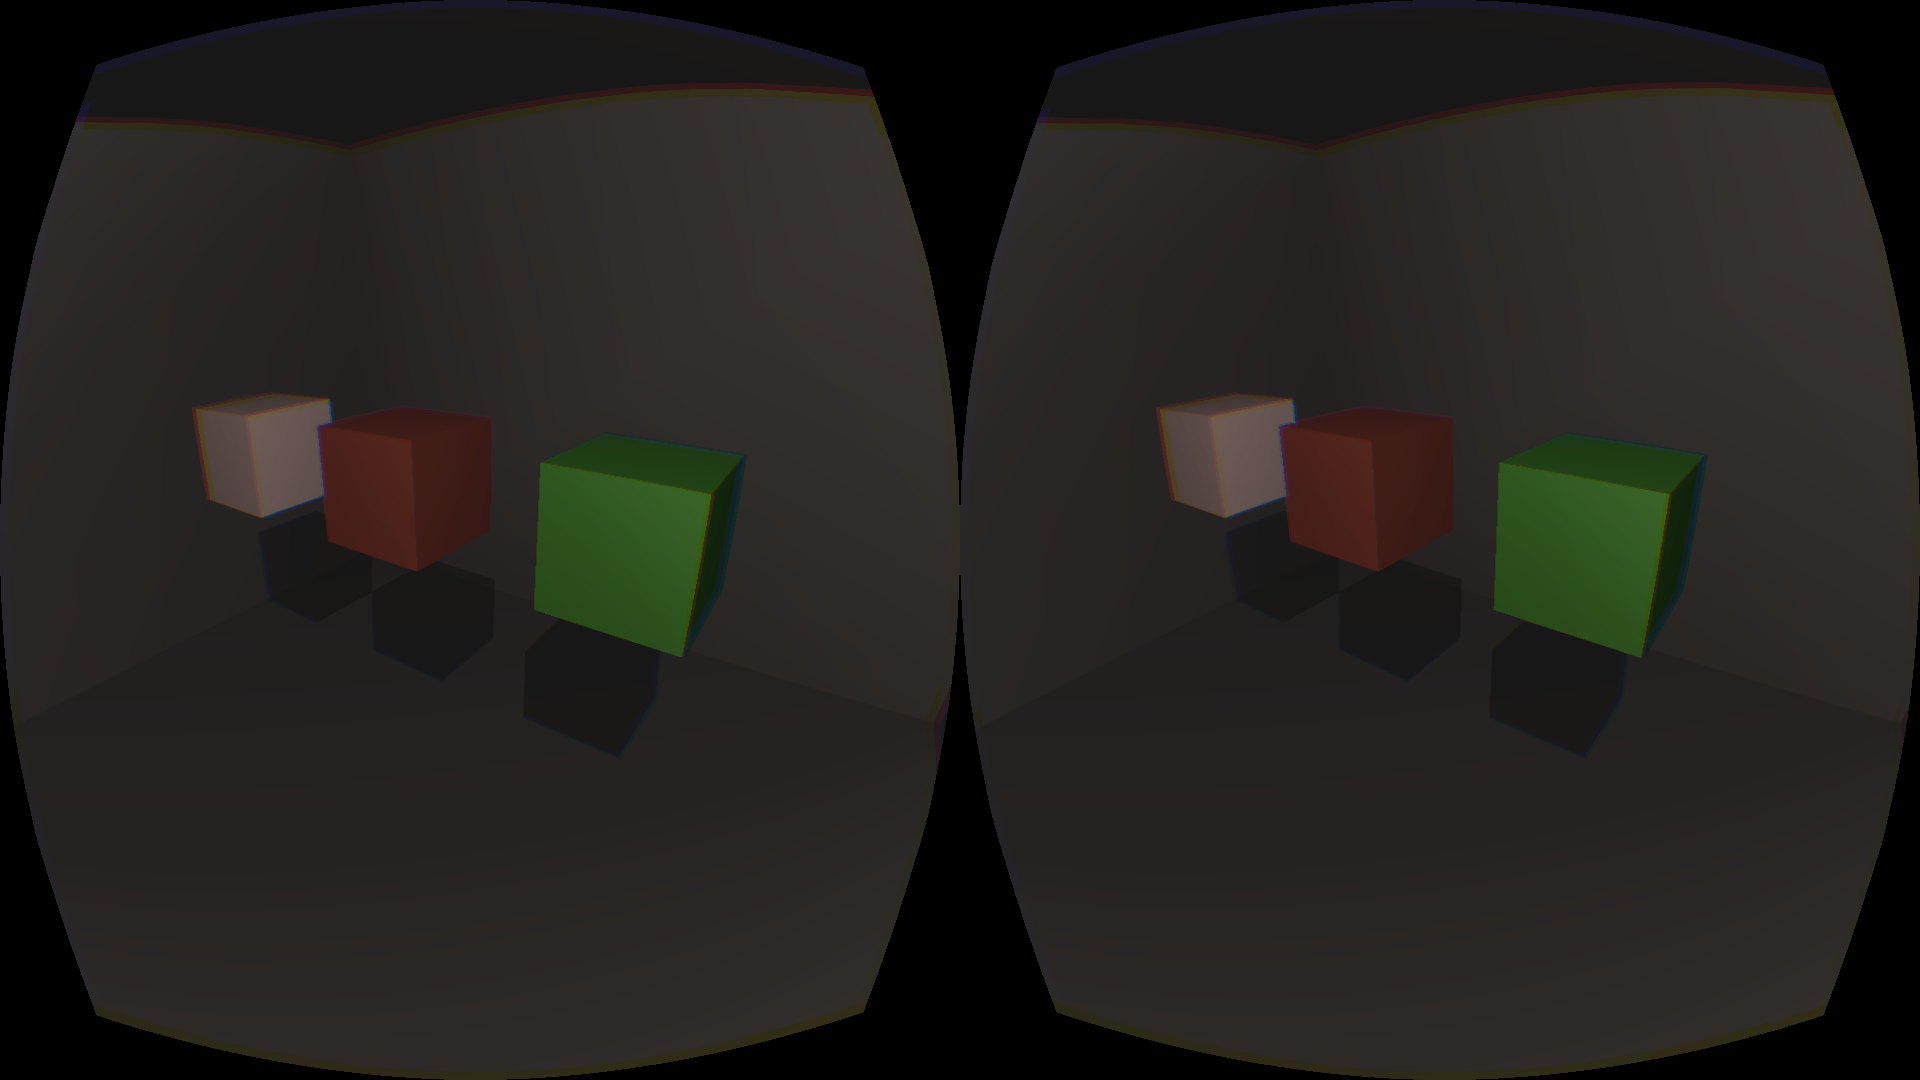
Oculus Rift Rendering in OGRE 3D
Goal:
- Rendering to the Oculus Rift using extended mode.
- Should work with DK2
- OpenGL only at this point.
License:
I place this work into public domain wherever possible. In places where this is not allowed, WTFP-LICENSE.txt applies.
TODO:
- [Done] Add orientation tracking
- [Done] Add distortion
- [Done] Add command line switch to enable window rotation
- [Done] Add Position tracking
- [Canceled - User should decide how he/she wants to do this] Add Command line switch to control which monitor the screen goes to
- [Done] Add vignette
- [Done] Add License
- [Donw] Added Linux support
- Maybe add time warp
Note:
At the point of writing, the Oculus DK2 only works on Windows, so this project has not been tested on other platforms. However, all used libraries run on Win, Linux and Mac, so it should be easy enough to port once the Oculus SDK has been released for those platforms.
Prerequisites:
- Ogre must be installed (Tested with version 1.9)
- OculusSDK (download from Oculus Rift Website - Tested with version 0.4.2 and 0.4.3)
- Install Oculus Runtime (also from Oculus Rift Website)
Building:
NOTE: I am not an expert in cmake. This means the cmake scripts are probably far from perfect - I'll happily accept pull request which make them better!
- Use cmake to build in directory of choice.
- WIN: Create variable OGRE_HOME and set to the place where you've installed or built OGRE
- Put the OculusSDK folder into the source folder, or set OCULUS_HOME to point to the OculusSDK folder.
- If your version of OGRE was built with boost (i.e. threadding was enabled) then you'll also need boost (get binaries online). Make sure to install a version for the Compiler you're using (for example: Visual C++ 2010 Express).
- WIN: If using boost, set the BOOST_ROOT to C:\local\boost_1_56_0 (or wherever you installed boost)
- WIN: If using boost, set the BOOST_INCLUDEDIR to C:\local\boost_1_56_0 (or wherever you installed boost)
- WIN: If using boost, set the BOOST_LIBRARYDIR to C:\local\boost_1_56_0\lib32-msvc-10.0 (or wherever you installed boost)
- Linux: Make sure to go into the Oculus SDK directory and run 'make', before trying to compile this. Then run 'oculusd -d' to start the oculus deamon.
Usage:
When running the example app, you can add the command line switch "--rotate-view" (without quotes). This will rotate the window and view by 90 degrees, in case you can't rotate the monitor in your system's settings. The app creates a second, smaller "debug" window, because it's annoying if you want to show the program to someone but can't see what they see through the rift. If it doesn't work, you might have to change the monitor index - see below.
Use the --help command line switch to get a list of available options.
Explanation:
Almost the entire Rift-Interaction is done using Rift.h and Rift.cpp. Copy those into your project if you want to use them. Getting it up and running is designed to be as simple as possible. See App::initRift() in App.cpp for an example.
-
Create a Renderwindow, but DON'T ATTATCH ANY VIEWPORTS! The rift class will do this later. You can create the window directly on your second monitor (set "monitorIndex" to "1" instead of "0"), or let the user choose a screen at startup.
-
Create two Cameras in your Scene, next to each other, facing in the same direction. Best practice: Create a scene node "mBodyNode" which represents the user's body. Then add a child scene node (mHeadNode) which is the head node. Let the user control the body (walking, turning) and the Rift control the head node. Attach your cameras to the head node.
-
Call Rift::init() once.
-
Create a new Rift and pass the Window, your ogre root and a bool to it - the bool controls whether the window should be rotated sideways (in case your Graphics Card doesn't allow you to rotate the attached monitor which the Rift creates). If using rotated view, make sure to create your window in a rotated manner as well, i.e. the window dimensions should be 1080x1920 instead of 1920x1080, if you rotate.
mRift = new Rift( 0, mRoot, mWindow, false );
-
Fix the IPD in your Scene by caling mRift::getIPD() and using that return value to set the distance between your cameras (all Rift values returned in meters, so the Default value is 0.064m (6.4 cm)).
-
Call mRift->setCameras( camLeft, camRight ); to pass your cameras to the Rift class. The rift will now create viewports using these cameras and set the projection matrices. Now rendering is already set up!
-
For headtracking, call mRift->getOrientation() and/or mRift->getPosition() every frame and apply it to the cameras' scene node ("mHeadNode").
-
Make sure your FPS stays high! This is often not the case in Debug mode, but check if it works in Release mode and you should be fine.
Troubleshooting:
It compiles and runs but doesn't work and looks all wrong!
- In your Monitor settings, check if the Monitor belonging to the Rift is oriented in Landscape or Portrait orientation. If it's a Portrait, make sure to set the bool in your "new Rift(..., true)" to true so that the image is rotated.
- The Example app creates the Rift Monitor on Screen 2. Change the line "miscParams["monitorIndex"] = Ogre::StringConverter::toString(1);" in App.cpp to a different index (for example, 0 for your first screen), if need be.
My Overlays are all wrong or don't show!
- The Rift class creates a new SceneManager and some of its own viewports. Modify the viewport creation to your needs (to show or not show overlays).
- Generally speaking, I (and the Developers behind the Oculus Rift) advice not to use overlays for your UI - instead put stuff on in-game elements wherever possible.
Input doesn't work!
-
If you use OIS, the window needs focus. When using the Rift, the Window is on a seperate screen. Moving your mouse over to the second screen and clicking should give the window focus.
-
Linux: If the app starts but shuts down again, make sure that a) the oculusd deamon is running (go into OculusSDK lib and run 'oculusd -d') and b) you're running the program with the dedicated graphics card (if you have multiple). If it still doesn't work, try running with the --no-debug command line switch. This will make sure only ONE window is created (the main render window for the oculus rift)