x11vnc / X11vnc Desktop
Programming Languages
Projects that are alternatives of or similar to X11vnc Desktop
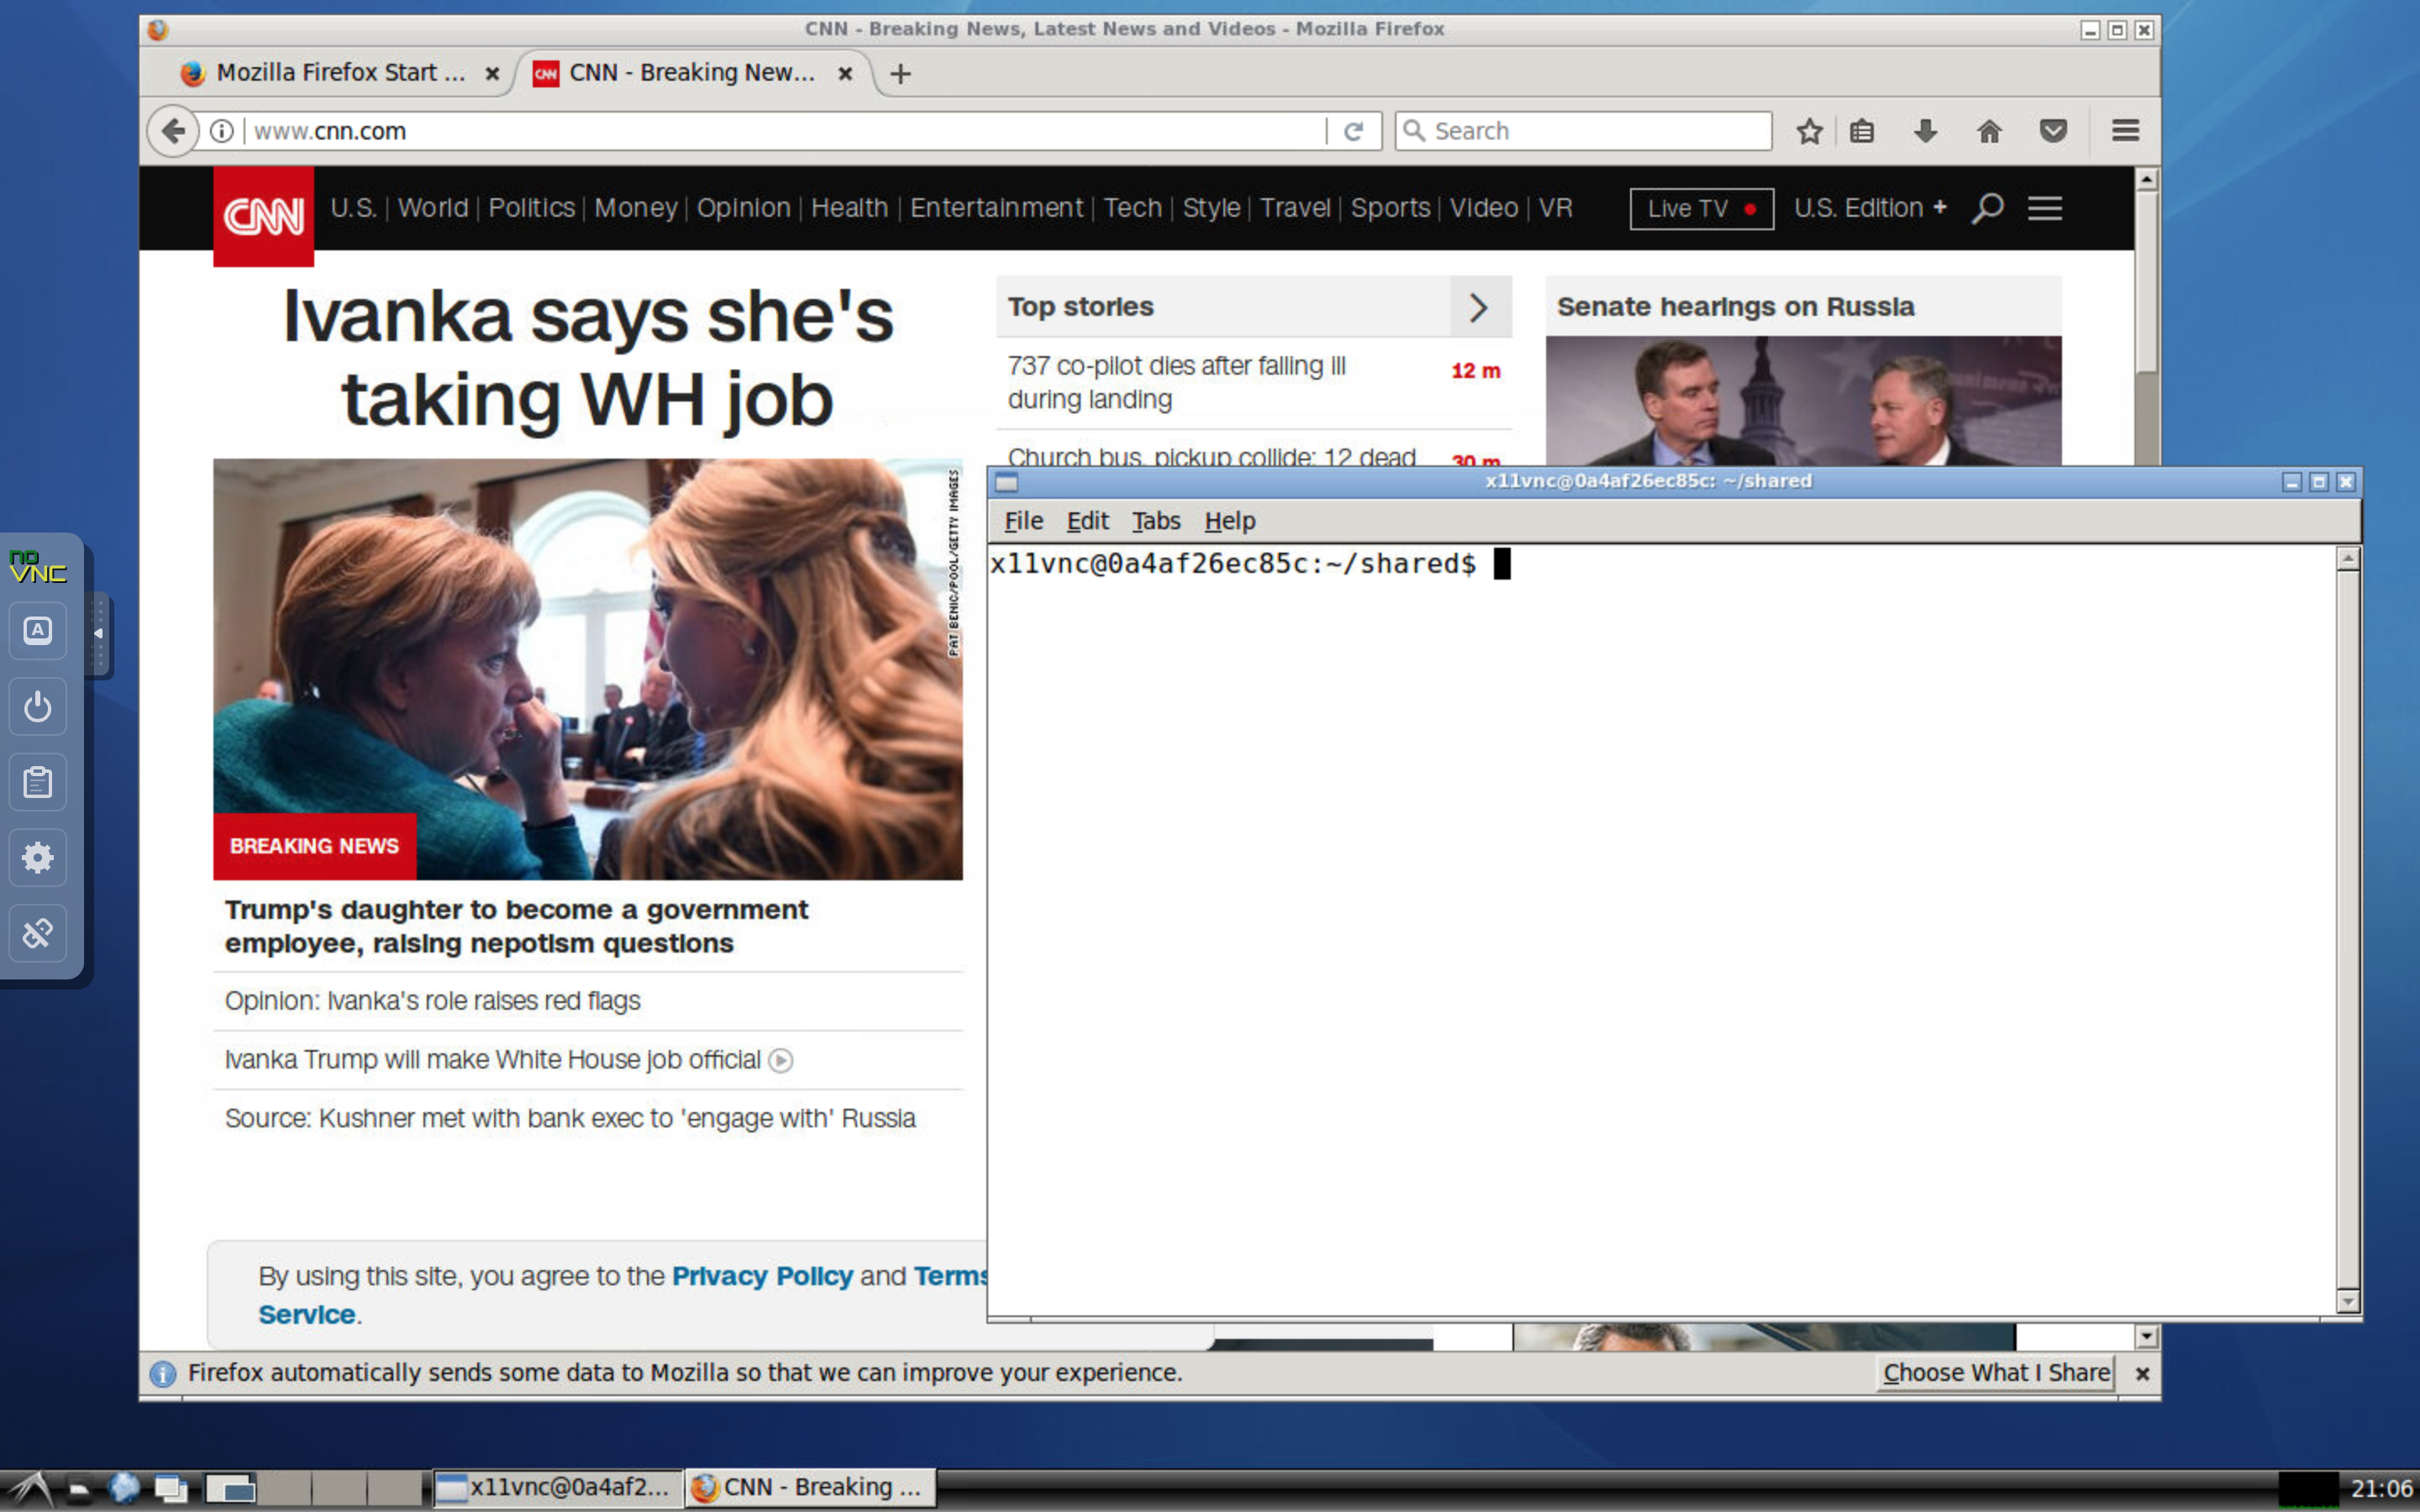
Docker Image for Ubuntu with X11 and VNC
This is a Docker image for Ubuntu with X11 and VNC. It is similar to fcwu/docker-ubuntu-vnc-desktop, but with enhancements on security and features.
- VNC is protected by a unique random password for each session
- Desktop runs in a standard user account instead of the root account
- Supports dynamic resizing of the desktop and 24-bit true color
- Supports Ubuntu LTS releases 18.04, 16.04 and 14.04, with very fast launching
- Support Simplified Chinese (add
-t zh_CNto the command-line option forubuntu_desktop.py) - Automatically shares the current work directory from host to Docker image
- Is compatible with Singularity (tested with Singularity v2.6 and v3.2)


Preparation for Using with Docker
Before you start, you need to first install Python and Docker on your computer by following the steps below.
Installing Python
If you use Linux or Mac, Python is most likely already installed on your computer, so you can skip this step.
If you use Windows, you need to install Python if you have not yet done so. The easiest way is to install Miniconda, which you can download at https://repo.continuum.io/miniconda/Miniconda3-latest-Windows-x86_64.exe. You can use the default options during installation.
Installing Docker
Download the Docker Community Edition for free at https://www.docker.com/community-edition#/download and then run the installer. Note that you need administrator's privilege to install Docker. After installation, make sure you launch Docker before proceeding to the next step.
Notes for Windows Users
- Docker only supports 64-bit Windows 10 Pro or higher. If you have Windows 8 or Windows 10 Home, you need to upgrade your Windows operating system before installing Docker. Note that the older Docker Toolbox supports older versions of Windows, but it should not be used.
- After installing Docker, you may need to restart your computer to enable virtualization.
- When you use Docker for the first time, you must change its settings to make the C drive shared. To do this, right-click the Docker icon in the system tray, and then click on
Settings.... Go toShared Drivestab and check the C drive.
Notes for Linux Users
- After you install Docker, make sure you add yourself to the Docker group by running the command:
sudo adduser $USER docker
Then, log out and log back in before you can use Docker.
Running the Docker Image
To run the Docker image, first download the script x11vnc_desktop.py
and save it to the working directory where you will store your codes and data. You can download the script using command line: On Windows, start Windows PowerShell, use the cd command to change to the working directory where you will store your codes and data, and then run the following command:
curl https://raw.githubusercontent.com/x11vnc/x11vnc-desktop/master/x11vnc_desktop.py -outfile x11vnc_desktop.py
On Linux or Mac, start a terminal, use the cd command to change to the working directory, and then run the following command:
curl -s -O https://raw.githubusercontent.com/x11vnc/x11vnc-desktop/master/x11vnc_desktop.py
After downloading the script, you can start the Docker image using the command
python x11vnc_desktop.py -p
This will download and run the Docker image and then launch your default web browser to show the desktop environment. The -p option is optional, and it instructs the Python script to pull and update the image to the latest version. The work directory by default will be mapped to the current working directory on your host.
To use the Chinese localization, use the command
python ubuntu_desktop.py -t zh_CN
For additional command-line options, use the command
python x11vnc_desktop.py -h
Building Your Own Images
To build your own image, run the following commands:
git clone https://github.com/x11vnc/x11vnc-desktop.git
docker build --rm -t x11vnc/desktop x11vnc-desktop
and then use the x11vnc_desktop.py command.
Use with Singularity
This Docker image is constructed to be compatible with Singularity. This has been tested with Singularity v2.6 and v3.2. If you system does not yet have Singularity, you may need to install it by following these instructions. You must have root access in order to install Singularity, but you can use Singularity as a regular user after it has been installed. If you do not have root access, uou may need to ask your system administrator to install it for you. It is recommended you use Singularity v2.6 or later.
To use the Docker image with Singularity, please issue the commands
singularity run docker://x11vnc/desktop:master
Alternatively, you may use the commands
singularity pull --name x11vnc-desktop:master.simg docker://x11vnc/desktop:master
./x11vnc-desktop:master.simg
Notes regarding singularity:
- When using Singularity, the user name in the container will be the same as that on the host, and the home directory on the host will be mounted at /home/$USER by default. You will still have read access to /home/$DOCKER_USER.
- To avoid conflict with the user configuration on the host when using Singularity, this image uses /bin/zsh as the login shell in the container. By default, /home/$DOCKER_USER/.zprofile and /home/$DOCKER_USER/.zshrc will be copied to your home directory if they are older than those in /home/$DOCKER_USER. In particular, /home/$DOCKER_USER/.profile will be sourced by /home/$USER/.zprofile. This works the best if you use another login shell (such as /bin/bash) on the host.
- To avoid potential conflict with your X11 configuration, this image uses LXQT for the desktop manager. This works best if you do not use LXQT on your host.
License
See the LICENSE file for details.
Related Projects
- novnc/noVNC: VNC client using HTML5 (Web Sockets, Canvas)
- fcwu/docker-ubuntu-vnc-desktop: An original but insecure implementation of Ubuntu desktop, without password protection.
- phusion/baseimage: A minimal Ubuntu base image modified for Docker-friendliness