Open source ecommerce mobile app for on-demand orders. Setup ecommerce marketplace or shop.


fleetbase.io | @fleetbase_io | Discord


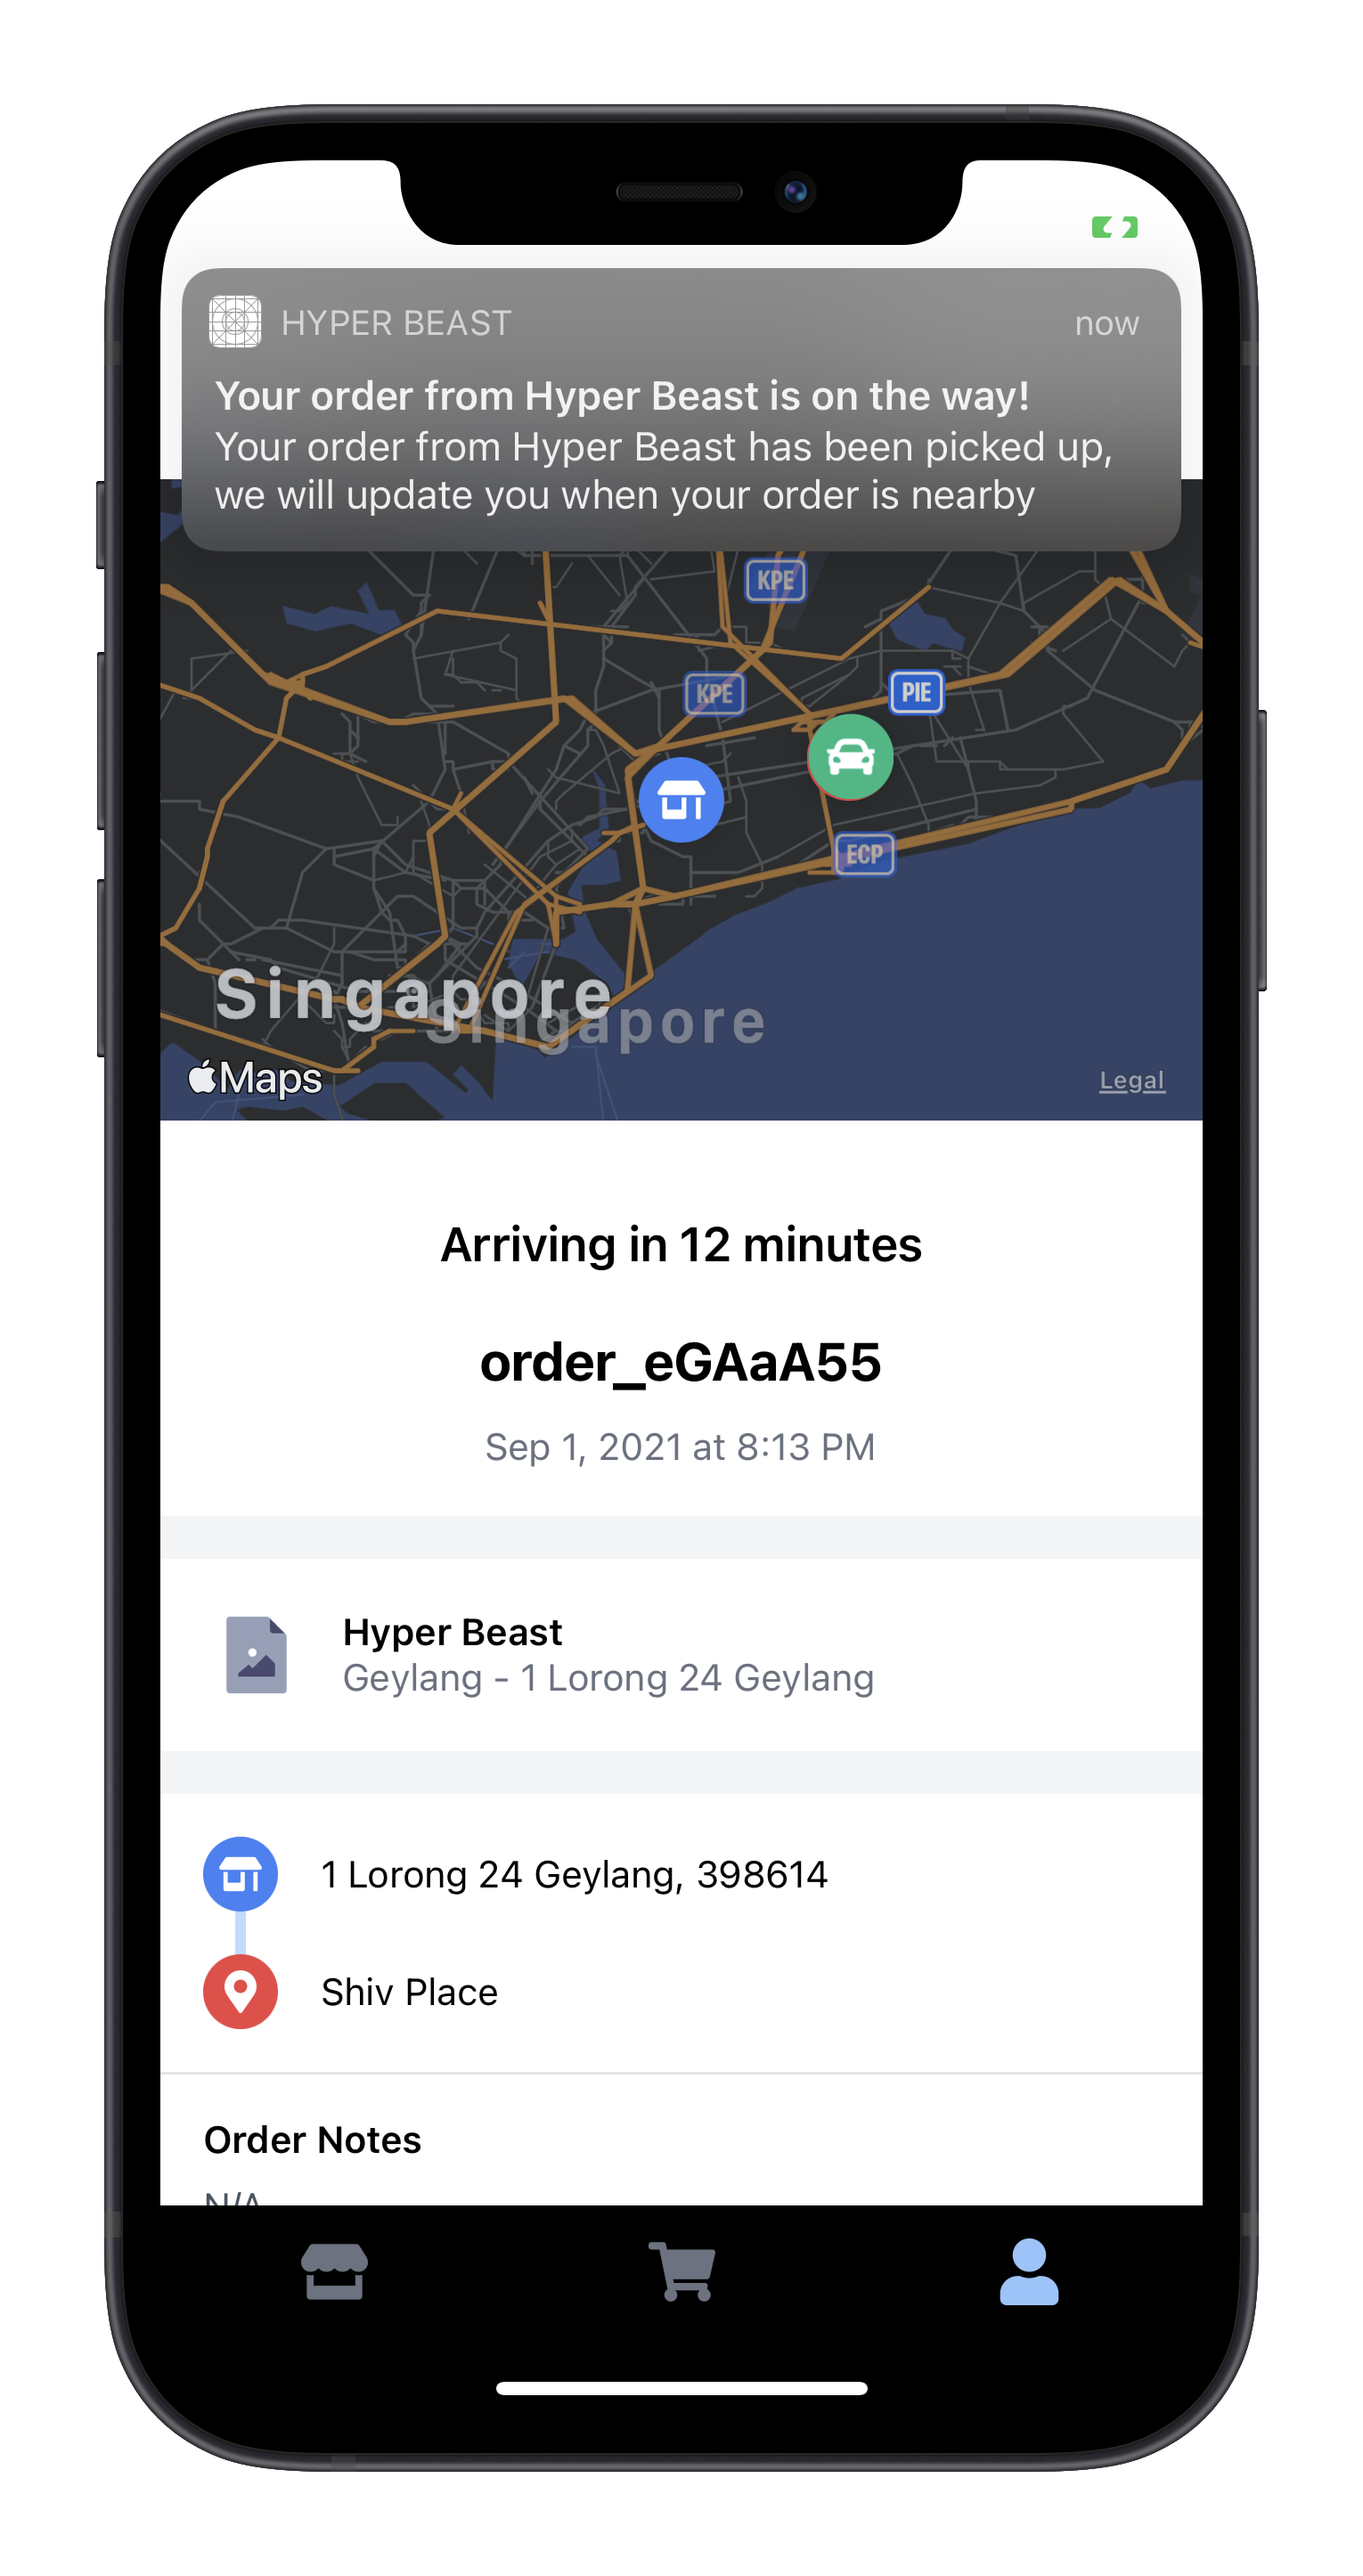
Table of Contents
- About
- Screenshots
- Prerequisites
- Installation
- Running in Simulator
- Push Notifications
- Generate Assets
- Configuration
- Internationalization and Translations
- Payment Gateways
- Store Locations
- Multi-Vendor
- Cart
- Customer Authentication
- Delivery/ Service Rates
- Checkout
- Driver/Agent App
- Orders
- Documentation
- Roadmap
About
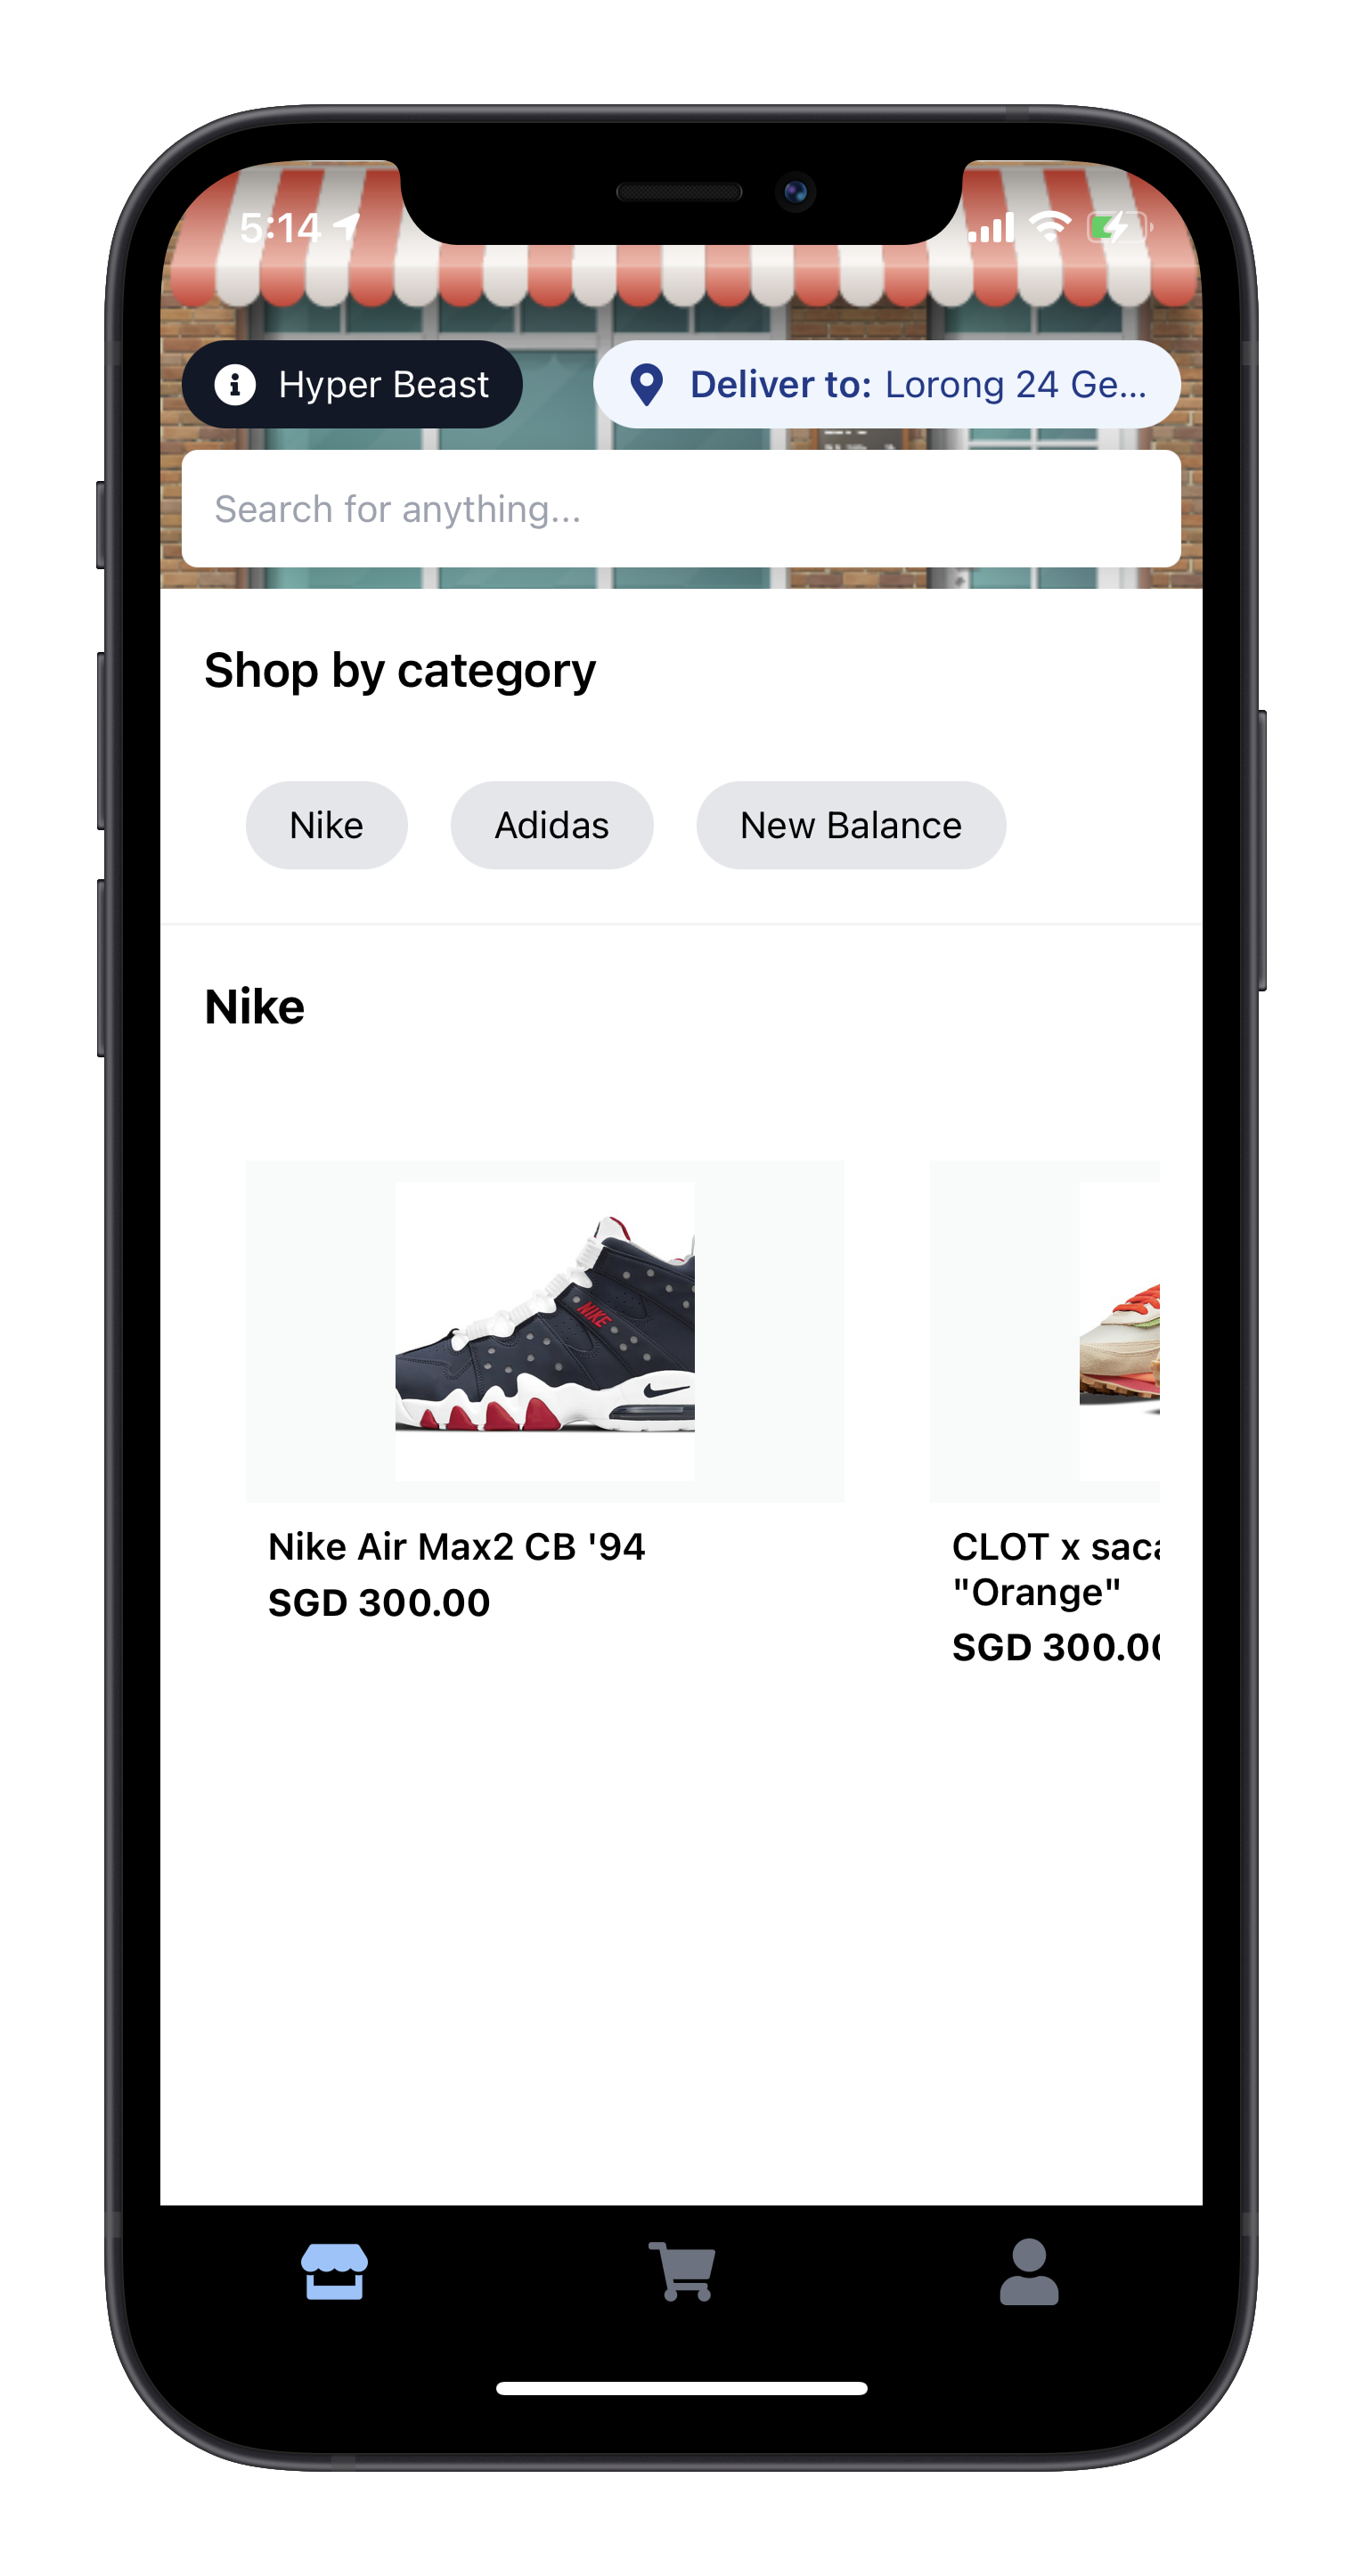
Storefront is a headless e-commerce service which functions as an extension within Fleetbase. Similarly to how Fleetbase is a headless logistics service. Fleetbase Storefront provides several API-first approaches to products, carts, categories, customers, and checkout flow giving developers more control over the shopping experience. This project is to provide an open-sourced hyperlocal shopping app which can be fully customised and adapted to personal and commercial projects. This Storefront app is built with React Native to provide react native developers a head start building with Fleetbase and Storefront.
Notice: Network/ Multi-vendor functionality is still a work in progress.
Use Cases
- Food delivery app
- Services booking app
- Hyperlocal shopping app
- Hyperlocal marketplace app
- Alcohol delivery app
- Cannabis delivery app
- Lawn care booking app
- Transportation booking app
- and much more...
Screenshots
| Products Page Search Products Product |
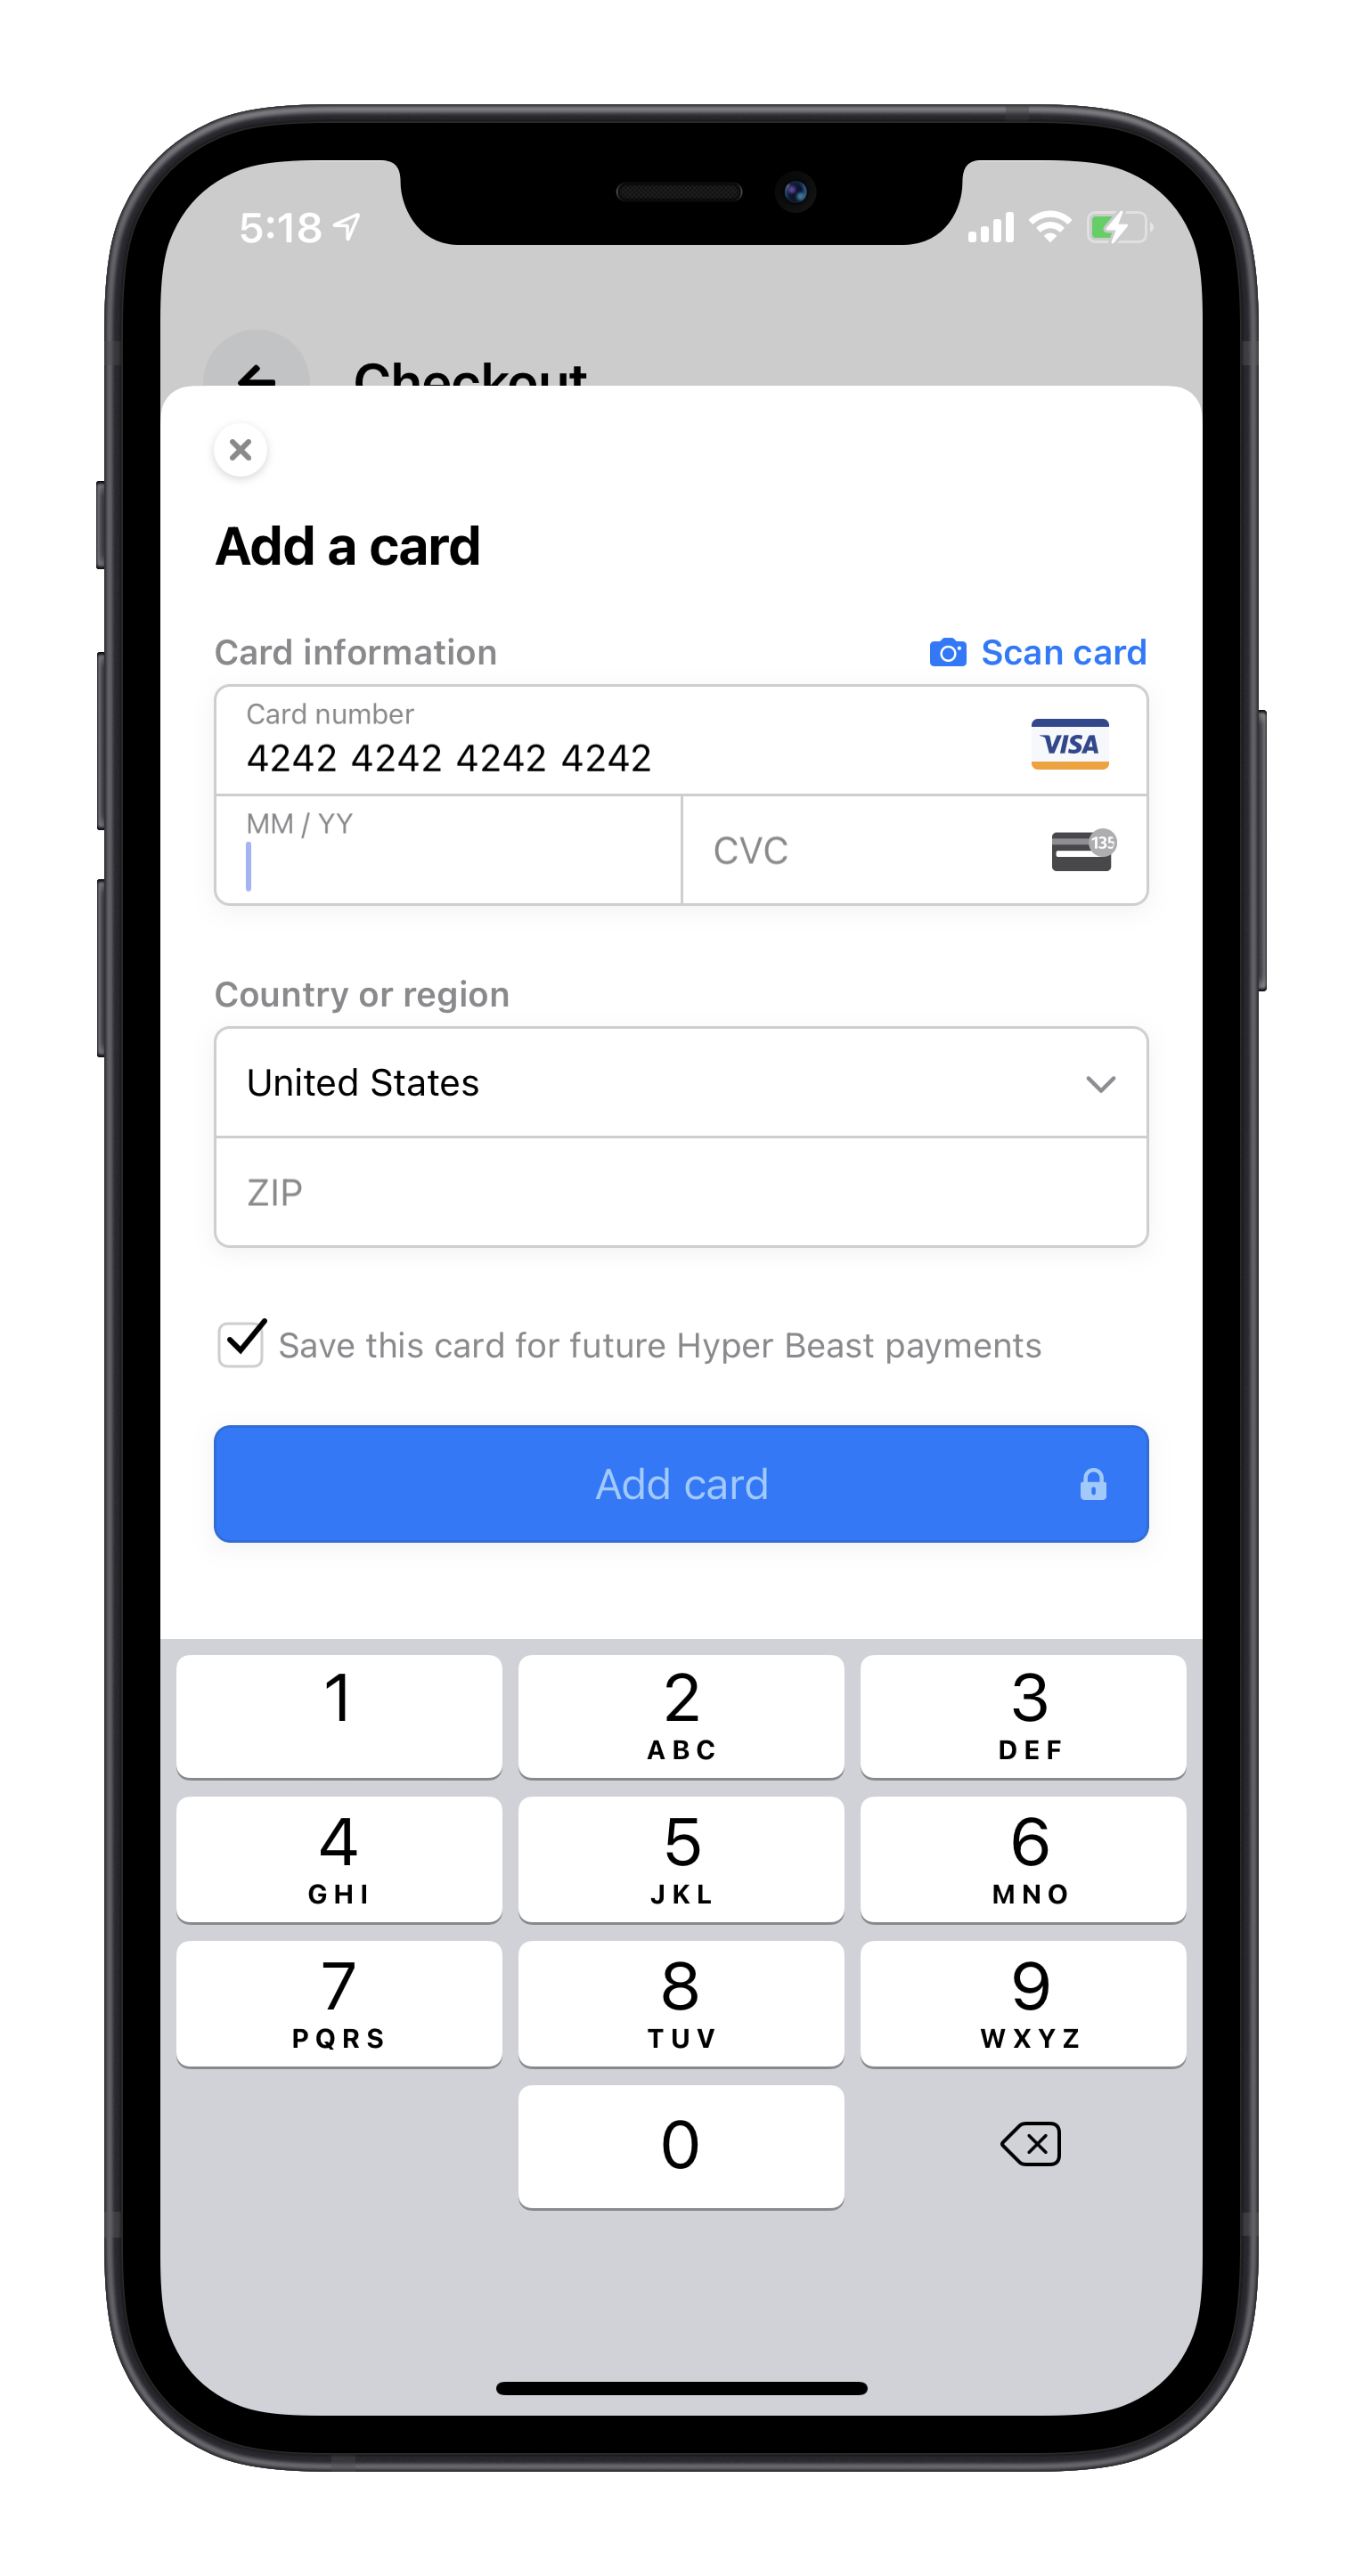
Cart Add Payment Method Checkout |
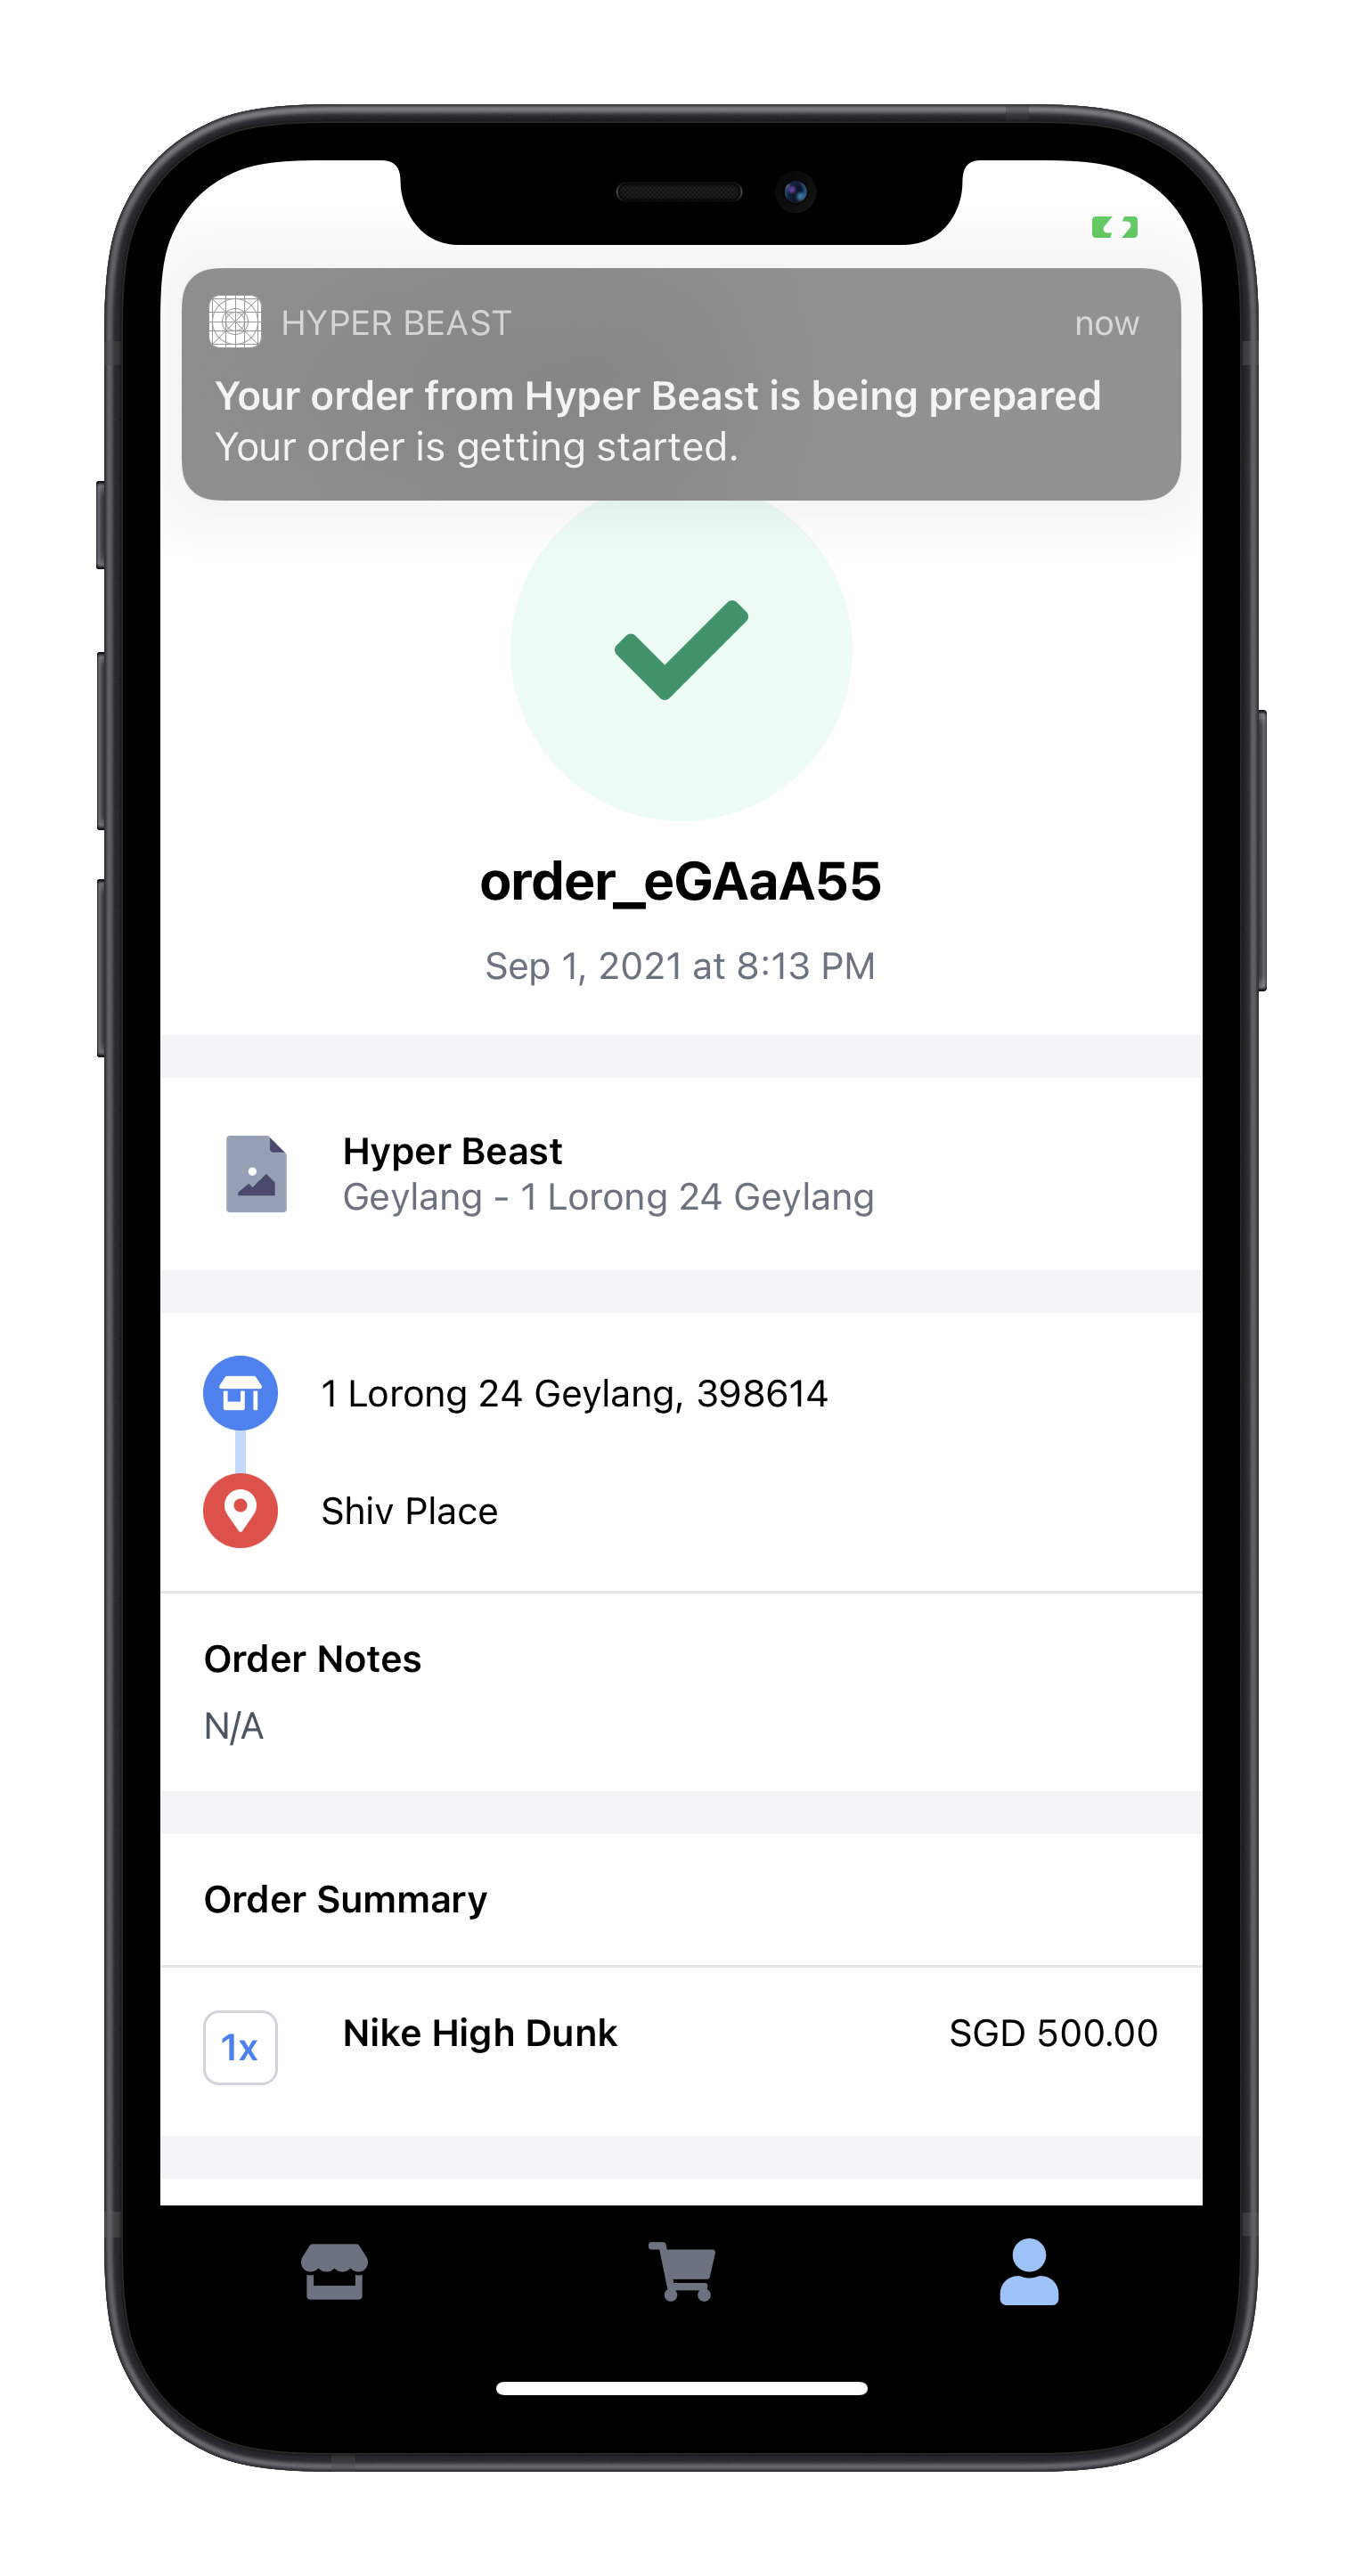
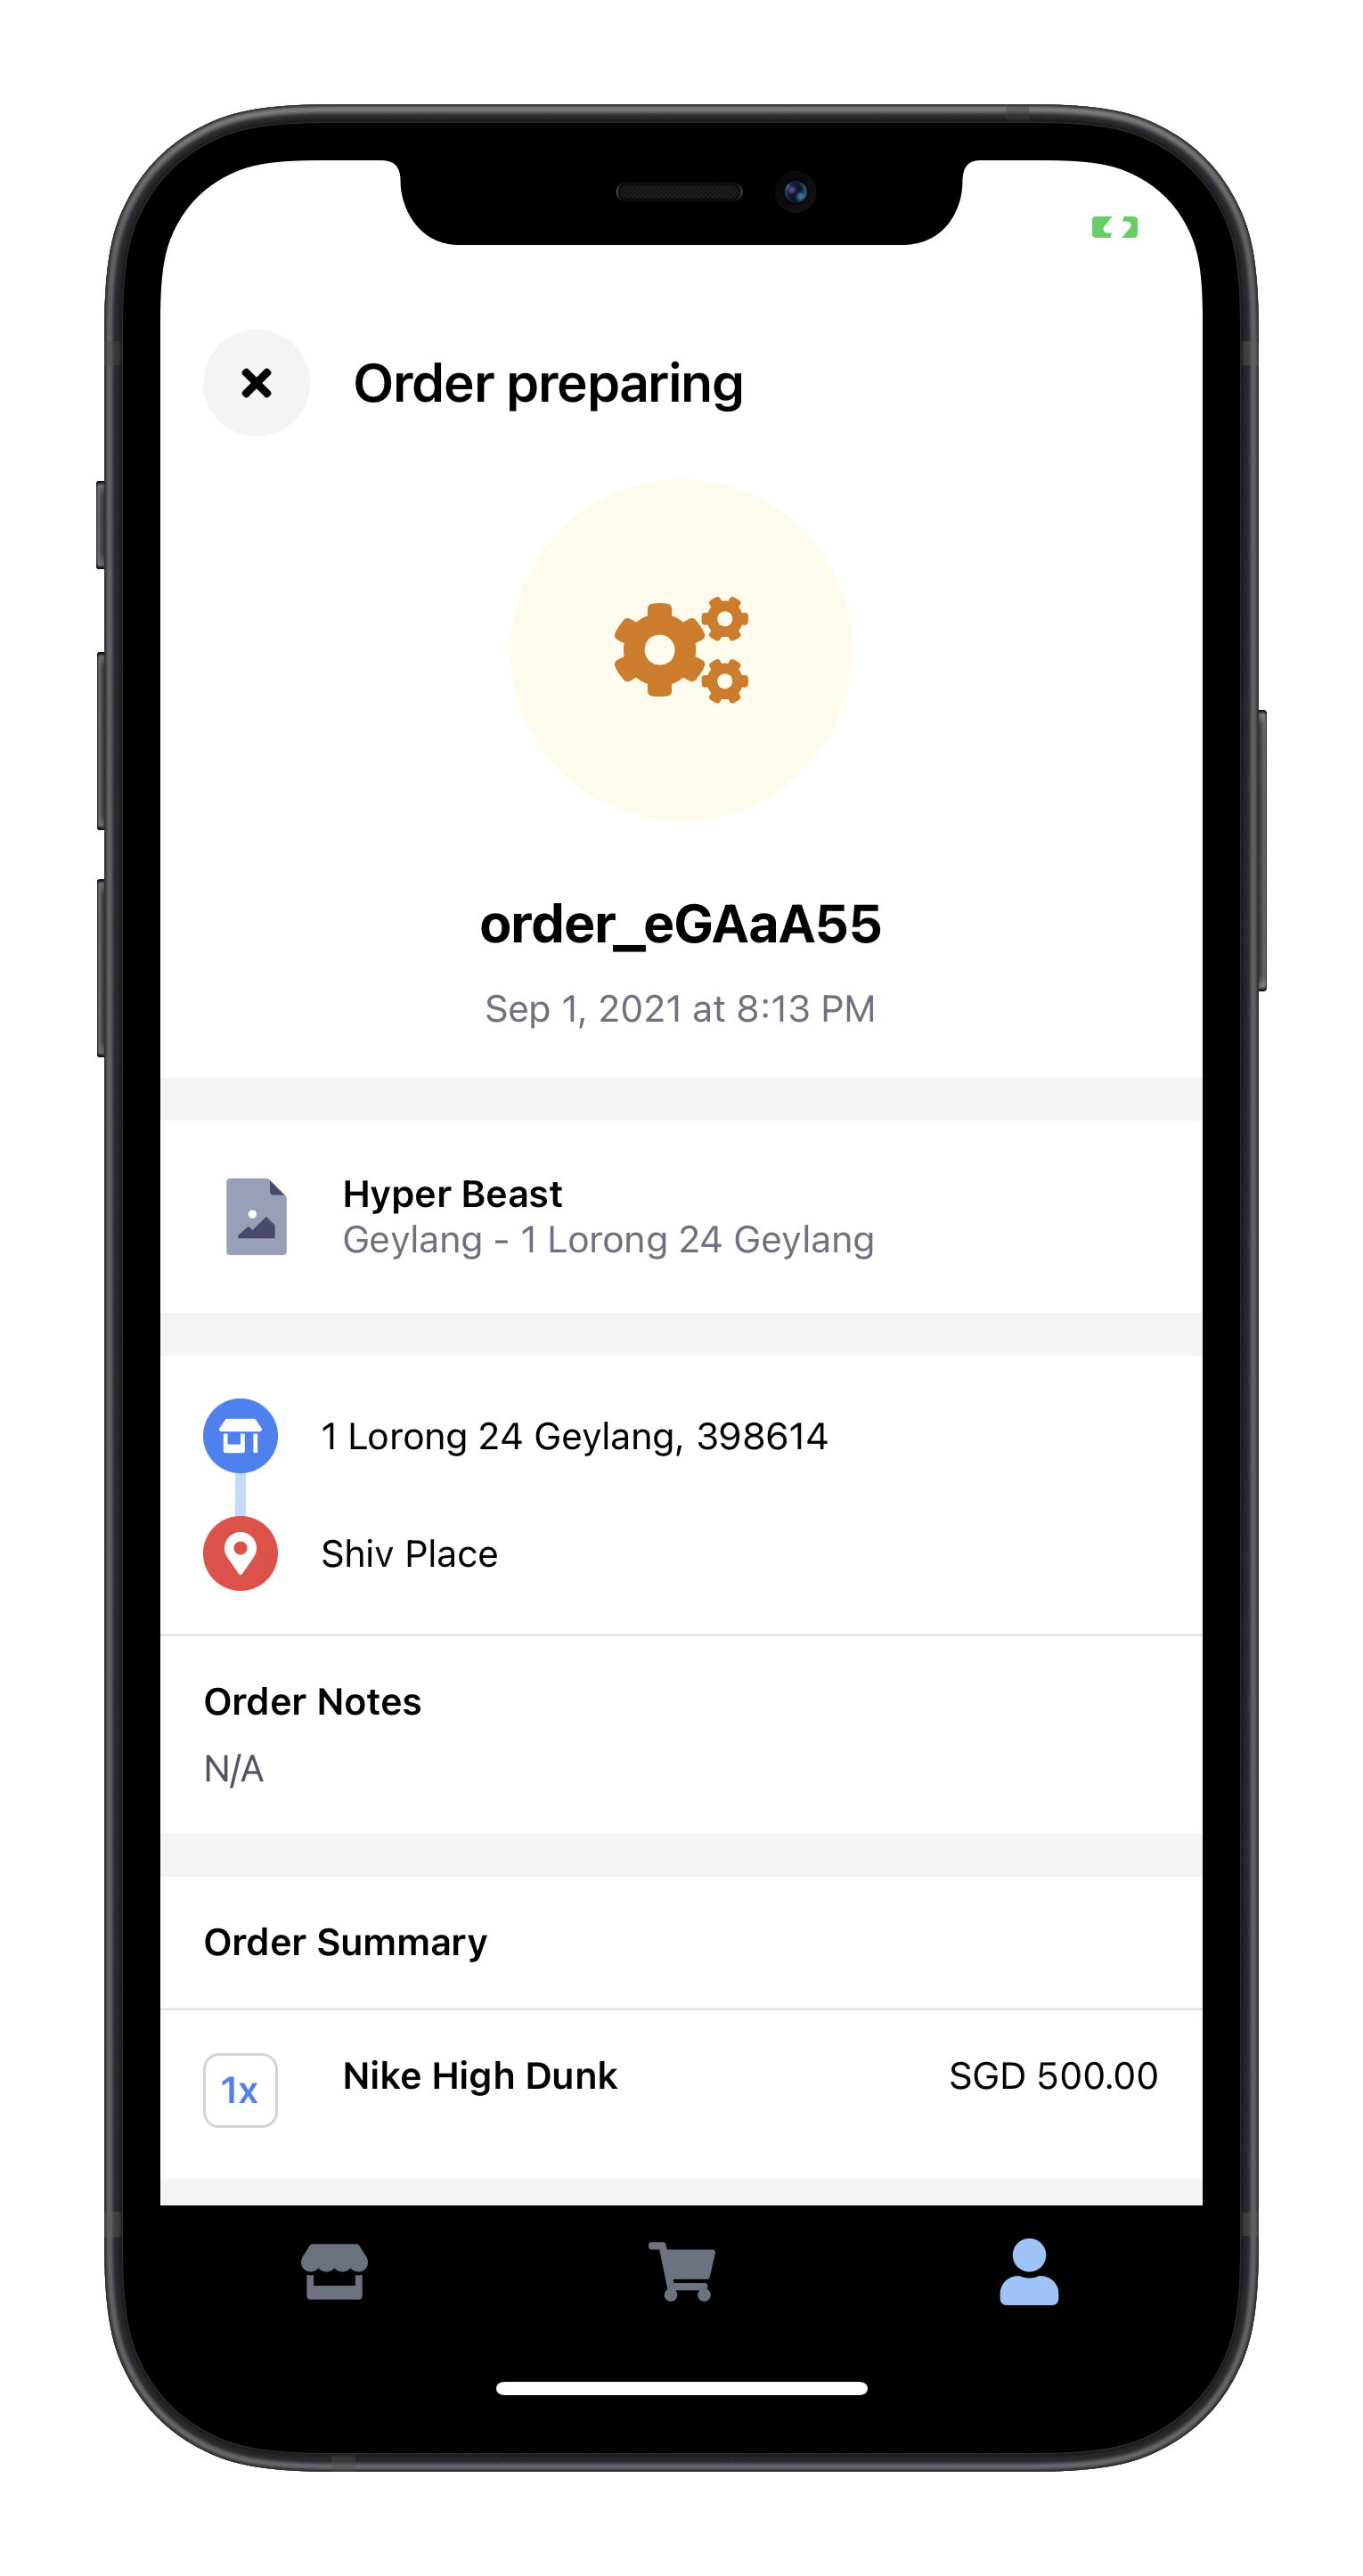
Order Placed Order Preparing Order Driver Assigned Order Driver Enroute |
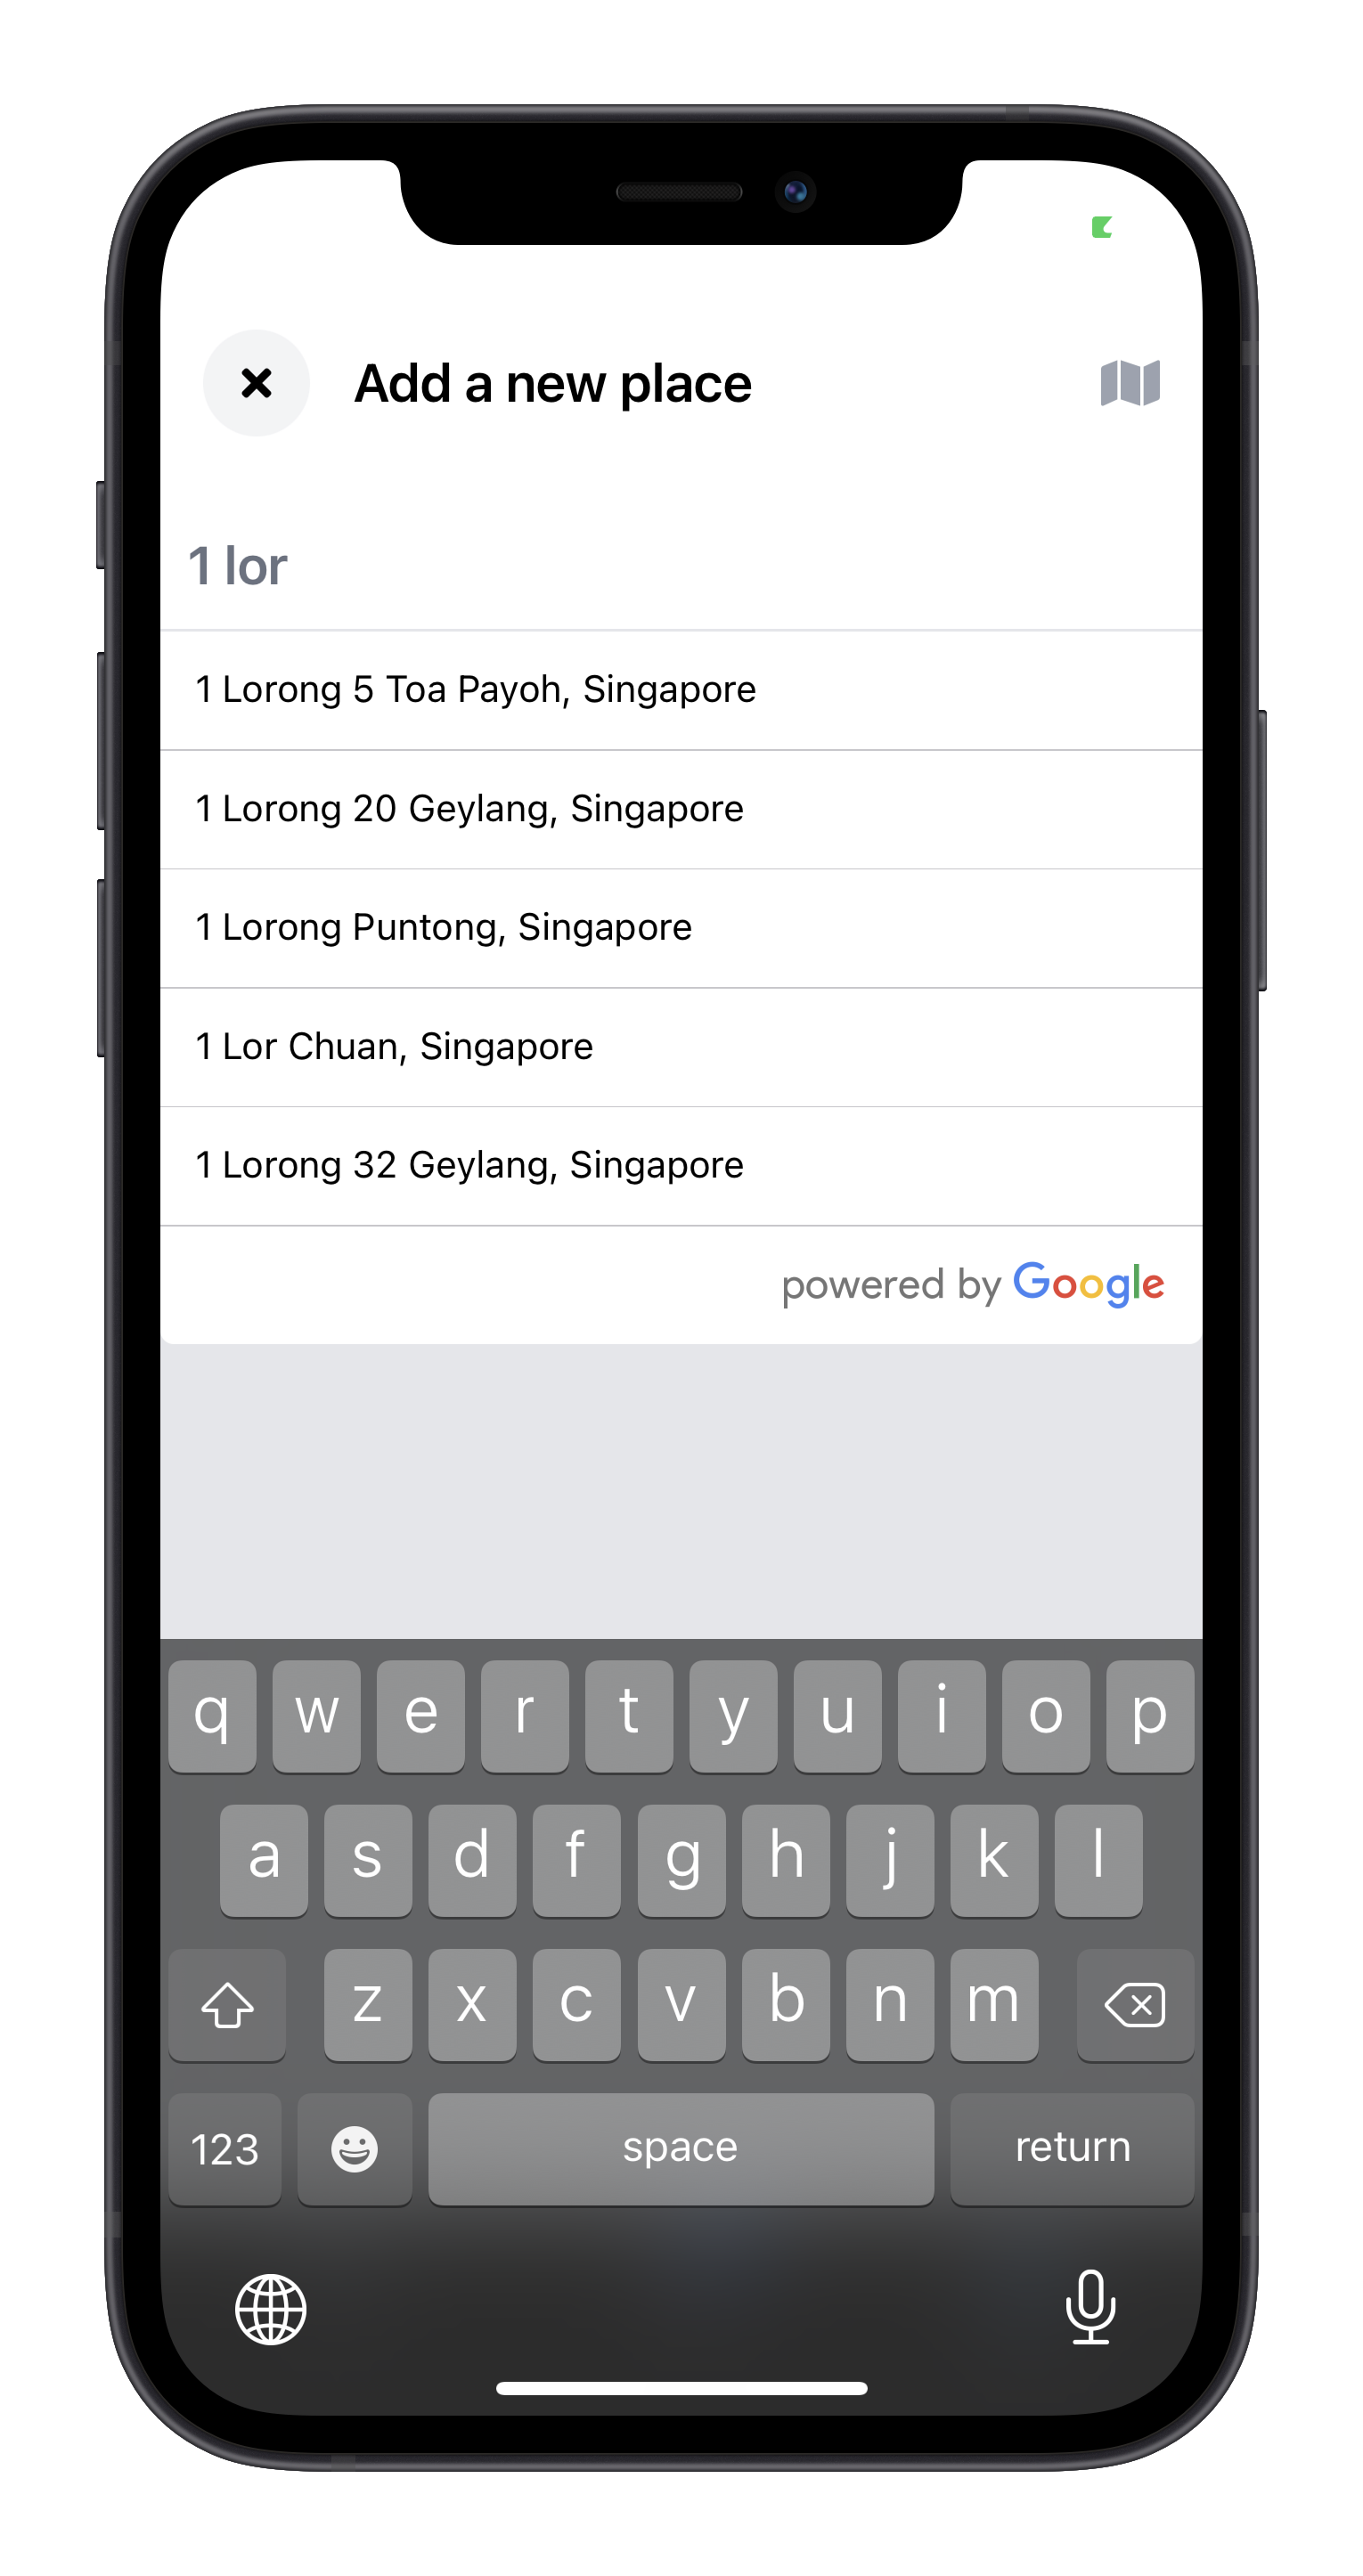
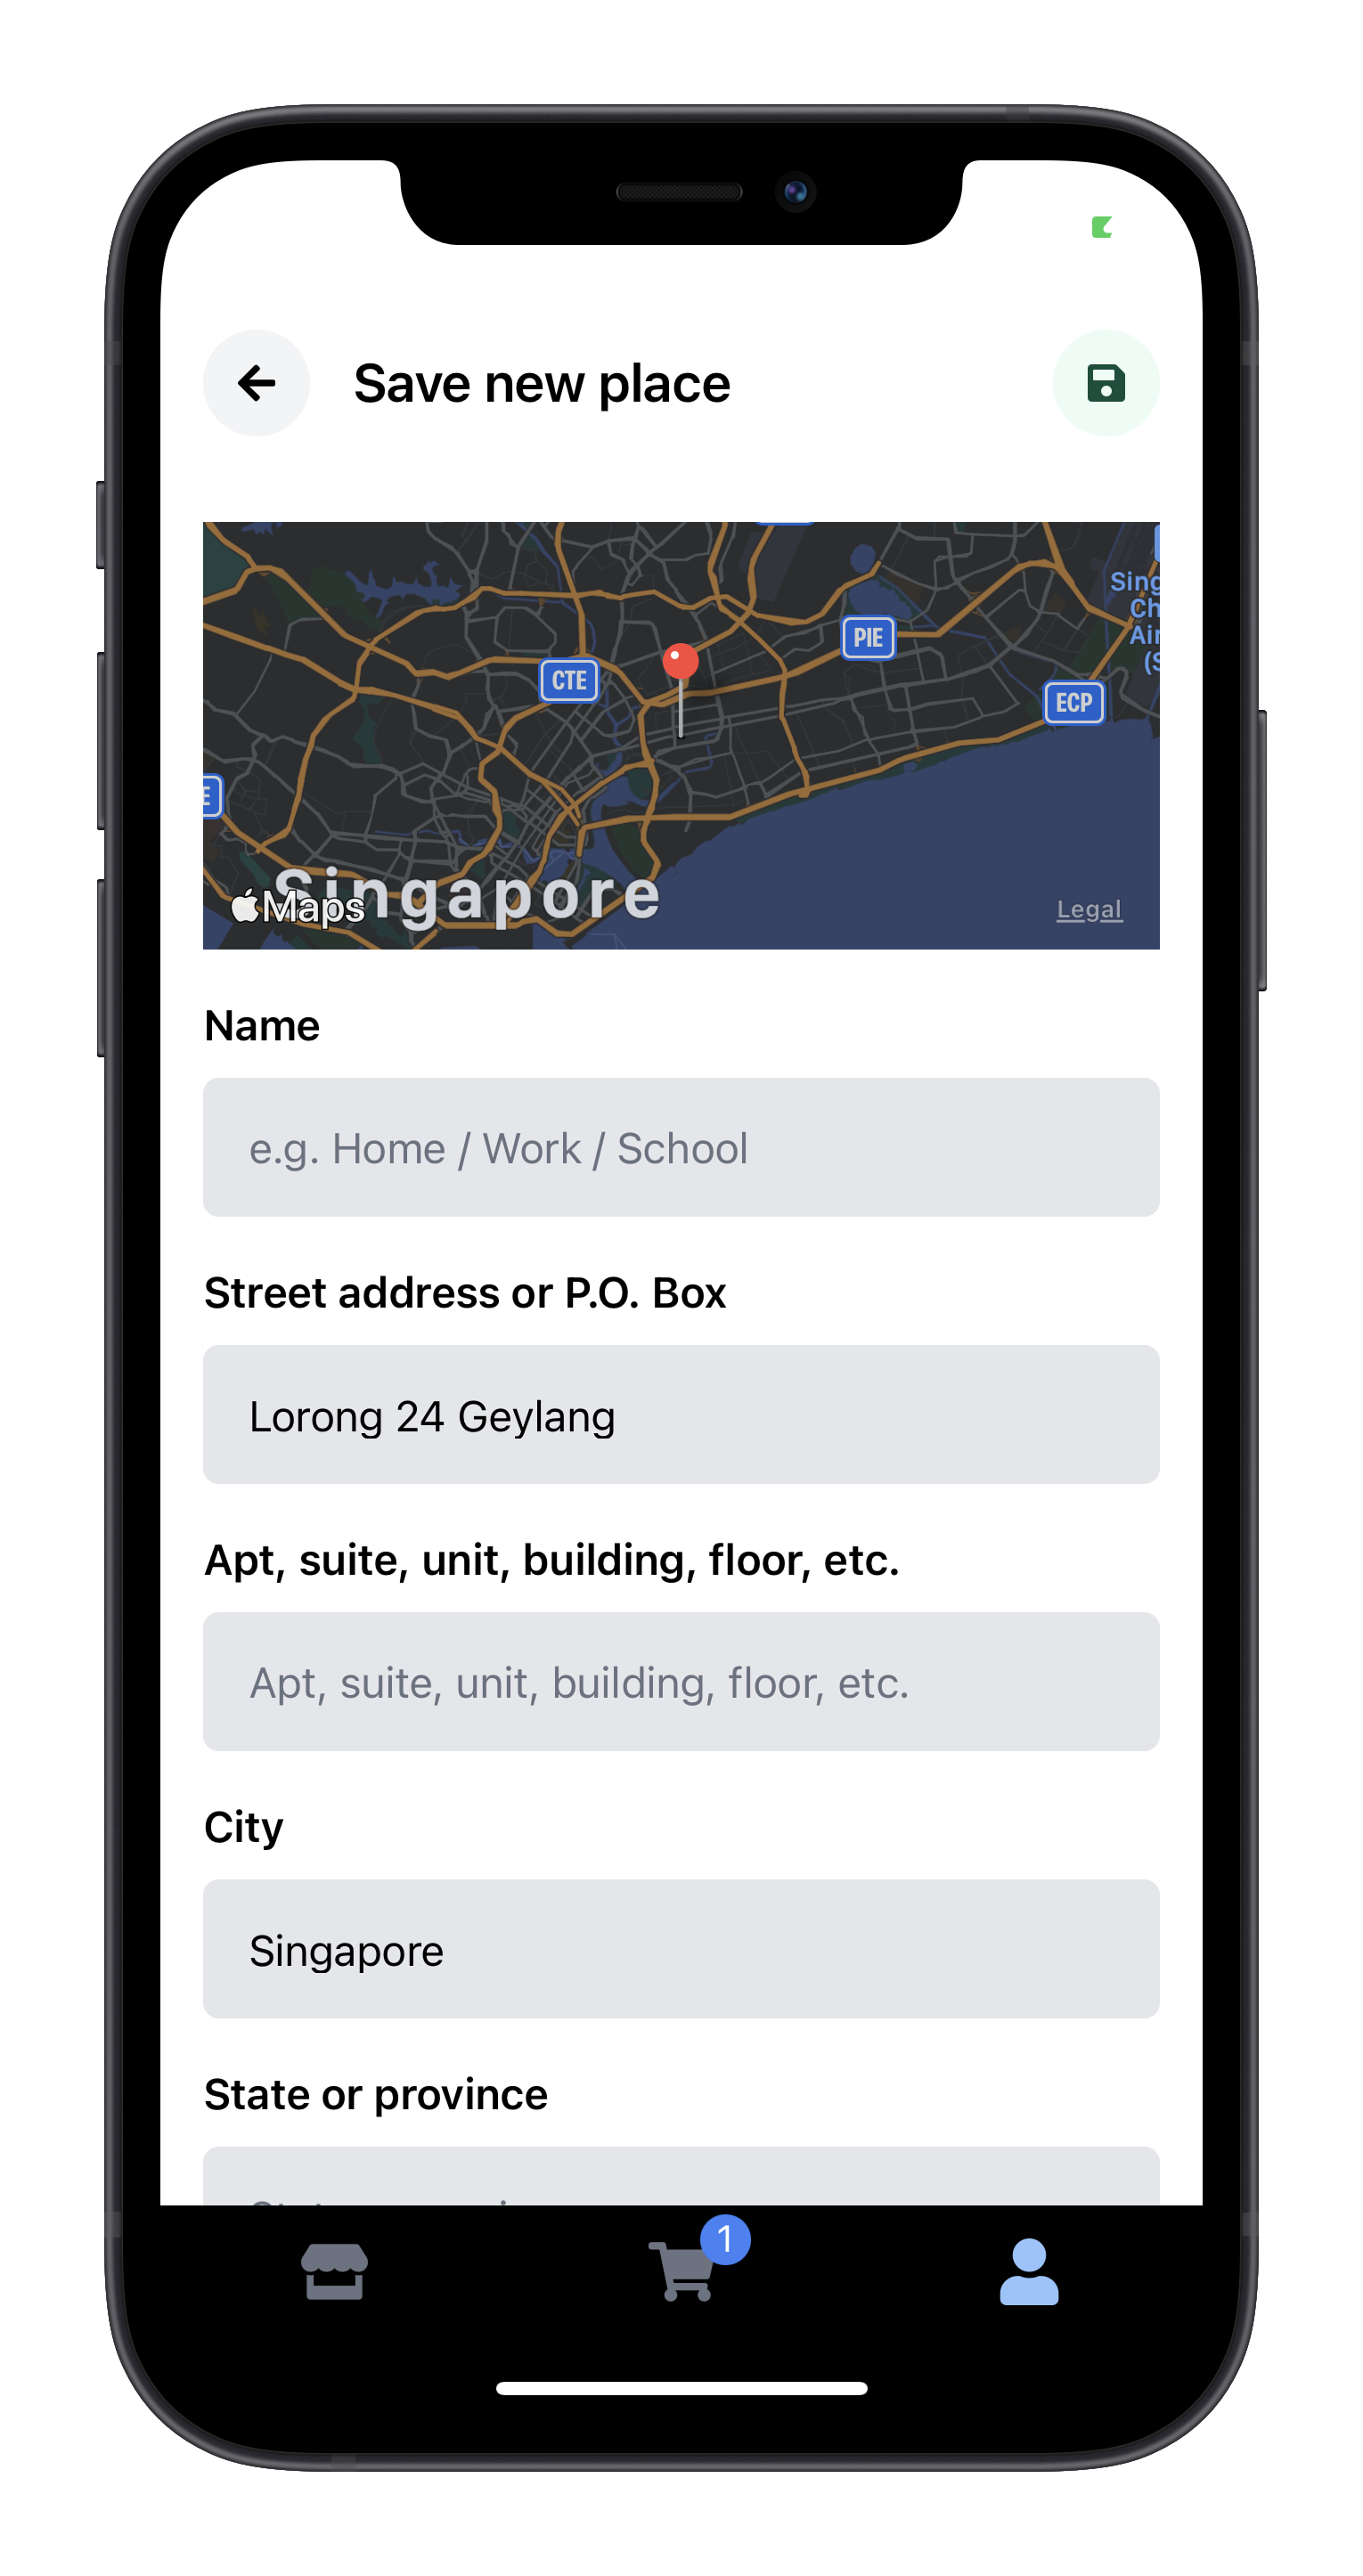
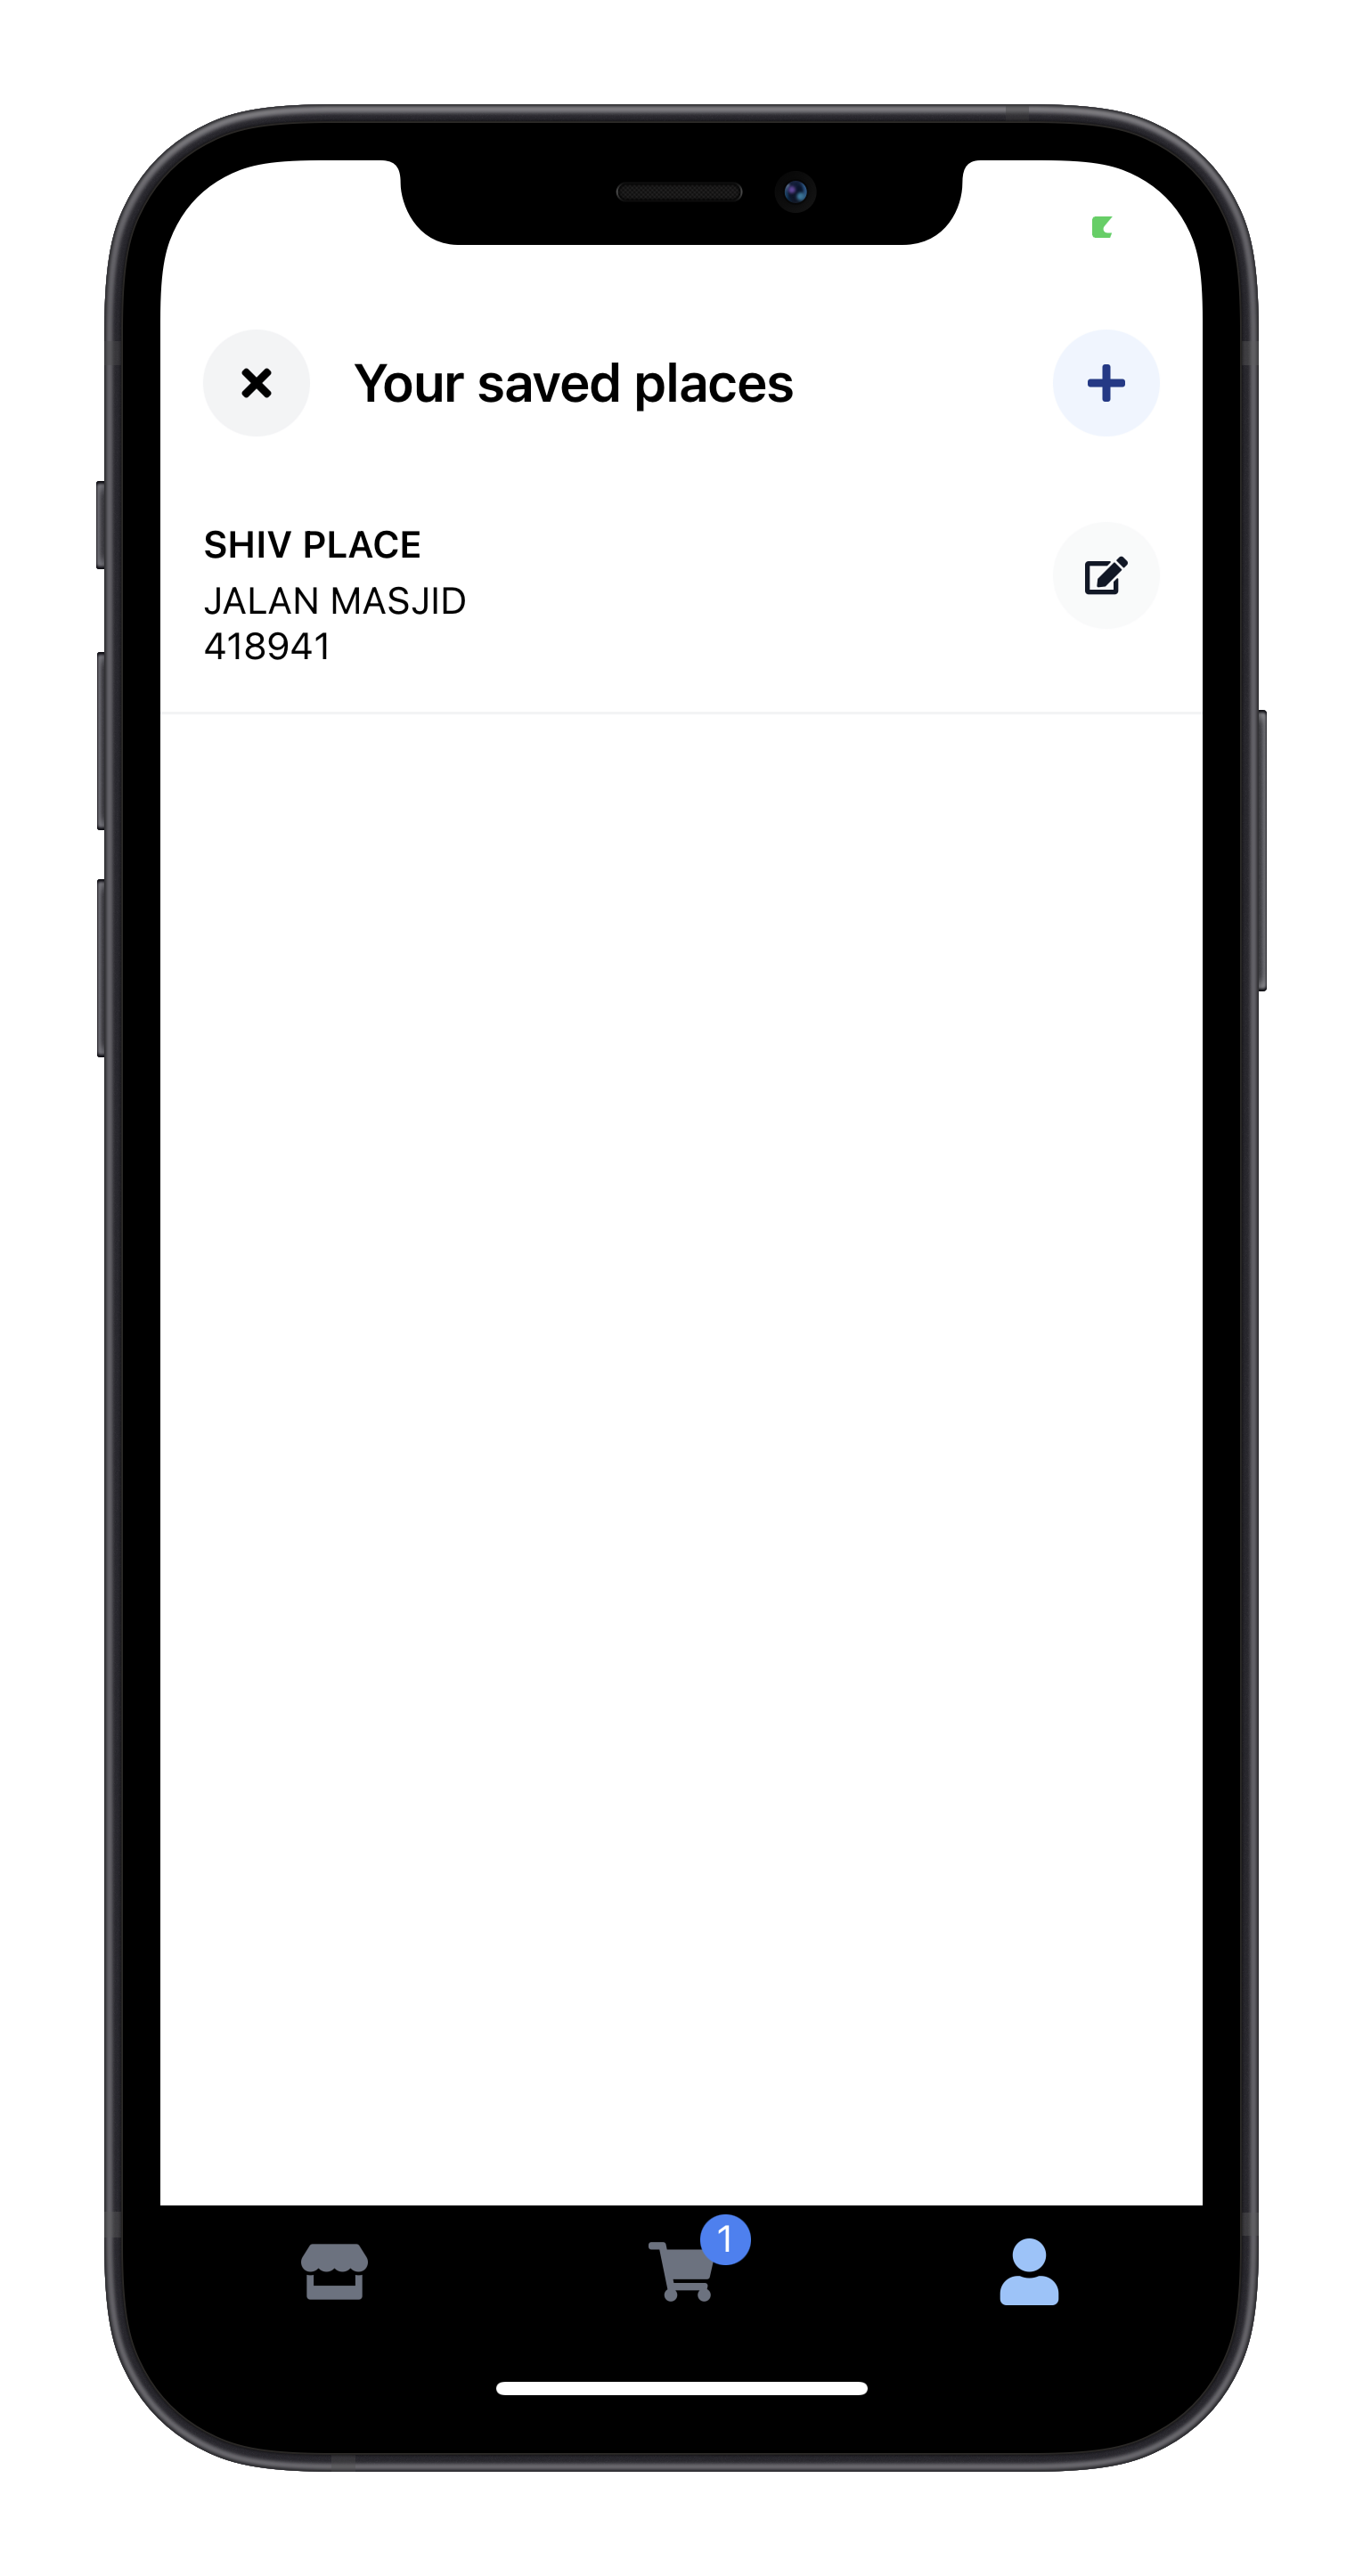
Add Address Add Address 2 Saved Address |
|---|
Prerequisites
- Yarn or NPM
- React Native CLI
- Xcode 12+
- Android Studio
Installation
Installation and setup is fairly quick, all you need is your Storefront and Fleetbase API Key, and a few commands and your app will be up and running in minutes. Follow the directions below to get started.
Notice: Ideally you should fork this project so it's easier to merge updates in the future, but you can also clone this project - whichever method works best for you.
Run the commands below; first clone the project, use npm or yarn to install the dependencies, then run npx pod-install to install the iOS dependencies. Lastly, create a .env file to configure the app.
git clone [email protected]:fleetbase/storefront-app.git
cd storefront-app
yarn
npx pod-install
touch .env
Configure Environment
Below is the steps needed to configure the environment. The first part covers collecting your required API keys.
- Get your API Keys;
- If you don't have a Fleetbase account already proceed to the Fleetbase Console and click "Create an account", complete the registration form and you will be taken to the console.
- Once you're in the Fleetbase console select the "Developers" button in the top navigation. Next, select API Keys from the menu in the Developers section, and create a new API key. Copy your secret key generated, you'll need it later.
- Now, proceed to Storefront by clicking the "Storefront" button in the top navigation. If you don't have a Store setup already you will be prompted to create one. Once you have your store created proceed to Settings where you will find an "API" tab with your "Store key", copy this you'll need it next. (It's not necessary to put much thought into your first store, you'll be able to create as many as you need later).
- Once you have both required API keys open your
.envfile.
In your .env file supply your Storefront store key, your Fleetbase API secret key, and additionally you will need a Google Maps API Key. Currently the Storefront app can only use the Stripe payment gateway, to use the Stripe gateway you will also need to plug in your Stripe API Key. Lastly, you'll also need to supply your app/bundle identifier, and an APP_NAME key.
Your .env file should look something like this once you're done.
# .env
APP_NAME=
APP_IDENTIFIER=
STOREFRONT_KEY=
FLEETBASE_KEY=
GOOGLE_MAPS_KEY=
STRIPE_KEY=
Running in Simulator
Once you have completed the installation and environment configuration, you're all set to give your app a test-drive in the simulator so you can play around.
Run the App in iOS Simulator
npx react-native run-ios
Run the App in Android Simulator
npx react-native run-android
Push Notifications
Push Notifications are essential to providing your customer with updates about their orders. Fleetbase has configurable order flows, but includes default but customisable order flows which include push notifications to customers throughout their order lifecycle. Below we will walk through configuring Push Notifications for your app. By default Fleetbase uses APNS and FCM push notification channels. If you'd like to have a 3rd party channel introduced feel free to submit the request in Issues.
APNS Push Notifications
To setup APNS you'll need to enable push notifications from Xcode from the "Signing & Capabilities" tab, more information about setting up push notifications can be found from the Apple documentation here. Once you're setup, you'll need to login to the Fleetbase Console and proceed to Storefront and in your settings click the "Notifications" tab. Follow the steps below to complete APNS setup.
- From the "Notifications" tab in Storefront settings; click the "New Channel" button.
- A dialog will appear, and prompt you to select a channel from the dropdown. Select "Apple push notification service (apn)" a configuration form will appear.
- In the form you will need to provide the following: Key id, Team id, App bundle id, Private key content and there will be the option to toggle Production or not.
4. Key id is generated when you create your APN key from your apple developer account, this can also be found in this section.
5. Team id can be found in your apple developer account under the "Membership" section.
6. App bundle id is your app bundle identifier, you can find this in Xcode, but it should also be the same as the
APP_BUNDLE_IDENTIFIERset in your.envfile. 7. Private key content Once you've downloaded your APNS cert file you can open this in any text editor and copy the contents. - Click "Create Notification Channel"
- That's it, you're all set. Now when orders go through Fleetbase will be able to send push notifications to your iOS app.
FCM Push Notifications
FCM Push Notifications or "Firebase Cloud Messaging" notifications are simple to setup and configure. Proceed to Firebase console and create a project for your app. Once you have a project setup click into "Project settings" next to "Project Overview" from the navigation. in the "Your apps" section click "Add app", and add an android app. Once done, everything you need to plug into Fleetbase can be found here, follow the steps below to complete FCM setup.
- From the "Notifications" tab in Storefront settings; click the "New Channel" button.
- A dialog will appear, and prompt you to select a channel from the dropdown. Select "Firebase cloud messaging (fcm)" a configuration form will appear.
- In the form you will need to provide the following: Firebase credentials json, Firebase database url, and Firebase project name.
4. Firebase credentials json Download google-services.json and copy the json contents into this box.
5. Firebase database url This will most likely be
https://<your-project>.firebaseio.com- replace<your-project>with your firebase project id. 6. Firebase project name This is just your firebase project name, it should be dasherized. - Click "Create Notification Channel"
- That's it, you're all set. Now when orders go through Fleetbase will be able to send push notifications to your android app.
Generate Assets
We've tried to make it as easy as possible to generate your app assets such as the launch screen and the app icon, to make it one less tedious task. In order to use the app icon and launch screen asset generators follow the steps below.
- First you'll need to add your app icon to the
/assets/directory with the filenameapp-icon.png. (The best size for the app icon is 1024x1024) - Next for your launch screen you'll need to add your launch screen file to the
/assets/directory using the filenamesplash-screen.png
Once those two steps are done, you can then generate your app icon and launch screen automatically for both iOS and Android.
# Generate App Icon
yarn generate-app-icon

# Generate Launch Screen Assets:
yarn generate-launch-screen
Configuration
StorefrontApp features config files which will allow you to change the behaviour and look of your app. It will also allow you to setup linking prefixes, which will be documented more in the future.
Application Configuration
Application configuration includes behaviour configuration, linking prefixes, translations, and the enabling or disabling of widgets.
| Prop | Type | Default | Description |
|---|---|---|---|
| linkingPrefixes | Array | [] | Define app linking prefixes, they will automatically be loaded into the navigation router. |
| enableTranslations | Boolean | false | Enable or disable the translations toggle, this allows users to select a language. |
| enabledTranslations | Array | ['en'] | Select which translations to enable by supplying the translation iso2 country or language code, the language or iso2 code must exists in the /translations directory. |
| storeScreenOptions | Object | {...} | Define options for store screens, see below. |
storeScreenOptions
| Prop | Type | Default | Description |
|---|---|---|---|
| actionBarEnabled | Boolean | true | Enable or disable the action buttons on the store screen |
| photosEnabled | Boolean | true | Enable or disable the button to open store photos on the store screen |
| reviewsEnabled | Boolean | true | Enable or disable review button and features on the store screen |
| mapEnabled | Boolean | true | Enable or disable the button to open the map/directions screen from the store screen |
| websiteLinkEnabled | Boolean | true | Enable or disable the button to open a link to the stores website |
| contactEnabled | Boolean | true | Enable or disable the button to prompt contact options for the store |
| shareEnabled | Boolean | true | Enable or disable the button to prompt to share the store |
| searchEnabled | Boolean | true | Enable or disable the button to open the store search dialog |
| browseEnabled | Boolean | true | Enable or disable the button to open the dialog of store categories |
| mapWidgetEnabled | Boolean | true | Enable or disable the mini map widget on the store screen |
| infoWidgetEnabled | Boolean | true | Enable or disable the store info widget on the store screen |
| relatedWidgetEnabled | Boolean | true | Enable or disable the "related stores" widget on the store screen |
| photosWidgetEnabled | Boolean | true | Enable or disable the photos widget on the store screen |
| reviewsWidgetEnabled | Boolean | true | Enable or disable the reviews widget on the store screen |
Interface Configuration
These options can be used to customize the design and look of your StorefrontApp. From adding background images, changing colors, positioning inputs and views. You can do a lot of customizing from the config alone.
For interface config please reference the file /config/defaults.js to view options.
Internationalization and Translations
Baked in by default StorefrontApp support internationalization and app translations. Internationalization starts from when you configure your store or network from within the Storefront extension in the Fleetbase Console. Read below for getting started with internationalization and translations.
Internationalization
Internationalization starts with your store or network configuration from the Storefront extension. When creating a store or network you must select the default currency, this will default the currency throughout the app. Next when adding store locations Storefront will then use the country settings from here for localization.
Translations
When translations are enabled via the StorefrontApp config, users are able to select which language they want to view the app in. To enable app translations, the translation file must exist within the /translations/directory. By default StorefrontApp is translated from english to Mongolian, and Arabic. You can add custom translations by adding your own translation json file to the /translations directory.
If you add a translation file for a new language, please feel free to make a pull request so we can add the translation to the app as a default language.
Payment Gateways
Payment gateways are required for accepting payments through your app, depending on your payment gateway can determine which types of payment methods your customers can use at checkout. Currently Fleetbase Storefront is only setup to work with Stripe, but we are working on including more payment gateways in the near future.
Stripe
Setting up Stripe is fairly simple, all you need is your Stripe public key from your Stripe accounts dashboard. You'll need to provide this public key in your .env file as STRIPE_KEY (This is subject to be changed once we implement a payment gateway resolver, which will rely on the API).
Next you will need to proceed to the "Gateways" tab within the Storefront settings. Click "Create new gateway" and select "Stripe" from the dropdown. You will be promoted for your Stripe public and secret key. There is additional options such as enabling sandbox mode, and a few other options regarding payments. Click "Save Gateway", and you're all done Fleetbase can now process your payments (Fleetbase will not take any fee or percent from your payments).
Store Locations
It is possible for a single store to have multiple locations, but by default each store must have at least one location. To add your stores location, proceed to Storefront settings and click the "Locations" tab. Click "Create new location" a dialog will appear prompting you for the location address details. Give your location a name, and use the autocomplete on "Street 1" to complete your address details. Click "Add new location" when you're done. Once added your location will appear on screen and you'll be able to input the locations operating hours.
Store Hours
You can set the store hours from within your store location panel. Each day of the week will be listed in which you can "Add Hours".
Multi-Vendor
Fleetbase Storefront intends to support marketplaces natively though a concept called "Networks". From Storefront you can create as many "Networks" as you want, and from the Network settings you can invite other stores from Fleetbase to join your network. If they do not have an account they will be able to create an account and manage their own stores and networks as well. The networks operate on an invitation based system, the network owner will be able to invite as many stores to join and will have complete overview of the stores in their network. The network owner is not able to manage the stores or view the stores private resources such as customers, but the network owner will have overview of orders that are created through the network.
Creating a network
- Click "Networks" from the side navigation within Fleetbase Storefront.
- Next, click the "New" button in the top right header, a dialog will appear.
- In the dialog you are able to give your network a name, description and set the currency of your network. Similarly to creating a store from within Storefront.
- Click "Confirm" when done, and Boom! Your new network will appear.
Inviting to network
- Click the cog icon button under your network and select "Send Invites"
- A dialog will appear in which you can enter emails of those you wish to invite to your network, or you can enable a shareable link which will allow anyone with the link to join your network.
Configuring network
Coming soon...
Launch network on app
Launching a network app is much like launching a singular StorefrontApp, but instead of providing a "store key", you must provide a "network key" which can be found in the Storefront extension in the network dialog for the network you are building.
Cart
Fleetbase Storefront SDK provides a functional cart that can be used with a few simple methods. This will serve as a quick overview of how the cart operates. More documentation can be found at the Fleetbase API Reference.
Initializing or retrieving a cart.
// You can initialize or retrieve a cart using the retrieve() method.
// To initialize you can provide a unique identifier
// To retrieve you can use either the cart id, or the initial unique identifier.
import { getUniqueId } from  'react-native-device-info';
import Storefront from '@fleetbase/storefront';

const storefront = new Storefront('<your store or network key>');

// For React Native, we use the 'react-native-device-info' package to get the device id.
const uniqueId = getUniqueId();

// You will get back a Storefront Cart resource.
storefront.cart.retrieve(uniqueId).then((cart) => console.log(cart));
Adding a product/item to cart
import Storefront from '@fleetbase/storefront';

const storefront = new Storefront('<your store or network key>');

storefront.cart.retrieve('<cart id>').then((cart) => {
	cart.add('<product id>');
});
Removing a product/item from cart
import Storefront from '@fleetbase/storefront';

const storefront = new Storefront('<your store or network key>');

storefront.cart.retrieve('<cart id>').then((cart) => {
	cart.remove('<cart item id>');
});
Updating an item from cart
import Storefront from '@fleetbase/storefront';

const storefront = new Storefront('<your store or network key>');

storefront.cart.retrieve('<cart id>').then((cart) => {
	cart.update('<cart item id>', '<quantity>', { addons, variants });
});
Customer Authentication
Customer authentication is design to be simple, it includes 2FA authentication by default. Authentication of customer is responsible for logging in customers, and creating customer accounts. We attempted to design this into our API and SDK to make it painless as possible when onboarding customers from your app.
Creating a customer account
Creating a customer account is a two step process. The first step is to request a creation code, the creation code is a code which will be sent to your customer for them to verify. There is two methods of sending a creation code. Creation code can be sent via sms or email. Below we show an example of requesting a creation code in Storefront.
import Storefront from '@fleetbase/storefront';

const storefront = new Storefront('<your store or network key>');

// When requesting creation code you may specify sms or email in the mode param
// The first parameter is identity which is either the customers email or phone
// If providing a phone number, it must include the country code
storefront.customers.requestCreationCode('<identity>', '<mode>');
Once the creation code is requested, your customer will either receive an email or sms with a verification code. Next you must verify the code with customer details in order to create their account. See the example below.
import Storefront from '@fleetbase/storefront';

const storefront = new Storefront('<your store or network key>');

// Next supply the verification code from your customer along with their identity
// and any additional customer details such as name, phone, email etc
// more details can be found https://fleetbase.io/docs/api#contact_object
storefront.customers.create('<identity>', '<code>', { name, phone }).then((customer) => console.log(customer));
Logging in a customer
Logging in a customer takes a similar approach to creating a new customer. Logging in can be done via 2FA sms, or the traditional email and password method. In this Storefront app we use the SMS method. Find the example below.
import Storefront from '@fleetbase/storefront';

const storefront = new Storefront('<your store or network key>');

// Login using phone number
storefront.customers.login('<phone>');

// The customer will receive a verification code via SMS
// Verify the code to authenticate the user
storefront.customers.verifyCode('<phone>', '<code>').then((customer) => console.log(customer));
Delivery/ Service Rates
Fleetbase allows you to define custom service rates with granular control and time based rules. In order for this Storefront app to provide your customers with delivery quotes, you will need to create a service rate from within the Fleetbase console. The service rate must be under the type Storefront.
There is several ways to define a service rate, it just depends on how you would like to price your delivery rates. The quotes are then sent to the customer at checkout.
Location based quote
To provide a location based quote Fleetbase Storefront needs to know from which store location, the customers location, and the cart. Querying for a quote will look something like this.
import Storefront, { DeliveryServiceQuote } from '@fleetbase/storefront';

const storefront = new Storefront('<your store or network key>');
const adapter = storefront.getAdapter();

// Create a quote resource and provide it the storefront instance adapter
const quote = new DeliveryServiceQuote(adapter);

// For the customers location it can be a Fleetbase place id,
// a spatial point, or coordinates
quote.fromCart('<store location id>', '<customer location id>', '<cart id>').then((serviceQuote) => {
	console.log(serviceQuote);
	// Get the service quote amount in cents
	const amount = serviceQuote.getAttribute('amount');
});
Checkout
The checkout process is designed to be done within two API request which involve first creating a checkout token, then capturing the checkout token which will result in an order being created within Fleetbase.
Creating a checkout token
Creating a checkout token is dependent upon the cart and the gateway being used for the checkout. In this example we will show you how a checkout token is created using Stripe.
import Storefront from '@fleetbase/storefront';

const storefront = new Storefront('<your store or network key>');

// Note: The gateway code is user defined when you first create your gateway from
// the Gateways tab in Storefront settings.
const { paymentIntent, ephemeralKey, customerId, token } = await  storefront.checkout.initialize('<customer id>', '<cart id>', '<service quote id>', '<gateway code>');
Capture checkout
Once you have a checkout token, you're ready to capture it and create an order. See the example below.
import Storefront from '@fleetbase/storefront';

const storefront = new Storefront('<your store or network key>');

storefront.checkout.captureOrder(checkoutToken).then((order) => console.log(order));
Driver/Agent App
The delivery or agent app as of now is the Navigator app by Fleetbase, available in the Apple and Play Store. This app will allow drivers to receive and complete incoming orders. Whether the order is manually assigned or the order is pinged to drivers nearby.
We are currently in the process of creating an open source version of navigator app so that users will have complete control and customization over the app their drivers or agents use. Until then the Fleetbase Navigator app must be used.
The app is free and available on the App Store and Play Store.
Proof of delivery
Fleetbase enables proof of delivery via the Navigator app by default. From the Storefront settings select the Proof of Delivery method you'd like and Navigator handles the rest. You can select from "QR Code" or "Signature", we're soon to add a Photo verification method.
Orders
Orders in Fleetbase include details about the pickup, dropoff, customer, and facilitator if the order job is being subcontracted. Yes, Fleetbase handles subcontracting jobs by default. Once an order is created from a Storefront checkout the Storefront dashboard will receive an immediate ping with the order details. The store owner will have an opportunity to accept or decline the order, unless auto accept is enabled. From there the Store owner can then assign to a driver, or if they have ad-hoc enabled the order will ping to nearby drivers once the order is ready.
Auto-accept orders
With auto accept enabled, the stores will still be pinged about the incoming order but the order is accepted by default.
Manually accept orders
If auto-accept is not enabled, the store owner must accept or decline the order when it is created.
Auto-assign orders
Auto-assigned orders will automatically ping nearby drivers about the order until the order is accepted, if the order is not accepted by any drivers after x amount of tries the order will be canceled. x = will soon be an option in Storefront settings.
Manually assign orders
If auto-assigned orders is not enabled, once the store owner accepts the order they will then be responsible for assigning the order to a driver themselves.
Documentation
See the documentation webpage.
If you would like to make contributions to the Fleetbase Javascript SDK documentation source, here is a guide in doing so.
Roadmap
- Global state management with redux
- Write proper react hooks for sdks
- Add debounce on products search
- Add network/marketplace views
- Shopify & Woocommerce adapters