
PanoMan
This project simulates the classic Pacman arcade game on a first generation PanoLogic thin client.
Why? I absolutely love hacking surplus gear for new purposes, that and I spent way too much time playing Pacman in my youth. I was also interested in learning Verilog and/or VHDL but now that I've played around with SpinalHDL I'm hooked.
This project is a Frankenstein's monster of code from many different places written in 3 different HDLs: VHDL, Verilog and SpinalHDL. Additionally the project combines a modern RISC-V processor with a archaic Z80. Amazingly enough it was fairly easy to get everything working together largely thanks to SpinalHDL.
Heritage
This project is essentially a small layer of "glue" code that ties together the work of others including:
- Tom Verbeure's ray tracer project which was used as the basic infrastructure to quickly get code up and running on the Pano.
- Mike J's simulation model of the Pacman hardware in VHDL for the Spartan 3E.
- The Papilio-Arcade project modifications of MikeJ's project for the Papilio platform.
- Daniel Wallner's Z80 CPU core.
- Tom Verbeure's amazing reverse engineering efforts and Pano logic bring up code.
- The SpinalHDL project.
Why a RISC-V ??
The sound subsystem in the Pano is based on a codec from Wolfson which must be initialized before it can be used. I had no interest creating hardware to do the initialization so that leaves software. I had even less interest in trying to patch the Pacman Z80 ROMs so ... just drop in a 32 bits processor, since it was easy (REALLY EASY since Tom did all the work so it was already there).
Additionally the RISC-V is used to poll the handle the I2C port expander and it will eventually be used to handle USB as well.
HW Requirements
- A Pano Logic G1 (the one with a VGA port)
- A suitable 5 volt power supply
- A JTAG programmer to load the bitstream into the FPGA.
If you want to actually be able to play a game you'll also need:
- A switch style joystick.
- Soldering skills to connect the joystick to the Pano -or- one of Tom's I2C expansion boards.
Software Requirements
The free Webpack version of Xilinx ISE 14.7 is needed to program the Pano device. This will also allow you regenerate the .bit file from VHDL and Verilog sources. Do NOT download the latest Windows 10 version as it does not support the Spartan 3E family of chips used in the first generation of the Pano device.
Either Windows or Linux can be used to recreate the .bit file if the ROMs are updated, but Linux is probably necessary to make wider changes to the project.
If you simply want to run the pong demo on your Pano, then all you need to do is load a pre-made bitstream into the device usings Xilinx's Impact tool.
ROMs
For legal reasons the Pacman ROM images are NOT included in this project, instead David Widel's Pong demo written for the same hardware has been provided.
In order to run the Pacman you will need to create ROM image files from an actual arcade game or download the images from elsewhere on the Internet. These are the same files needed by the infamous Mame project so they should be relatively easy to locate.
Joystick Interface
Video and sound weren't much of a challenge since Tom Verbeur had already done all of the ground work there.
The joystick, coin detectors, and start buttons on the other hand presented a bit of a challenge. Normally a Pacman game needs 8 or 12 GPIO inputs:
- Two inputs for the two coin slots.
- One input for the 1 player game start button.
- One input for the 2 player game start button.
- Eight inputs for 2 joysticks for the cocktail table version or four inputs for one joystick on the upright version.
The obvious way to connect a Joystick to the Pano is to use one of the USB ports, but that's a problem because there's no code for the USB port yet and it looks like a major undertaking.
Another solution would be to use an I2C port expander. This requires building an external interface, but does not require any modifications to the Pano. The benefit of an I2C port expander is that it provides more than enough inputs to implement the cocktail version of Pacman with separate joysticks for 2 players.
The Pano does have some signals that are relatively easy to access that could be considered GPIOs and there are JUST enough for Pacman if we restrict ourself to a single player in the "Free" play mode. This requires modifications to the Pano to bring out the "GPIO" lines.
"GPIO" Joystick Interface
The Pano has 6 signals that can be considered as "GPIO" ports, three are used to drive the LEDs, one is used to read the"Pano" button, and 2 are connected to the VGA monitors Display Data Channel (DDC) port.
One surprise was that unlike the green and blue LEDs the red LED is not driven directly by a Xilinx pin so it's can't be used as an input without hardware modifications. This leaves us with 5 GPIOs and one output port that are easily accessible.
The start button is easy, we'll just use the existing "Pano" button for it.
For the impatient person who isn't concerned about esthetics or physical robustness flying wires are a quick and easy way to hook up the joystick.
I choose to use a connector to make things more robust, neat and tidy. Since the case is so small adding a connector isn't really an option, however two of the signals are already on the VGA connector and the VGA connector has just enough spare pins for the other two!
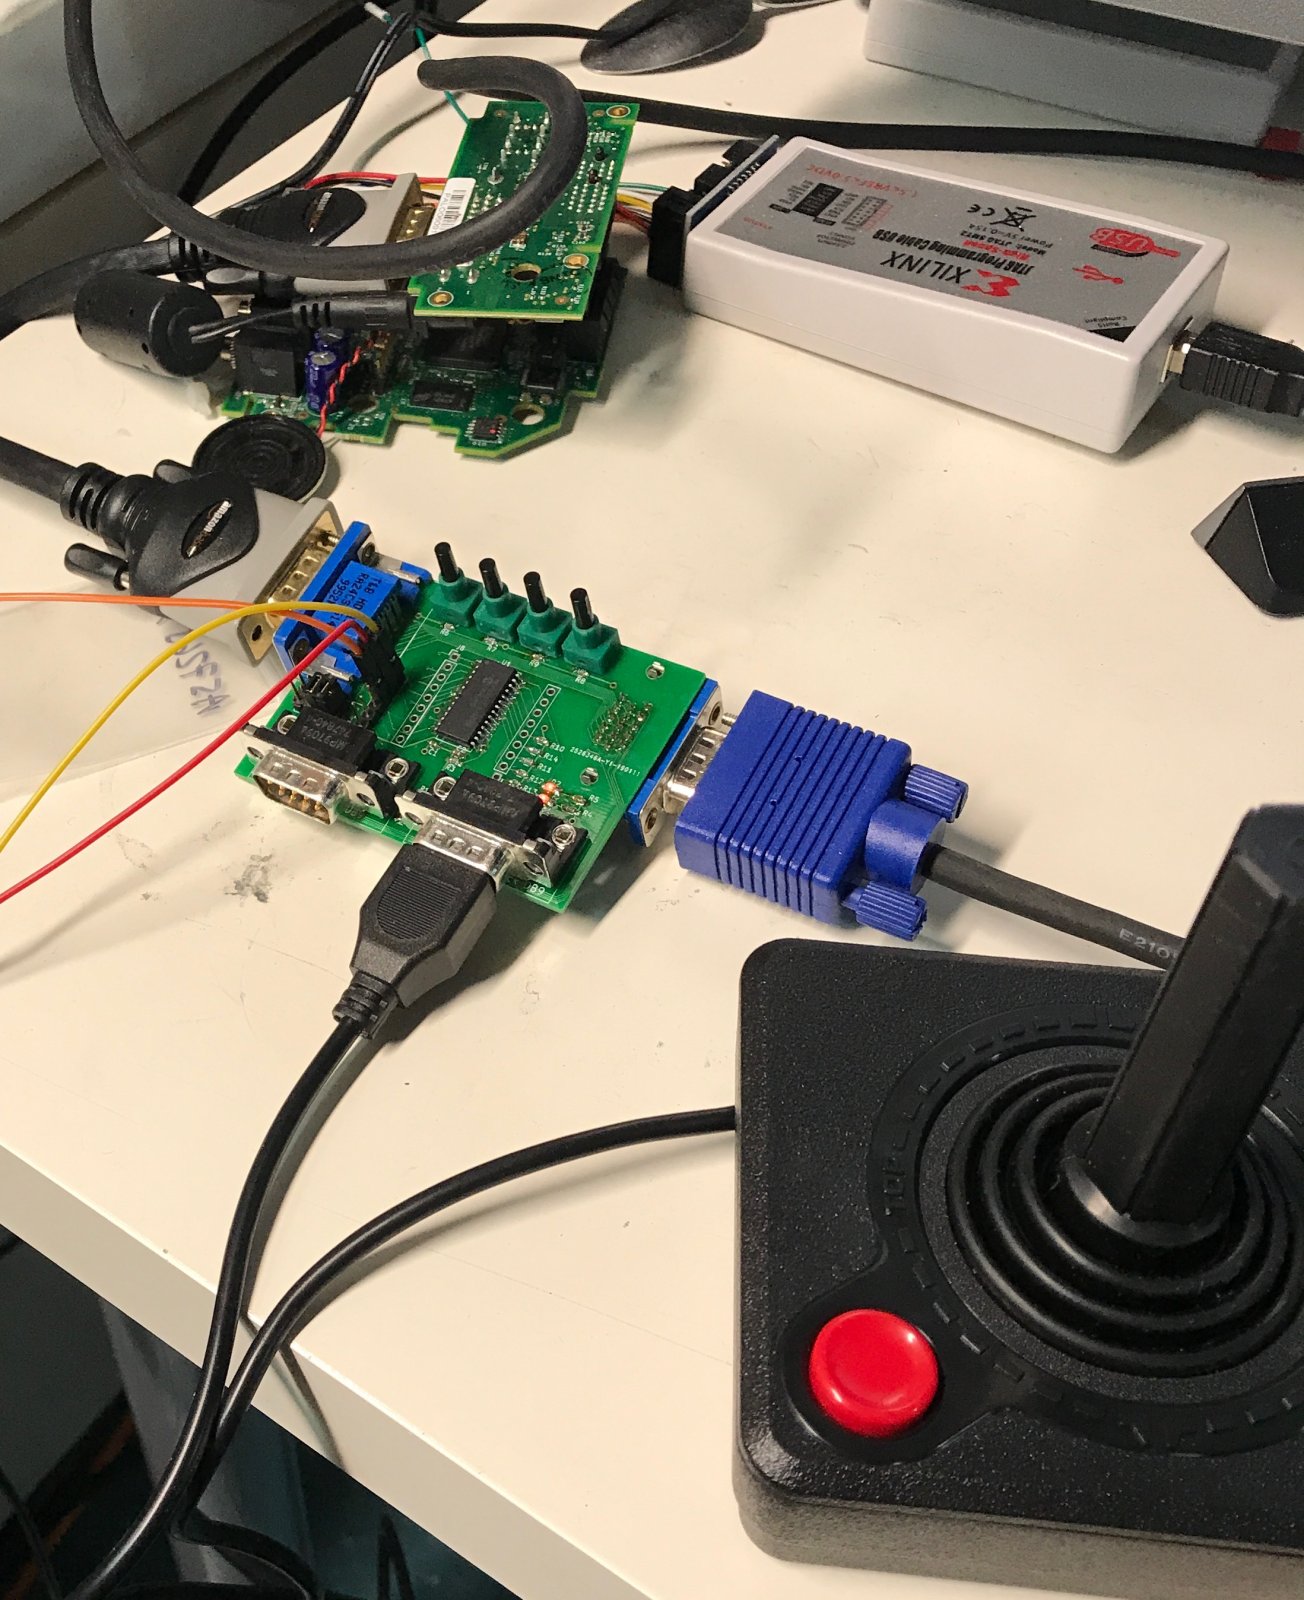
Even with moderate soldering skills adding two jumper wires from the VGA connector from the LEDS is pretty easy. Here's the result:

Then we can make a Y cable to combine the joystick and VGA cables. Note: The pinout of the DB9 connector matches the pinout of the Atari 2600 joystick.
| Signal | Pano | Monitor | Joystick |
|---|---|---|---|
| red | 1 | 1 | - |
| green | 2 | 2 | - |
| blue | 3 | 3 | - |
| blue led/left | 4 | - | 3 |
| gnd | 5 | - | 8 |
| gnd | 6 | 6 | - |
| gnd | 7 | 7 | - |
| gnd | 8 | 8 | - |
| +5V | 9 | - | 7 |
| gnd | 10 | 10 | - |
| green led/right | 11 | - | 4 |
| VGA SDA/down | 12 | - | 2 |
| Hsync | 13 | 13 | - |
| Vsync | 14 | 14 | - |
| VGA SCL/up | 15 | - | 1 |
| B input paddle | - | - | 5 |
| Trigger input | - | - | 6 |
| A input paddle | - | - | 9 |


I2C Port expander Joystick Interface
The RISC-V code supports an MCP23017 I2C port expander chip connected to the to VGA monitor's Display Data Channel (DDC) port. If a chip is detected then it will be used instead of the "GPIO" interface.
There are many other I2C port expander chips that could be used but they are not compatible the current code. The Microchip MCP23017 was chosen for no particular reason.
When the port expander is detected the code uses the Pano button for the coin detector and the joystick's fire buttons for the one and two player game start buttons.
The PB5 GPIO line can be grounded to configure the game for the cocktail table configuation.
Finally the PB6 GPIO line can be grounded to mute the game audio for late night/early morning games.
Tom's Joystick Interface
Tom Verbeure has created a PCB for an I2C port expander for the Pano. One huge advantage of Tom's board is that it eliminates the need to build a custom breakout cable.
Homebrew I2C Joystick Interface
Another alternative is to use of the MCP23017 "breakout boards" that are available on Amazon or ebay. The MCP23017 is also available in a breadboard friendly DIP package if that's your thing.
Connections
| Signal | MCP23017 | Joystick | Pano | Notes |
|---|---|---|---|---|
| P1 right | 21 - PA0 | #1 - 4 | - | |
| P1 left | 22 - PA1 | #1 - 3 | - | |
| P1 down | 23 - PA2 | #1 - 2 | - | |
| P1 trigger | 24 - PA3 | #1 - 6 | - | 1 player start |
| P1 up | 25 - PA4 | #1 - 1 | - | |
| (SW1) | 26 - PA5 | - | - | not used |
| (SW2) | 27 - PA6 | - | - | not used |
| (LED1) | 29 - PA7 | - | - | not used |
| P2 right | 1 - PB0 | #2 - 4 | - | |
| P2 left | 2 - PB1 | #2 - 3 | - | |
| P2 down | 3 - PB2 | #2 - 2 | - | |
| P2 trigger | 4 - PB3 | 6 | - | |
| P2 up | 5 - PB4 | #2 - 1 | - | |
| Cabinet | 6 - PB5 | - | - | Ground for cocktail version |
| Mute | 7 - PB6 | - | - | Ground to mute audio |
| (LED1_2) | 8 - PB7 | - | - | not used |
| SCL | 12 | - | 15 | |
| SDA | 13 | - | 12 | |
| Ground | 10, 15, 16, 17 | both - 8 | 5 | |
| +5V | 9, 18 | - | 9 |
Note: the second joystick is only needed for the cocktail version of the game where two players sit on either end of a table and look down on the screen. In this configuration the screen rotates between rounds so that it is right side up for the current player. Two player share the same joystick on the upright version of the game.
Here's an example of the breakout board version:

Updating ROMs
To update the bitstream with new ROMs:
- Place the ROM images in ~/pano_man/src/main/roms.
- Run "./build_roms_pacman.sh" (or build_roms.bat on Windoze) from the ~/pano_man/src/main/pacman subdirectory.
- Start ISE.
- From the ISE IDE select "Pano" from the Design/Hierarchy window.
- Right click on "Generate Programming File" in the Design/Processes windows and then select "Rerun All".
- Go get coffee while you wait for the programming file (pano.bit) to be generated.
- Select iMpact from the Tools menu, click "Ok", to dismiss the warning dialog.
Building Everything from Scratch
NB: While it may be possible to use Windows for development I haven't tried it and don't recommend it.
- Install RISC-V GCC compiler suite
See the picorv32 github project on how to do it. Warning: this make take a long time to complete!
- Install SpinalHDL
The actual installation instructions can be found in the VexRisc project.
-
Clone this github repository into
~/pano_man -
Change into the root of the repository
~/pano_man -
Build the firmware for the RISC-V processor
(cd sw;make)
This creates a file called ~/pano_man/sw/progmem8k.bin
- Build the Verilog for synthesis
When you run this, not only will you create the Pano.v file, but also a bunch of .bin files that contain RAM initialization contents, which will be loaded by Xilinx ISE during synthesis.
make syn
- Fire up Xilinx ISE
cd xilinx
make ise
-
Create the bitstream
- File -> Open Project -> ~/pano_man/xilinx/panoman.xise
- Double click on 'Generate Programming File'
-
Fire up Xilinx Impact
cd ~/pano_man/xilinx
make impact
-
Load bitstream into the device
Possible Future Projects
- Port the code to the second generation Pano
- Add support for USB Joysticks
- Port other games that ran on the same hardware such as Invaders and Galaxian
Notes
- The Pacman ROM for MAME images are typically found in a zip file named puckmanb.zip.
- This project has been featured on Hackaday !
- If you build/use/modify this project I'd enjoy hearing about it. You can find my email address in the git log.