SDRC
Step 1 : Equipment
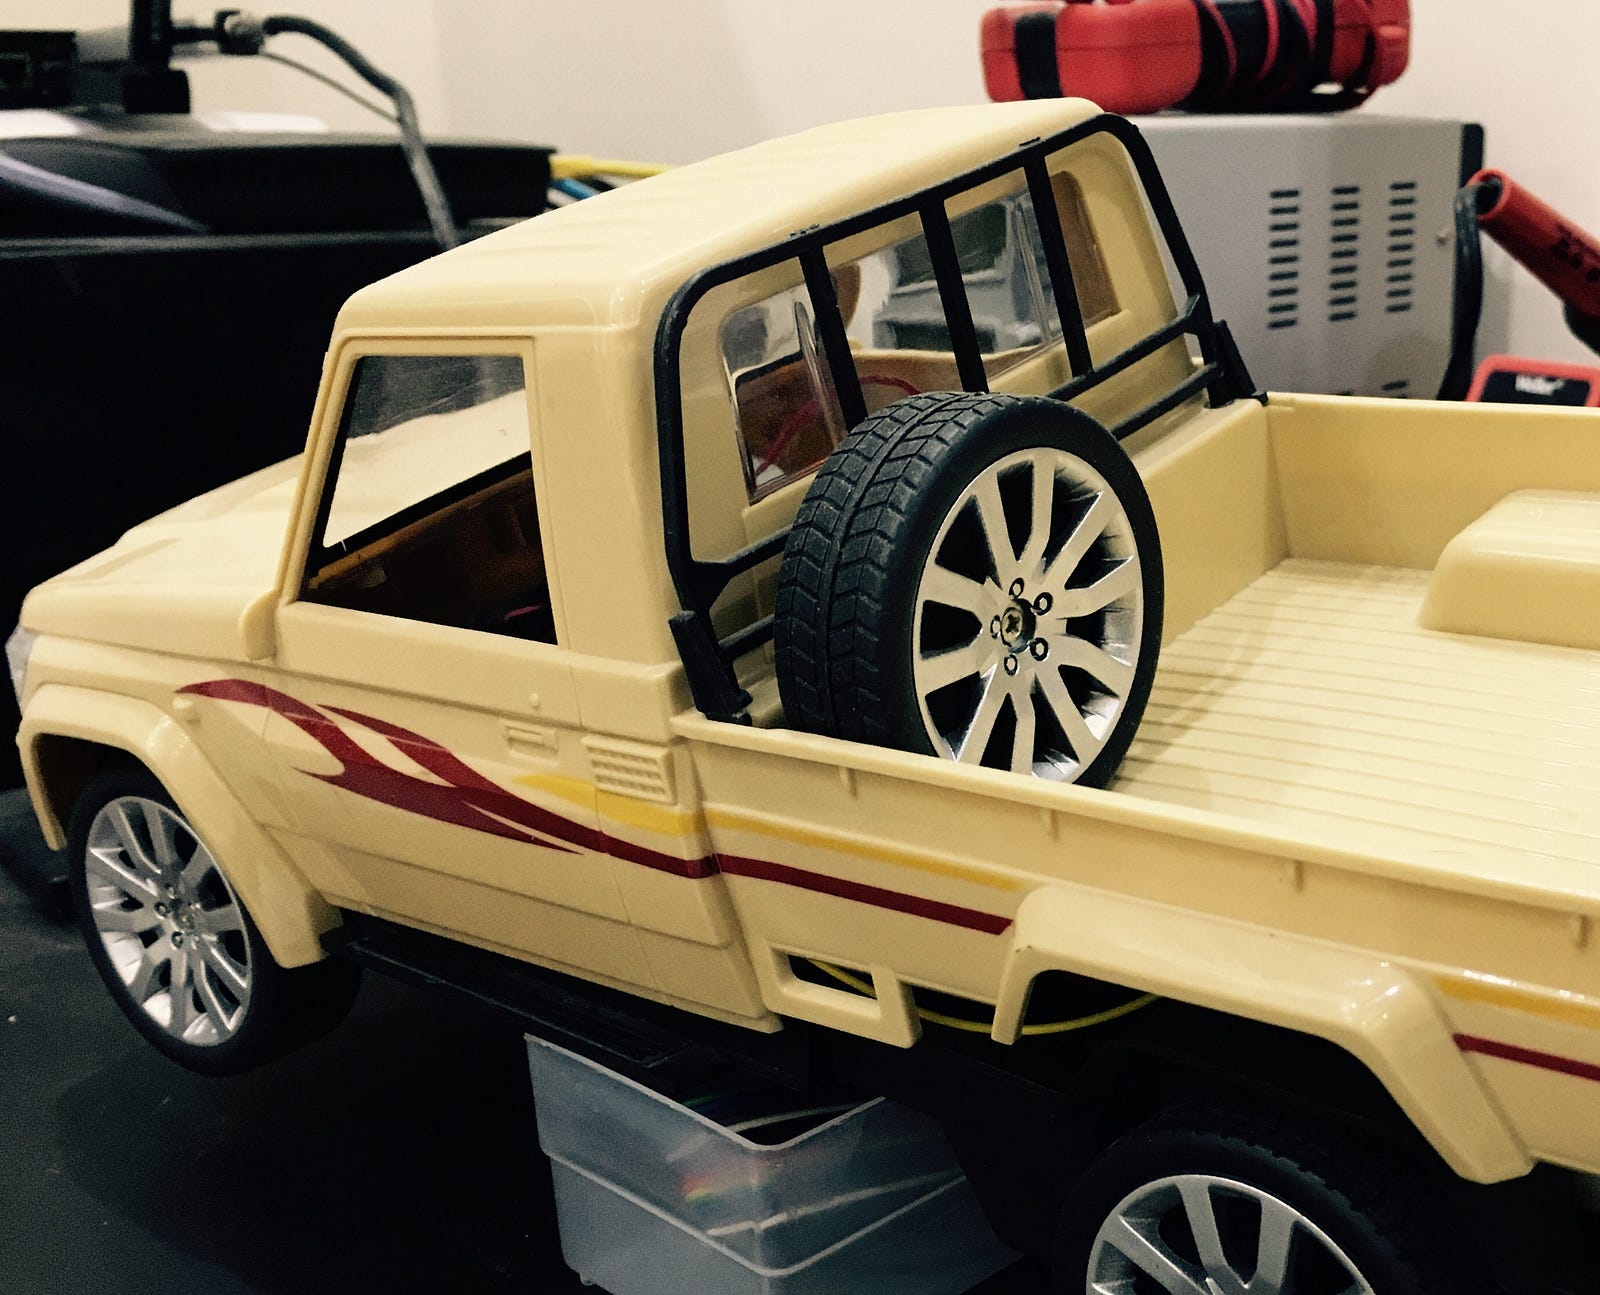
1. RC Car
2. Raspberry Pi 3

3. Raspberry Pi Camera Module V2

4. Jumber Wires

5. Portable Battery

6- L293d

Step 2: Setup
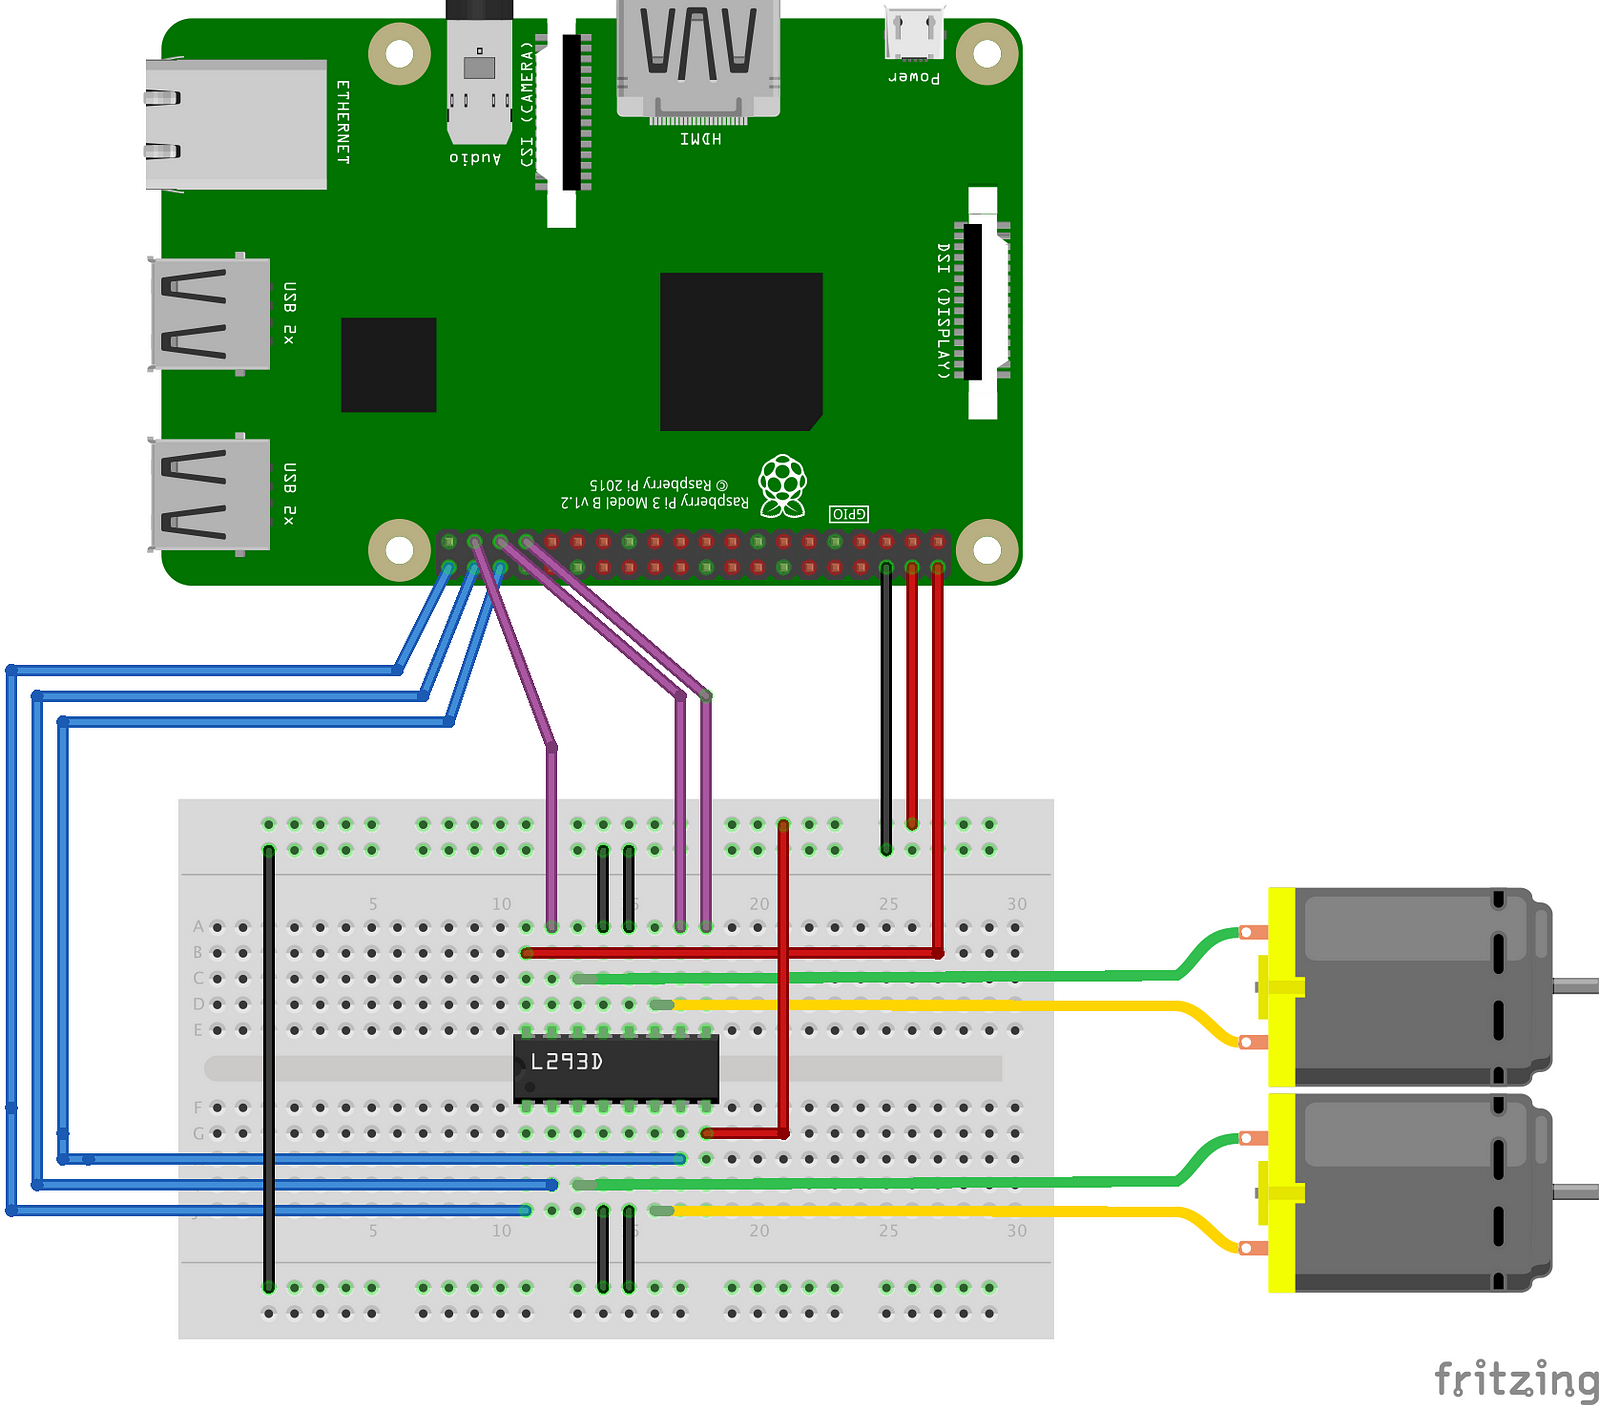
In my RC Car I have two motors, front to control left/right and rear which controls forward/backward motion. Starting with Raspberry Pi, the figure below shows the pinout digram of the Raspberry Pi where you will hook-up the wires from it to the motors through L293d. L293d contains two full H-bridges which enable us to control two DC motors bi-directionally. For the consistency when we go over the software setup, we will use these pins(40, 38, 36) for front motor and pins(37, 35, 33) for rear. Feel free to change them to whatever you prefere if you know what you’re doing.

Step 3: Manual Control Using RPi & Python
In order to let the car autonomously drive, we need it to control itself. So, we need first to figure out a way to control it using some keys and I chose keys(w,a,s,d) on the keyboard as they used in games, w: Forward, s: Straight, a: Left, d: Right. You can find the code for controlling the RC Car in my Github Repo. Note: Please submit Pull Request if you have better implementation.
Youtube Video

Step 4: Put Everything In Place
Youtube Video

Step 5: Server-Less Control Using Computer Vision
First, we get an image from the stream and take the Y component from YUV color space which represent the gray scale of the original RGB image.
camera = picamera.PiCamera() # Initialise Camera Object
stream = picamera.array.PiYUVArray(camera) # Initialise Stream
camera.capture(stream, format='yuv') # Capture YUV image from Stream
img = self.stream.array[:,:,0] # Choose Y Channel
min = 0
max = 135
binary = np.zeros_like(img)
binary[(img >= min) & (img <= max)] = 1
histogram = np.sum(binary[binary.shape[0]//2:,:], axis=0)
Based on certain calculations that differ from one situation to another, in my case I divided the histogram into right and left. If the right has more weight than the left steer left otherwise steer right. So I run the raspberry pi, camera and motors on the same portable battery (5v-2A) and it works just fine, but as you may notice in the video below it is relatively slow.
Youtube Video

What Next?
I’ll continue to improve the algorithm and add some documentation on GitHub. I’ll post a new story if a major improvement is made. In the meanwhile, we came to the end of this series, if you want to go further, you may need object detection and avoidance. Your support, inputs are highly appreciated and if you find it useful please share.